How-To guides

Step-by-step techniques, troubleshooting, aftercare and tool tips.

  • Adding a touch of Lagom to your treatment room

    Adding a touch of Lagom to your treatment room


    Cup of coffee on a cosy knitted blanket


    The over recent years we have fallen in love with Scandinavian design and way of living. Hygge took the world by storm and made us all consider ways of slowing down and embrace a cosier approach to life.

    Flash forward to 2021 and now (fingers and toes crossed) we’re starting to emerge from the Covid-19 pandemic there is a new scandi trend surfacing, step aside Hygge it’s time for Lagom.

    what is Lagom?

    Lagom is a Swedish philosophy which roughly translates to “not too much, not too little.” Any Lagom definition will describe this concept as being all about balance.

    To inject some Lagom into your treatment space, there are some key areas to consider.

    1. Create a calm and balanced environment with colourAs colour has been proven to affect mood, it can be one of the most important choices we consider when choosing décor for our treatment rooms. When it comes to Scandinavian design, less is often more with neutral pallets being favoured. Cool greys and off whites make a great backdrop for increasing relaxation. Blue has been shown to increase feelings of calm and bliss.

      Neutral white textured background

    2. DeclutterA change in season gives us the perfect time to assess our treatment space and make some changes. Bring it back to that main goal of feeling balanced. Walk into your treatment room with fresh eyes and consider what needs to stay and what can be put away. With clients having less ‘stuff’ to focus on they will have the headspace to relax and unwind into their treatment.
    3. Increase the green

      Plants not only add to the aesthetics of a room but have exceptional health benefits. Increasing oxygen, lowering anxiety and stress are just some of the properties of indoor plants.

      Monstera plant in a white pot

    4. LightingWith the autumn night’s drawing in, considering ways to increase natural lighting can help create an airy, calming feel. Using mirrors to reflect light into darker spaces will help to open up a room. Minimalised décor items such as candle holders and candles will add a touch of warmth to the room whilst increasing relaxation.

      Candles in a calm, neutral room

  • What advice can I give my client about staying safe in the sun?

    What advice can I give my client about staying safe in the sun?

    Woman applying sunscreen to her shoulder

    As Beauty Therapists we are in a privileged position as a trusted source of knowledge for our clients, being able to guide and educate them on the best ways to protect their skin in the sun. With the majority of our treatments taking place on their skin we are also able to draw their attention to changes or suspicious looking growths. Search online ‘Beauty therapist spots cancer’ and you will see multiple news articles of Beauticians saving clients lives!

    It’s vital that we equip ourselves with the most up to date information to share with our clients. Today’s blog covers the ABCD of essential information relating to the impact of UV on skin.

    IMPORTANT NOTE: We are not in the position to diagnose, if you are ever in a position where you spot something concerning on your client skin, always refer them to their GP.

    The ABCD of UV

    A: UVA

    UVA is commonly referred to as the ‘ageing ray’ this is because It has the longest wavelength of the UV rays, meaning it has the ability to penetrate the skins lower dermal layers. Long term over exposure of UVA such as sunbathing and sun beds leads to the degeneration and mutation of cells. This breakdown of collagen and elastin is the cause of lines and wrinkles.

    Diagram of UVA and UVB rays reaching the skin

    UVA is the same strength, 365 days a year. To protect against damaging affects wear broad spectrum SPF’s every day, even in winter and swap the tanning beds for a bottle!

    Long term exposure of UV rays can trigger free radicals, creating an oxidative response. This response is seen as skin mottling, hyperpigmentation and age spots. Using products with added vitamins can reduce the risk of this stress on the skin as vitamins help to fight free radical damage.

    B: UVB

    UVB is considered the ‘burning ray’ it is much shorter and more intense than UVA. It’s UVB you can feel warming your skin when you are out in the sun and is at its most intense during summer months (particularly around midday) UVB has an accumulate affect when damaging the skin, the more your skin burns the more cells will mutate. These mutations can start to divide and multiply leading to skin cancer. skincancer.org states that 5 or more sunburns doubles your risk of developing life-threatening melanoma. (The Skin Cancer Foundation Official Website – The Skin Cancer Foundation, 2021)

    Top advice for protecting against burning:

    1. Apply SPF at least half an hour before exposure. This should be reapplied every 1-2 hours. The recommend amount is a teaspoon for the face and a shot glass for the body!
    2. Try UPF clothing. UPF clothing limits the number of rays coming into contact with the skin.
    3. Check the daily UV index and act accordingly. Reduce exposure during the hottest times of the day.


    UV index scale chart

    C: Cancer

    According to Cancer research UK 86% of skin cancer is preventable (Melanoma skin cancer statistics, 2021) So what causes skin cancer and how can we prevent it?

    Skin cancer or it’s official name Melanoma is the fifth most common cancer in the UK. Although not all types of melanoma are directly linked to sun exposer the majority of cases are, this is because UV rays damage the skin. This skin damage accumulates overtime particularly in cases where the skin has been burned, causing cell and DNA damage. This cell damage mutates into cancer and can grow.

    The fairer the skin the higher the risk for developing skin cancer, this is because melanin (natural skin colour) offers some protection against UV. The darker the skin the naturally more protected it is. Although it may not happen quickly, black and asian skin can still burn so it is still important to protect the skin with SPF.

    There are various types of skin cancers and although we are not in a position to diagnose cancer on our clients, it is good to have an awareness. This awareness can help us to draw their attention to changes in their skin or growths we may think they need to get checked. Always refer clients to their doctor for a diagnosis.

     A reference for skin changes:

    ABCDE signs of skin cancer chartAsymmetry: is it asymmetrical or does it have a jagged edge?

    Border: does it have a border?

    Colour: is it one solid colour or does it vary?

    Diameter: has it grown in the last few months?

    Evolving: has it changed shape or evolved in the last few months?


    Visit www.cancerresearchuk.org for more statistics and information relating to skin cancer.


    D: Vitamin D

     Although we have looked at the negative impact of UV on our skin it’s important to note that it does play a role in a positive contribution and that is in the production of Vitamin D. Vitamin D is important for healthy bones, teeth and muscles.

    The rate in which you produce Vitamin D depends on the amount of melanin your skin natural produces, the fairer the skin the faster it will produce the Vitamin. Most people in the UK do not produce enough Vitamin D during the winter months.

    Vitamin D can be supplemented through diet by taking supplements or eating foods such as oily fish, red meats, eggs and fortified breakfast cereals.

    For more references visit: 

    www.cancerresearchuk.org

    https://www.nhs.uk/conditions/vitamins-and-minerals/vitamin-d/

    https://www.skincancer.org/risk-factors/sunburn/


  • How can I make my client’s lashes last longer?

    How can I make my client’s lashes last longer?

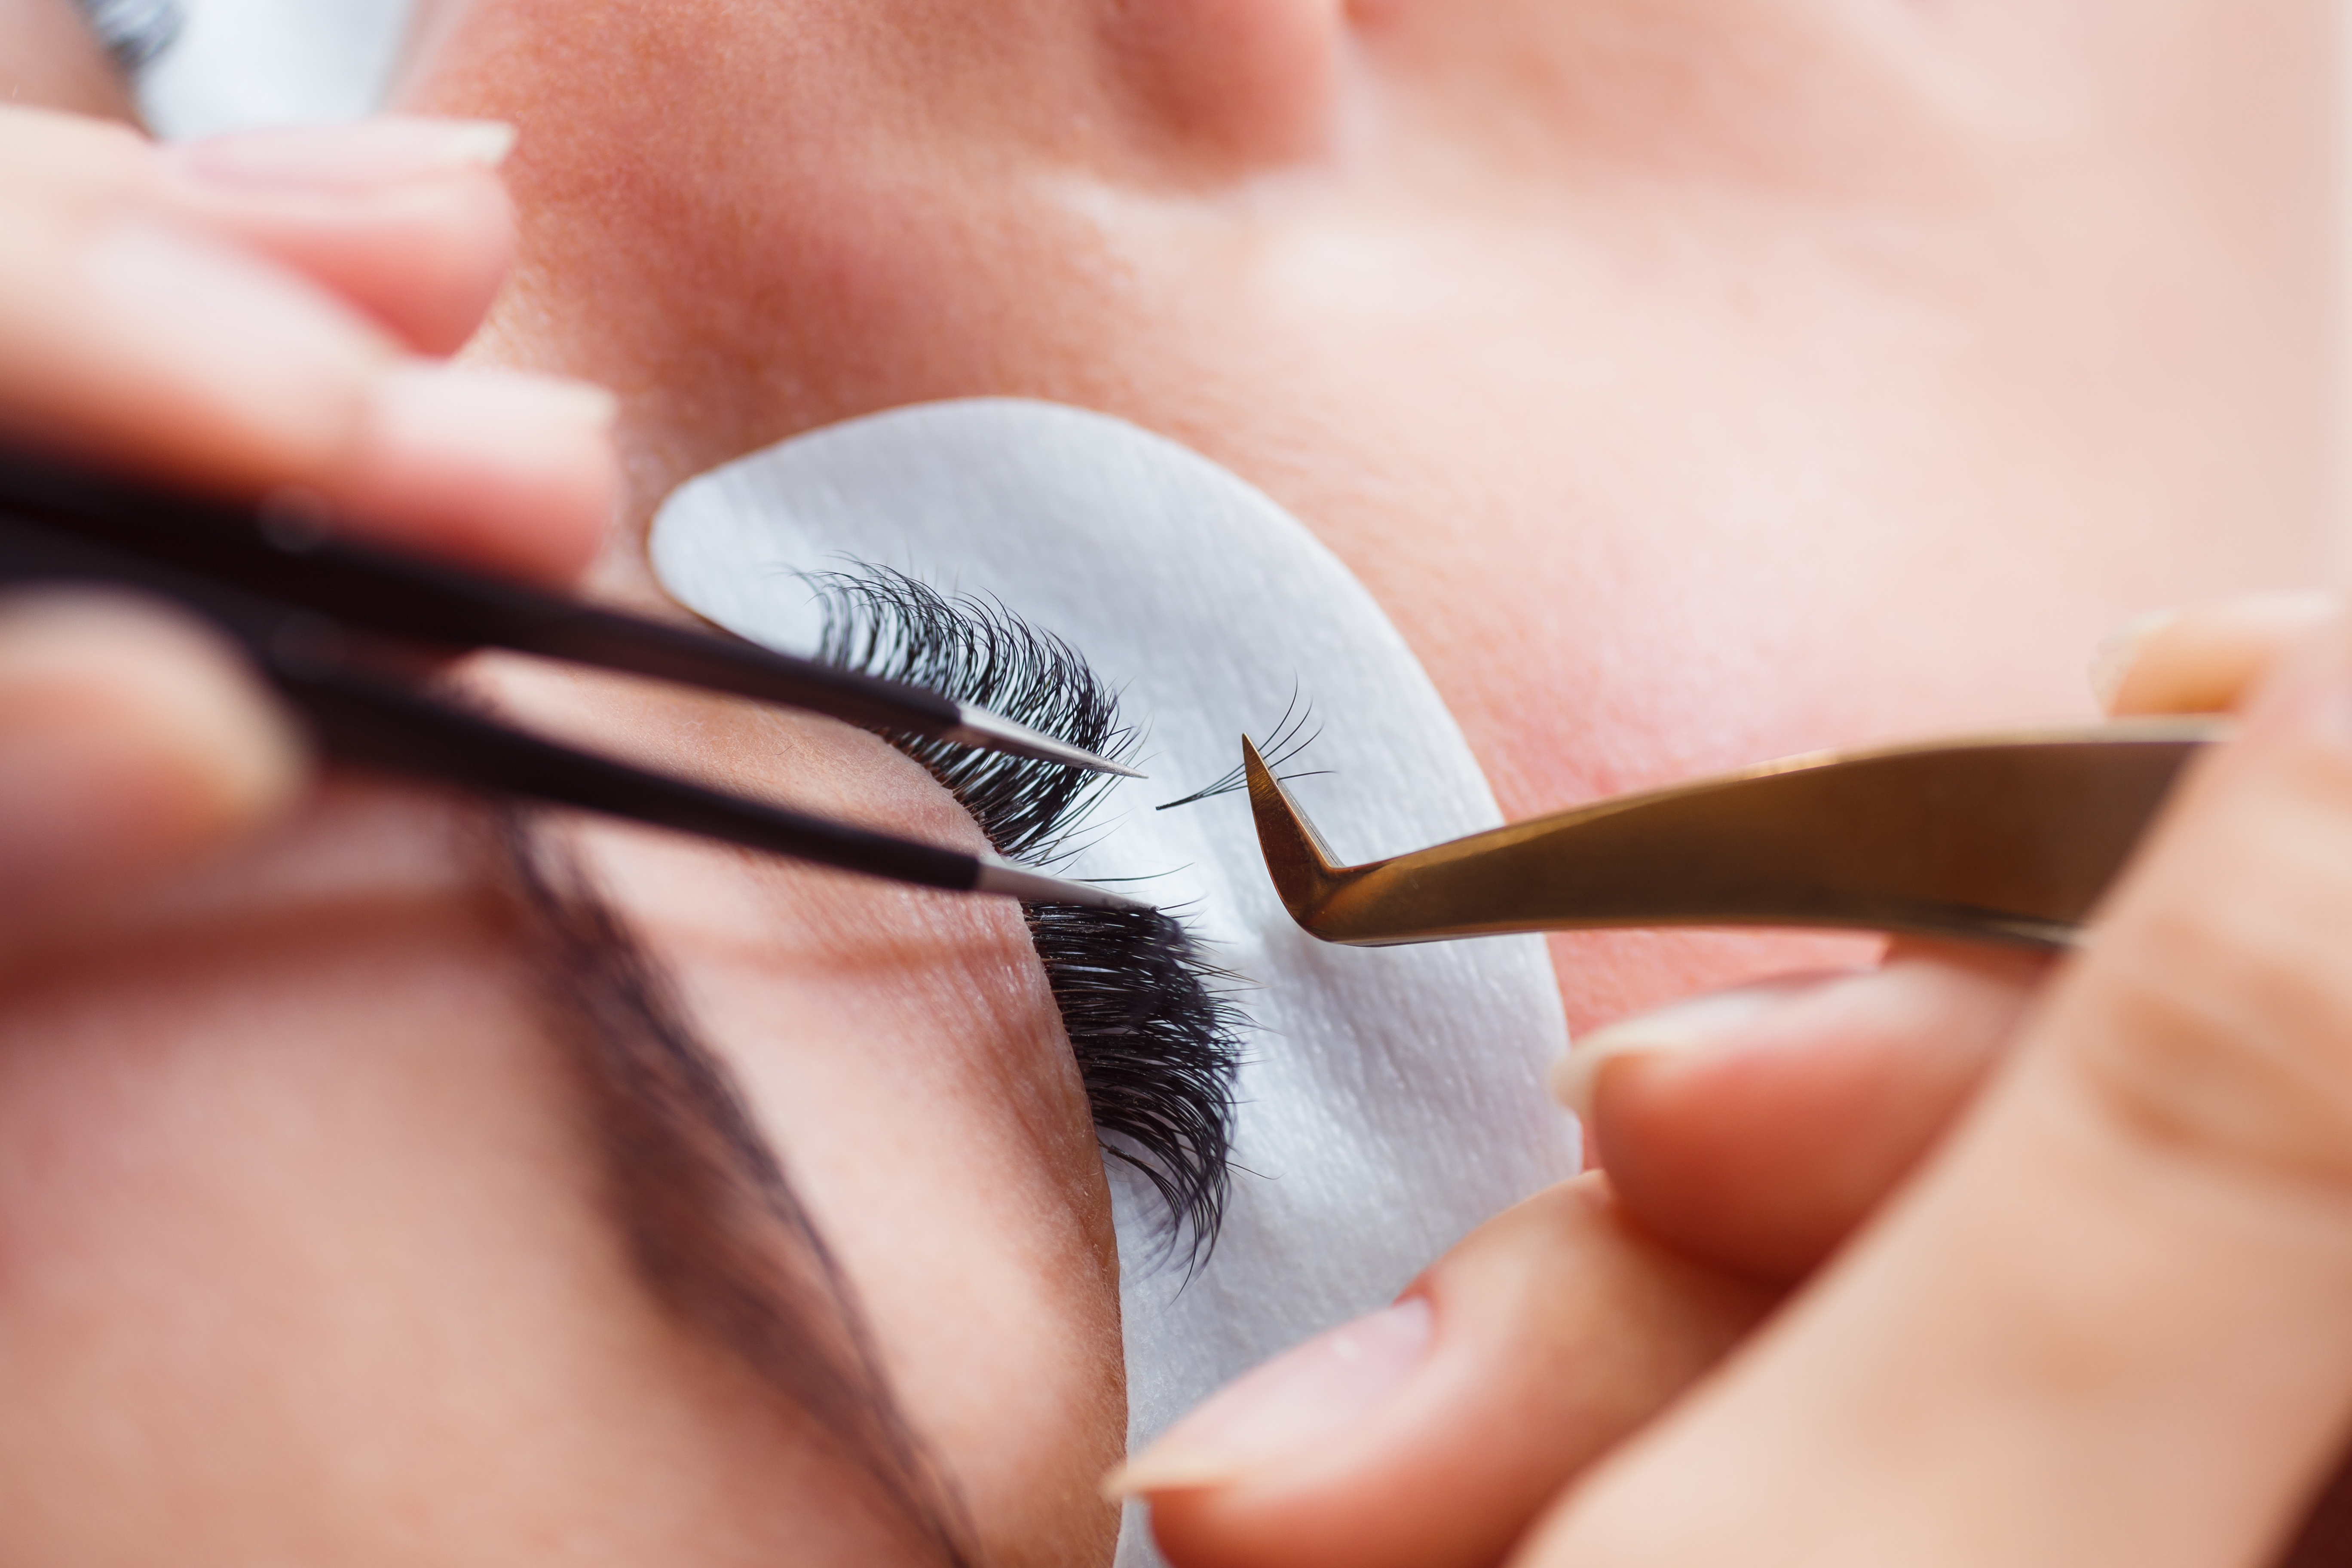
    Lash technician applying eyelash extensions

    Choosing your adhesive 

    Choosing the right adhesive is vital when it comes to the retention of lashes, what works well for some lash techs may not work as well for others. This is because the adhesive that you use needs to work with you, your skills and your environment.

    If you’ve just started out with extensions choosing an adhesive that has a longer drying time (2-3 seconds) will give you the time needed to precisely apply the lash. When storing your adhesive ensure that it is stored in an airtight container and used within 3 months of opening, the longer the adhesive is exposed to air the faster it will oxidise.


    Consider your environment 

    Your environment places a crucial role, ingredients within adhesive are sensitive to both temperature and humidity. The ideal room temperature should be between 16 and 24°C and humidity levels between 40-70%. Using humidifiers and house plants may be the perfect solution for creating the right environment!

    Failing to prepare is preparing to fail

    Investing in a prep routine can increase adhesion and retention. Firstly, ensure all make up and oils are removed from the lashes. Most professional lash brands supply prep products, lash shampoos are a great way of preparing the lashes, they also make great link sell products to maintain the clients lashes at home in between visits!

    Check your angles

    When applying the lash ensure that it is placed parallel with the client’s natural lashes, if the lash is applied at an angle it may mean that it is not fully connected. Lashes that are applied incorrectly are at a much greater risk of catching and being removed.

    It’s also important to work with the clients natural lash, choosing the right width and length for the clients lashes will ensure that they aren’t under too much pressure. This can lead to drooping, lash loss and ultimately damage to the natural lashes.

    Aftercare

    How your client is treating their lashes between treatments can either support or be detrimental to their retention.

    Here’s our top tips for maintaining lashes at home:

    1. Avoid water within the first 24hrs (showers, swimming and saunas)
    2. Stay clear of oil based products and make up (oil will start to breakdown the adhesions!)
    3. Lightly shampooing the lashes can help to keep them clean and clear of oils, this is recommended every 2-3 days using a shampoo lightly with a soft application brush.
    4. Brush the lashes daily using a lash wand
    5. Avoid excessive friction to the eyes. Laying on your face when you sleep or rubbing/picking the lashes will make them drop off faster!


  • Which lash shield size should I use for Lash Lift treatments?

    Which lash shield size should I use for Lash Lift treatments?

    Lash Lift is certainly one of our most popular courses and highly lucrative earning you around £30-£45 per treatment. Many clients are moving away from the continued maintenance cost of lash extensions seeking a more natural option as the minimalism trend comes into make up and skincare this year. Lots of students complete our Accredited Courses to learn Lash Lift Skills but one tricky aspect to master is selecting the correct lash shield size and how to correctly fit the lash shield as it certainly takes time and practise to do this with confidence. Our blog covers best practice on selecting the correct size shield plus top tips for a successful lash shield application…

    Lash lifting shields are usually created from flexible silicone shields created with a special shape to sit comfortably on the upper eye lid purposely for lash lift treatments. Lash lift treatments work a llittle like the lash perming treatments of the past, except rather than creating curly, fluffy lashes; the aim is to instead lift lashes to create the illusion of greater lash length with a soft curl upwards for a youthful, open-eyed look.

    Lash shields are usually available in various sizes from small, medium up to large with some brands offering sizes in-between to give a more tailored fit for your clients.

    Selecting the correct lash shield size is essential to achieving the perfect lifted result your clients desire. Too large a shield and the lashes may not lift, too small and the lashes may become too deeply curled or the ends of lashes may be distorted in shape with a kink. Usually the smaller the shield size, to greater the lift and the more dramatic the result. That said, achieving the result is down to ensuring the client’s natural lashes sit correcty on the lash shield working with their natural lash length to help determine the most suitable shield size.

    When sizing up the shield, it helps to first apply an under eye pad and secure lower lashes down out the way. Then measure the shield up against the natural lashes before you get to applying adhesive.

    Hold the clean shield against the upper lashes and look at how far up the natural lashes will sit on the shield. You’re ideally aiming for the natural lashes to reach all the way across the shield to the top of the shield but you don’t want lashes poking off the end.

    If lashes are too long for the shield, go up a size. If lashes are only sitting halfway up the shield, go down a shield size. As a general rule of thumb, most clients will use either a small or medium shield as most clients have natural lashes around 8-11mm in maximum length. Most client’s also want the most dramatic of results which are usually yielded by a smaller shield size, although you should discuss this fully with your client to ensure you understand their expectations of treatment.

    It certainly takes time and practice to perfect applying the lash shields. You want to get them as close to the lash line (it might almost feel like you’re on top of the lashes but with the adhesive when you pull them up you’ll get used to seeing the gentle pull lifting them up and over the shield so lashes won’t be trapped). It can take up to 10-20 sets before you feel totally confident with the application of the shields, feeling all fingers and thumbs at first.

    A good tip is to curl your hands and gently nudge your client at the temples using your gathered knuckles each time you ‘go on’ to work on your clients eyes so they don’t jump everytime you come on and off as they will have their eyes closed throughout and it can help application of the shields if they are a little nervous.

    Often clients are nervous on their first treatment also and you’ll find it much easier to apply on their follow up treatments as they start to feel more relaxed as they get familiar with the treatment process. It is worth practising application of shields just on friends and family (without necessarily then doing the full treatment), just to get the hang of it.

    Common issues when lash lifting…

    The lashes have a kink of the ends of the lashes

    You have used too small a lash shield. Next time size up to the next shield size or if you want a tighter lift still, don’t apply the product all the way to the ends of the lashes although this won’t allow the lashes to curl back inwards to give a more natural lash shape, so bear that in mind for those clients with larger, more prominent eyes where the ends of lashes are more naturally more apparent and on show.

    The lashes have gone frizzy or too deeply curled

    This could suggest the lashes are overprocessed. This can occur when not all of the lash lift product has been removed so essentially the lashes continue to process lifting somewhat beyond the initial treatment (usually up until the client fully washes their face or until all product has processed). it can also occur when the development time was too long either in error or for the client’s lashes due to poor lash condition or having a previous lash lift/perm treatment too recently. It can also occur if you use too small a shield giving too tight a curl for the result the client expressed they desired. Some client’s want a more natural looking lift (more like a J curl if you think in terms of false lash shapes) so may be better with a medium or large shield depending on their natural lash length. Size up to the next lash shield size next time.

    The lashes haven’t lifted

    This can occur for several reasons. It may be that if you removed eye make up before the treatment, that lashes were too wet and so the product could not work correctly to break down the bonds holding the natural lash shape. It may be that you removed the products too soon stopping them from processing correctly or it may be that the lash shield size selected was too large, size down next time.

    The lash shield lifts up at the corners

    You may need to trim the lash shield at the outer corner side to achieve a better fit for your client. You might also like to consider use of a small amount of micro-pore tape to help hold the shield down better but ensuring none of the lashes are trapped in the tape, of course!

    The shield is slipping

    You might like to consider using a small strip of micro-pore tape along the lash line on the upper lid as the shield adheres much better to the tape rather than skin for some clients. It is makes it much easier to clean up following treatment as you don’t need to worry about removing lash adhesive from the client’s upper eye lid skin, it will come away simply when you remove the small strip of tape. You can also use two small strips of micro-pore tape applied vertically to help ‘lift’ and hold any looser skin on the eye lid such as for mature clients making it much easier to get the shield positioned on the lash line.

    The client doesn’t like the result

    Communication is the key both before and after the treatment. Most disatisfaction comes from client’s not understanding the realistic treatment outcome for their own lashes so always take time to have a thorough consultation and to visually and manually assess your client’s natural lashes prior to treatment. You must manage a client’s expectations of the treatment and how long results will last. Ensure they are well versed in the correct homecare before they leave you to avoid lash mishaps after treatment or short longevity to the results.

    If the lift is too strong, unfortunately clients just have to wait for this to drop naturally although allowing lashes to get wet earlier than the recommended so for the client to take a shower after the treatment. This may help restore the original keratin bonds of the lash hairs to reverse or reduce the treatment result, although this is not guaranteed. Lash results that are too strong are usually due to issues of overprocessing of lashes or too small a lash shield used, all things you can note on their record card and ensure you consider for any future treatment.

    Use of lash serums or castor oil are great to help nourish the lashes, maintain results, help restore natural keratin bonds s the result drops more naturally and improve the lash condition ahead of any future treatments also.

    First published 7th January 2021. Updated 3rd August 2023.

  • How to Make Brows Fuller & Less Unruly

    How to Make Brows Fuller & Less Unruly

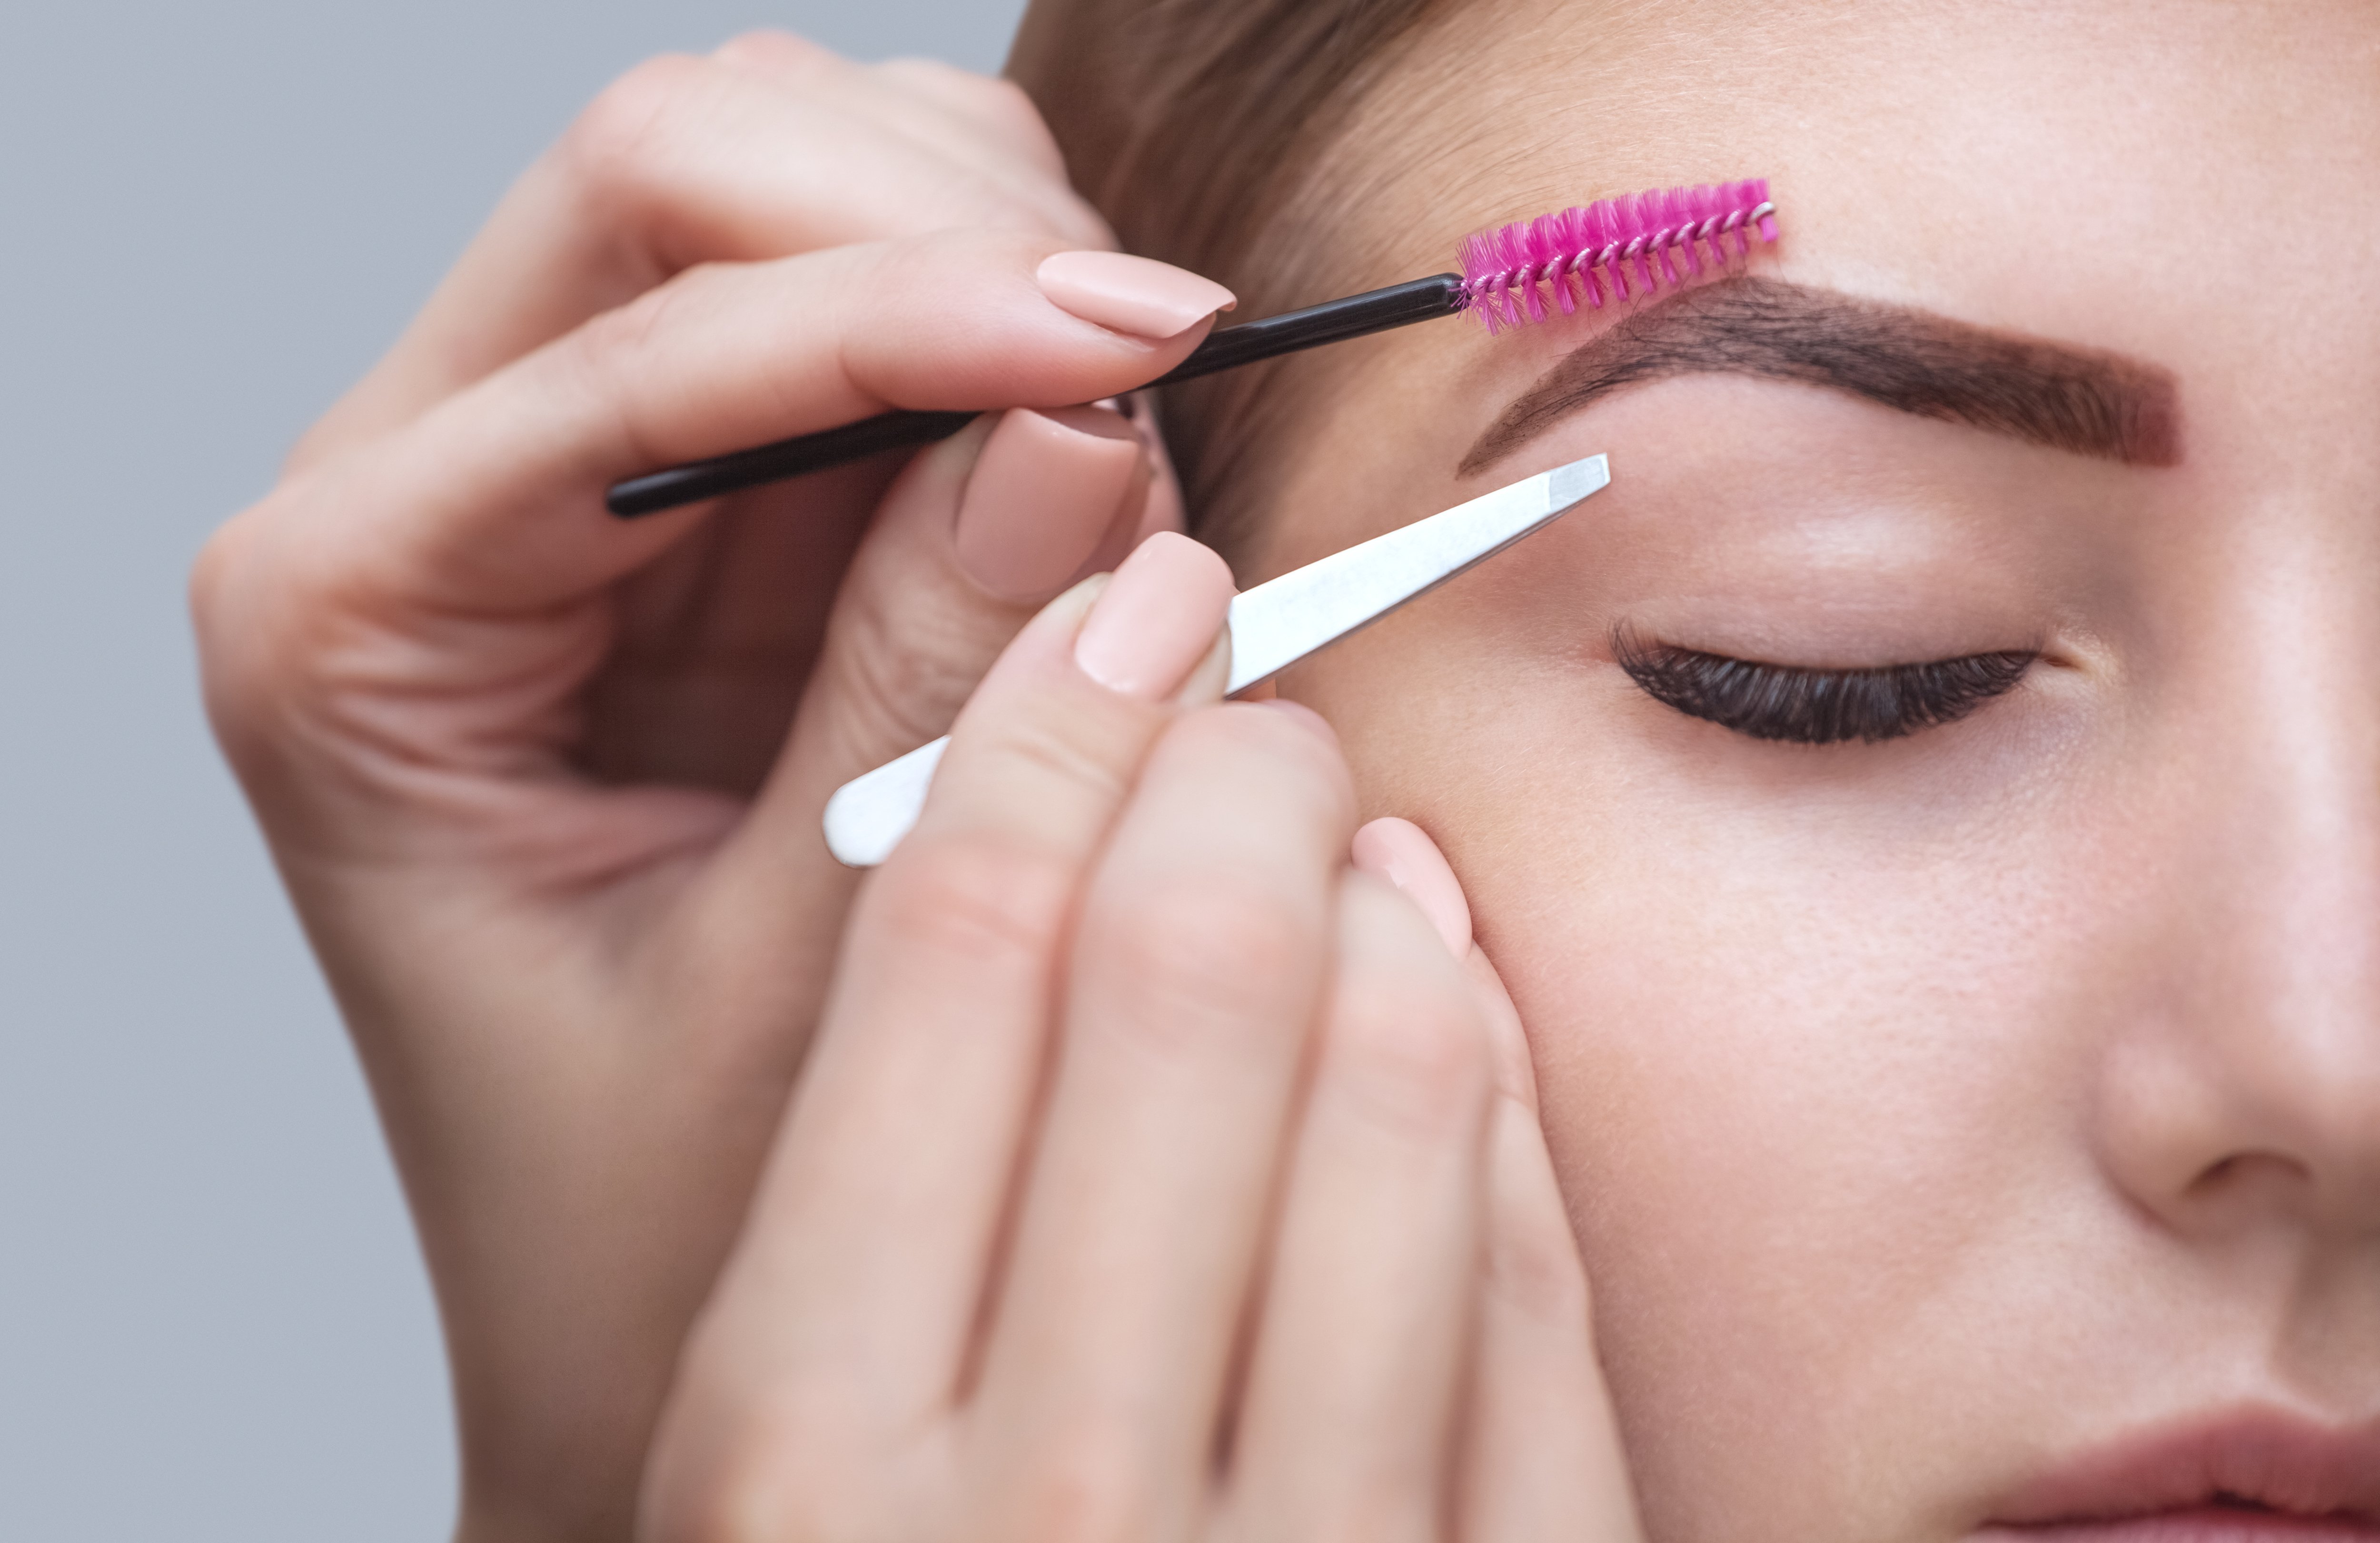
    If windows are the eyes to the soul then surely brows are the frames? A great pair of eyebrows can really give a face structure. They can also help correct an unbalanced face shape or give the appearance of a more desireable face shape. When so many clients are investing in lash extensions right now, it would be wrong not to have the know-how to create flawless brows to finish the look. We give you the top 10 ways to make brows look fuller and groomed…
    1. Use a brow pencil to fill in gaps and create better definition to the brow shape such as using short pencil strokes to create high points above the brows making them appear more arched and refined. Choose a brow pencil close to your natural hair colour and if between two shades, go for the lighter option.
    2. Use a brow powder to give a softer, fuller brow look. If you only want to achieve more fullness but more definition, opt for a brow powder. Generally brow pencils last longer on the skin but can look harsher on mature skin and accentuate fine lines and wrinkles. Brow powders are a softer option and can be sealed with brow gels or wax.
    3. Considering brow tinting – if daily touch ups aren’t working for you, say if you swim or work in hot, humid environments, tinting may be a better option. Tinting can last 2-3 weeks. Treatments typically take only 15-20 minutes so easy to fit in alongside other beauty treatments. A longer lasting option is Henna brows which can last for up to 4-6 weeks instead. Henna brow products have great depth of colour and are naturally formulated so can be kinder to the skin. Tinting or henna can bring out the natural shape of your brows, especially for those with naturally fair or grey brows. This can make the eyes look brighter as the whites of the eyes contrast with the darker tones.
    4. Encourage better hair growth by using a naturally formulated brow oil or serum. The massaging in of products daily can also help boost blood flow to the area which in itself encourages better hair growth and improved hair condition and strength. There are many purposely designed serums on the market or just good quality castor, coconut or extra virgin olive oils will also do a great job of nourishing the hair and skin.
    5. Pluck in the right light and at the right level of zoom – ensure you pluck your brows using suitably sharp tweezers to avoid hair breakage. Try to pluck in natural daylight to better help you see the new, finer hairs coming through and ensure you are following the right line for shaping. Avoid using magnifying mirrors as they force you to focus in on one hair at a time causing you to lose sight of the overall brow shape and you can get too pluck-happy resulting in uneven brow results or overthinning the brows.
    6. Brows are sisters, not twins. Whenever tinting or shaping brows, ensure you work across both brows equally and check across both brows throughout for an even result. That said, brows are never identical so don’t try to force them to be or you could end up damaging the natural line of hair growth and having overly thin brows which is both aging and unflattering. Overplucking can lead to permanent damage so take care or best still, leave it to the professionals.
    7. Have patience when brow shaping – don’t be tempted to pluck a clump of hairs at a time. Work on just removing one at a time. Avoid removing longer brow hairs as these are often the leading hairs which define how the rest of the brows sit and removal can leave unsightly gaps or loss of definition. Slanted tweezers are great for helping to select the right hair. Go slow and use patience when removing odd stray hairs between brow services or if attempting some home pampering. You can always go back and take another out but you can’t put a leading hair back in again if removed incorrectly.
    8. Embrace other methods of hair removal such as hot wax or threading. Both offer a quick but accurate hair removal option that take out all the hard work of tweezers. Check reviews of any therapist you are considering booking with and ideally seek out photos of their recent work on their social media to ensure you will get the result you desire. Generally speaking waxing is more readily available and hot wax is great in small areas like brows to give clean results. Hot wax is also less likely to irritate sensitive skin. Threading is great for anyone wanting a more linear, angled look due to the way the thread moves. It is great for those with naturally thick unruly brows that need some serious attention.
    9. Don’t lose patience with those long unruly hairs. Use a brow gel to brush and seal them into shape. If you really must improve them, don’t pluck them out but use short handled, sharp scissors to gently trim them so they sit better in place. Those long hairs often need to sit flat to provide the overall shape for your brows that all other hairs follow so take care not to be too snippy, particularly for the first few hairs at the start near the eyes as these can look bushy if trimmed too short.
    10. If you really can’t get those unruly brows to sit correctly, consider a brow lamination treatment. Not only will they help give the appearance of thicker, fuller and more youthful brows; but it is a quick and relaxing treatment to receive. Typically taking around 30 minutes, results can last up to 6 weeks and when combined with a basic brow shape and tint, it can give you maintenance free, hassle free natural brows for over a month! Well worth investing in. The treatment uses similar products to lash lift (perming) products, but applied to the brows in a specific way that fixes and sets the brows in the desired direction as dictated by the brow technician.

    Want to learn to create the perfect brows, explore just some of the many brow course options we have by clicking below. Can’t see the course for you or interested in a package? Give our friendly team a call on Freephone 0800 999 2277 and we can guide you to the right option!

  • Keeping your Kit Tip Top – Storing Lash & Brow Tools…

    Keeping your Kit Tip Top – Storing Lash & Brow Tools…

    As any amazing lash and brow tech knows, you’re only as good as your products and tools will allow you to be. Not storing these correctly, not only shortens the lifespan of these causing wastage and extra costs but also limiting the results you can achieve. Here we discuss how you should be storing your kit…

    Wax Pot

    It goes without saying that your wax pot should be wiped over after each use to remove any stray wax. There is nothing worse than going for a treatment and seeing a gunky looking wax pot and wondering just where your wax will be dribbled. Where possible use wax pots with an insert to allow you to remove the wax from the heater and reseal with the tub lid, but the wax heater lid should be on when not in use at the very least. If working mobile, ensure the wax heater remains upright if wax is to be left inside the heater to avoid spillage. Allow wax to cool down sufficiently before moving the heater so for mobile therapists, turn off the heater as soon as it is no longer required. Wax is typically good for 6-12 months from date of opening – check your product for the specific use by.

    Tint & Oxidant

    Always used and disposed of in line with COSHH, you should only mix your tint once ready for use and never before your client arrives as it will not be effective by the time it is used. Always replace the lids tightly immediately once decant particularly as products will react with the air on contact and overexposure will reduce its efficacy.

    Lash Adhesive

    Only ever decant as much as you need to avoid wastage. Replace lids tightly once decanted to avoid the adhesive reacting with the air and setting hard. Keep adhesive stored upright at stable room temperature. Some adhesive brands suggest storing in the fridge but this can cause moisture to develop inside the product bottle causing it to be ineffective. You can purchase vacuum storage bags or jars which help to prolong the life of your lash adhesive once opened and also protect them from falling over and spilling in transit for those who work mobile. If products must be stored in a cooler or hotter area than where you are working, allowing up to an hour for the product to return to ambient temperature before using for best results. Working environment temperature will affect the current viscosity (thickness) of your product so consider this when deciding where to offer your treatments, for

    Tweezers

    Always ensure tweezers are thoroughly wiped after use to remove any stray hair or wax/lash adhesive residue before sterilising. Avoid leaving tools standing in barbicide continuously as this will corrode tools over time. Sterilise for the recommended time then remove. Store in a sealed plastic case or bag taking care to protect the tweezer tips, never store points down in a jar. Then simply place back in sterilising fluid prior to use once setting up for your client. Take care never to drop your tweezers as this could blunt the points. Replace tweezers roughly every 3-6 months depending on how often used. Keep lash tweezers separate from those used for brow treatments to avoid misusing these and always keep a spare pair handy just in case.

    best results. Also ambient environmental humidity will affect the drying times of your adhesive. Lash adhesive is usually good for 3-6 months dependent on the brand once opened (usually for up to 12 months prior to opening) but check product packaging to confirm as it does vary depending on the formulation.

    Brow Powder Compacts

    Always store these where they will be safe from knocks or dropping to avoid gut wrenching moments where your palette crumbles. Ensure you decant powder onto a spatula using a make up scraper or only ever use a clean applicator / brush (never double dipping) or use a special make sanitiser spray for powder compacts between each client to keep products hygienic. Many brands now offer refills for powder palettes to allow you to replace the shade you use up quickest, rather than having to replace the entire palette so it is worth considering this when buying your products to avoid having to have multiple part used palettes or powders at any one time.

    By following the above advice, you will ensure you are not only working safely and hygienically but also reducing your costs (boosting your profits) and getting the very best results from your products and tools for the longest time possible.

    Discover our optional starter kits today…

  • How to Care for your Nail Products

    How to Care for your Nail Products

    As every good nail technician knows, you can only ever be as good as your tools allow. Once training is completed, the next biggest cost and one which will be ongoing throughout your career is the cost of your nail products and tools. To be successful in business you must reduce costs where possible by correctly using, storing and cleaning your products and tools. Our blog this week focuses on the essential know-how to do just that!

    Your nail brushes whether gel or acrylic are like your magic wands for creating beautiful nails. Finding the right brush for you can take many attempts and so when you find a favourite, it is vital you keep it in tip top condition to get the most from it, for as long as possible.

    Top tip: Never use the same brush for different products / nail systems. Not only will you not get best results but may contaminate your products which could be hazardous or increase the risk of allergic reactions for clients. It will also reduce the shelf life of your products.

    • For acrylic brushes, you will typically be using a natural hair brush and so the best thing to clean it with is your monomer liquid. Allow the brush to soak in a small amount of monomer within a glass dappen dish while finishing off the clients nails to avoid product setting hard into bristles. Brush cleaners typically use acetone as a main ingredient which will dry out natural brushes and may cause them to close their tight shape but are best used only to remove hardened acrylic. Follow this with use of little soap, rinse then soak for 2 hours in monomer to help the brush reset into shape.
    • For gel brushes, these are typically from synthetic, nylon fibres. Wipe excess gel product off using a lint free wipe and store out of direct sunlight to avoid the product setting hard on the brush. Ideally seek out brushes with an incorporated cap to protect the bristles and prevent exposure to sunlight during storage. Wipe any sticky residue from the handle using the gel cleanser product (inhibition layer remover) but never use this on bristles to avoid drying them out.

    Top tip: Always store brushes in a suitable case to avoid contamination with nail dust or other products but don’t put brushes away until they have fully dried. Reshape brush bristles while still damp.

    Storing your products safely and hygienically is hugely important to not only ensure you are working to professional standards and getting the best from your products, without risking infection for your clients but to also avoid wastage and ensure you are considering COSHH at all times. COSHH stands for control of substances hazardous to health. This includes all nail products such as UV Gel, monomer, acetone, nail prep and dehydrator products and any cleaning products such as brush cleaners, surface sanitisers and chemicals like barbicide.

    • It is important that any chemicals that may be hazardous to health if misused or from accidental contact, or otherwise flammable, are stored in labelled packaging in a locked metal cabinet; with access only by those suitably trained to use.
    • You should also consider the risks of incorrect disposal e.g. never putting chemicals like acetone down the drain. Excess acetone for example should be soaked up using couch roll and then disposed immediately in a sealed bin bag placed directly into a metal bin with lid and placed into suitable salon waste disposal (usually general waste) as soon as possible.
    • Ensure you decant only a small amount of products to be used at a time such as monomer liquid and powders, using a dappen dish to avoid cross-contamination. Never work directly from the product tub. Decanting a small amount also reduces the vapours present from the product when working to avoid breathing issues and/or headaches etc.
    • Return the lids to all products immediately once no longer in use to avoid risk of dust contaminating your products and avoid spillage.
    • Keep all UV activated products such as gel polish away from direct sunlight and always away from your UV lamp when working as exposure will begin the curing process, setting the product hard or at least reducing its efficacy and shelf life.

    Top tip: always use a clean lint free wipe dampened with a very small amount of acetone to clean around the top of UV Gel polish or builder gel bottles / tubs before replacing the lids to keep these airtight, prevent these from setting stuck tight and allowing you to work cleanly from these on next use.

    Key Points…

    • Replace product lids/caps once no longer required
    • Decant only a small amount of product at a time as applicable e.g. never work directly from acrylic powder tubs
    • Always clean brushes once finished using
    • Avoid use of brush cleaners, use monomer for acrylic or gel cleanser for UV Gel before product sets hard
    • Use acetone only to remove hardened product but seek to avoid this where possible with prompt cleaning
    • Store brushes away from nail dust in a case or drawer away from exposure to nail dust / daylight
    • Select the right tools – natural hair brush for acrylic, nylon bristles for UV Gel
    • Reshape bristles while damp and don’t put away until they are dry from cleaning

    Upgrade your Nail Tech skills with our Recognised Online Training Courses, Accredited Fast Track Training or even consider an Internationally Approved VTCT Qualification. Learn more by clicking below…

  • Get the Lighting Right

    Get the Lighting Right

    With the nights drawing into the afternoon as the winter arrives and the busy festive period approaches, it is more important than ever to ensure you have the right lighting on hand as a lash technician to not only ensure your work remains to the highest standard, avoid strain on your eyes but also maximise your working hours to fit in just as many clients. But many lash techs have no clue when it comes to selecting the best lighting set up for their working space. Our blog highlights just what you need…

    Benefits of Great Lighting:

    1. Easier on the eye – less risk of eye strain when working on back to back lash clients
    2. Extend your working hours into the afternoons and evenings, even with darkness falling earlier
    3. Achieve better lash results as you can work more precisely and better check your work
    4. Get better photos of your work for sharing on social media
    5. Look and feel more professional

    What to look for… You are looking for a light which provides;

    • Daylight quality lighting using LEDs to mimic that working by a window feel
    • Flexibility to adjust the light by height or angle to suit your way of working. Goose necked style lamp stems of a reasonable length are best for this.
    • Avoids creating shadows by lighting the whole face, with a suitably sized light splay
    • Functionality to adjust the light level intensity and with easy on/off controls within reach when working
    • Portability if you intend to work mobile, ideally one with a folding or collapsible stand. Always look for one with a travel bag option for safety and ease of carrying.
    • Ring lights with a great splay of light but can be bulky to work beneath and difficult to correctly position to fully light the face. Make up lights tend to be better for upright, static use and often lack the functionality to alter the intensity of light for different working conditions. This is where GlamCor lights or similar come into their own.

    Our Recommendations…

    GlamCor lighting has always been hard to beat in terms of the incredible quality and their reputation amongst lash techs. Their lights come in at around £175 for the most popular Classic Elite light. As another great rival, we absolutely love the lights provided by Lash Base. Two great options are their Lash Pro Light or Lash Pro Ring Light. Both coming in at around £140, they may not be the cheapest on the market however they are well made, will last you far longer than a cheaper alternative and will allow you to achieve excellent results.

    Not already living the dream and working as a lash technician? (Why ever not…?) An existing technician and want to further develop your lashing skills? Our fully insurable lash courses start from only £99 and allow you to begin earning up to £50 an hour as a Lash Technician. Discover the options below…

  • How to Troubleshoot the Most Common Problems with Nail Extensions

    How to Troubleshoot the Most Common Problems with Nail Extensions

    Issues with nail extensions lifting or coming off prematurely as usually down to a number of specific reasons linked to incorrect application or improper home care by the client following application. We discuss the most common problems nail technicians will see and how to resolve here:

    Nails are too thick when finished:

    Ensure you apply UV Gel in thin coats, using no more than 3 layers of the UV Gel.

    When applying Acrylic, ensure you follow the ‘3 Zone Application Technique’ to ensure you are correctly shaping the nails, with a correctly positioned apex (stress point) and avoid applying too big a bead of acrylic with each zone as this will leave the nails too thick as the acrylic dries.

    Client reports nails are lifting from base of the nail, by the cuticles:

    This usually indicates that the prep stage of application was not thorough enough.

    It may that eponychium was left on the nail plate, nails were not dehydrated with a bonder or dehydrator product before applying Gel or Acrylic product, or that moisture was trapped in the nails when the extensions were applied (do not soak nails before applying extensions).

    Client reports nail extensions are ‘popping off’:

    This can be caused by a number of things. Most commonly, the nail tip that has been selected and applied is too small which means the nail tip is flattened when glued to the nail and works against the natural curve of the nails. This means the tip can snap or come away when put under any kind of pressure.

    It may also be due to air bubbles then the glue was applied to the tip, which does not give a secure bond.

    Alternatively the UV Gel or Acrylic product may have been applied too thickly which limits the nails ability to flex under normal conditions and pressure.

    Also check where you have made the ‘curvature’ or apex point and ensure it is correctly placed to allow the extension to endure reasonable pressure. As a guide, when you press on the free edge of each nail; the nail bed area that turns white indicates where your apex should be positioned (thickest part of your product).

    Nails are just not lasting for one specific client:

    Review their consultation – check they do not have any conditions which affect hormones like pregnancy or menopause, that they are not taking anti-depressants, that they do not spend prolonged periods in hot water such as washing up or long baths, that they don’t use calcium-removing or glass cleaning products at work (e.g. hospital or catering work).

    Harsh treatment of nails such as those who engage in racket sports, gardening, outdoor pursuits etc. Those who are nail biters. Using nails as tools and not jewels.

    Lifestyle, medical factors and improper following of homecare advice are the most common reasons for poor longevity of nails and lifting of extensions. If it is just particular clients having issues, this suggests one of these reasons are to blame. Review their consultation, issue home care in writing and reduce the time between treatments so they are having more regular maintenance to keep nails healthy.

    If numerous clients are having similar issues, try to identify a pattern with the products used and check your techniques, especially the preparation stage is correct.

    Client regularly experiences lifting of several nails within days of their period:

    Some clients are very sensitive to hormonal changes and these changes can cause an increase in sebum production in the skin and nails, which can cause lifting to nail extensions.

    Such clients are advised to have more regular maintenance perhaps timed around their menstrual cycle.

    It is also common in pregnancy and menopause to find nails may lift due to having softer or more oily nail plates. Using a bonder / primer during the application stage can help with retention but can dry out nails over time so daily use of cuticle oil is recommended for these clients. Also they will require shorter maintenance intervals i.e., no longer than 2-3 weeks between treatments.

    Alternatively suggest overlay treatments on natural nails (no false tip) or gel polish to encourage healthy natural nail growth, rather than nail extensions to help them achieve stronger nails with results lasting longer.

    The client has entirely lost or broken a nail extension such as index finger and injured the natural nail underneath:

    This is usually caused by an extreme knock or damage to the nails.

    Ask the client if they are using the nails as ‘tools and not jewels’, using the nails to open things such as ring pulls on cans can cause too much pressure on the nail extension and cause breakage or lifting from the cuticle area with the tell-tale lifted natural nail plate layers from the apex area down to free edge. This is a clear sign the breakage was down to force on the nail.

    Advise the client to use the end of a spoon to open ring pulls etc., and never use the nails to pick at anything such as labels.

    Also on future treatments, suggest finishing nails to a shorter length for the client as this is most common when the nails are too long for the client’s lifestyle. Consider reducing time between maintenance appointments too to rebalance regrowth and reposition the apex as required sooner.

    It can also be a sign that the client has very weak natural nails. Acrylic is a much harder adhering system than UV Gel generally speaking, which tends to have somewhat greater flexibility and a more gentle adhesion to the natural nail (usually resulting in less damage if the client does damage a nail).

    Recommend the client have the extensions removed and natural nail services only such as nail overlay (no false tip) such as builder gel in a bottle or gel polish until the nails are healed. Do not work on any cut or bruised nails. Encourage the client to use cuticle oil daily to improve nail flexibility and skin/nail condition.

    If the client has severely injured a nail extension and the natural nail:

    If the client has fractured the extension (a split horizontally across the nail plate/extension), this may cause pain and/or unstabilise the extension risking further nail damage. It is usually caused by a severe knock or blow to the nails, such as trapping the nail in a door.

    Ensure the client returns to you ASAP to assess the damage. Advise the client to keep the wounded clean, apply some colour-less iodine if an open wound and keep covered with a sterile dressing or micropore tape, but not a plaster as these can trap moisture and encourage bacterial infections to develop. If there are any signs of bleeding, swelling or infection, do not touch the enhancement until it is healed, otherwise you could end up causing further damage or even infection. If no signs of open wound or once wound has sufficiently healed, remove all traces of the nail extension and check the natural nail underneath for any further problems. Refer them to a medical professional if you are concerned.

    A client regularly suffers breaks to the nails:

    The most common reason for the breaking or tearing of artificial nails is that the customer hits the nail too hard or puts the nail under pressure to open something. In practice, clients often say they do not know how the nail was broken. The “nothing happened, I just saw the nail was gone”. In this situation, inspect how the nail is broken.

    If the nail has broken at the apex with a snapped free edge, the nail will have impacted directly with some form of surface. If the nail has lifted off at the cuticle or apex then the nail was placed under excessive pressure. Fortunately these problems can be easily solved; first by filing and/or soaking away the remainder of the artificial nail, and then applying a new extension to the nail.

    If this is a regular occurrence, check the health of the client’s nails. They may have soft or damaged nail plates that cannot hold a further extension and may need a ‘nail break’. Offer overlay (no tip) or gel polish services while nails recover. Alternatively for regular ‘nail breakers’, provide the client with their home care in writing and begin making an appointment charge for any nail repairs, rather than a ‘per nail’ charge which many nail techs offer. This will help deter those who fail to follow homecare.

    How to handle nail breaks:

    Some nail technicians will offer the first repair free of charge and just charge for any subsequent repairs ‘per nail’ (which should be a rare occurrence) until the next maintenance treatment.

    Other nail technicians might charge per nail to be repaired but then offset this repair charge as a discount against their next maintenance treatment which ensures they continue to rebook with you for nail services.

    If you have regular ‘nail breakers’ you might wish to charge a minimum appointment fee, rather than fee per nail to cover your time and cosAlternatively you may just bring the client’s regular maintenance appointment forward repairing any broken nails and rebalancing all other nails at the same time to ensure they nail extensions continue to grow out at the same rate. This avoids additional repair costs for your clients.

    Provided you handle the customer experience positively by asking how they experienced the break or when they became aware of it, you can then tailor advice to help them protect against future nail breaks.

    How often should maintenance be given:

    Clients should ideally return to have the regrowth section infilled every 2-3 weeks. Some clients may be able to have a longer duration between maintenance treatments, however a greater level of maintenance will be required if clients return only every 4-6 weeks as you will need to also rebalance the stress point of the nails and infill the regrowth area. This costs you longer in time and product as a nail technician so you may wish to have two prices depending on whether an in-fill (2-3 weeks) or rebalance (3-6 weeks). Clients who do not have regular maintenance risk damage to the extensions and therefore potentially damage to their natural nails.

    Clients must agree to commit to the maintenance involved with extensions and should be booked in for a maintenance appointment before the leave their first appointment to ensure this is adhered to. It is not recommended to continue to offer nail extension treatments to clients who cannot commit to the time or cost of regular appointments.

    Those who simply want occasional or less frequent appointments may be recommended to natural nail treatments. Gel Polish will still grow out after 2-3 weeks however is unlikely to damage nails if left for longer durations than extensions and may be a suitable alternative provided it is removed correctly. You could consider retailing a home removal kit for Gel Polish for such clients.

    Looking to Qualify as an Accredited Nail Technician?

    We offer both ABT Accredited Classroom Courses available on a fast track basis across our 10 training centres nationwide. Courses from Only £199!

    Alternatively you can study conveniently from home and flexibly around other commitments with our IPHM Accredited Online Courses from Only £99!

    First published 10th March 2016. Updated 3rd August 2023.