


How-To guides
Step-by-step techniques, troubleshooting, aftercare and tool tips.
-
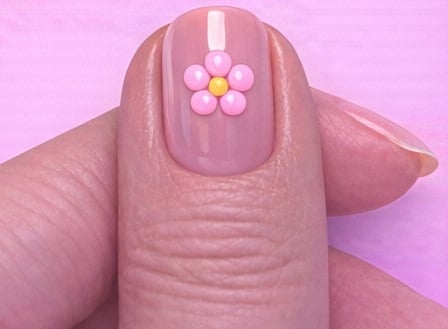
Simple Nail Art to Adore this Mother’s Day – How To
Our fabulous tutor Karen who teaches at our Birmingham Academy has put together this beautiful, quick and simple nail art design that is so effective and a great add-on for your nail client’s this Mother’s Day, even perfect for Spring! Or maybe pamper yourself, just to get people talking and give a great opportunity to convert someone you meet into a new nail client!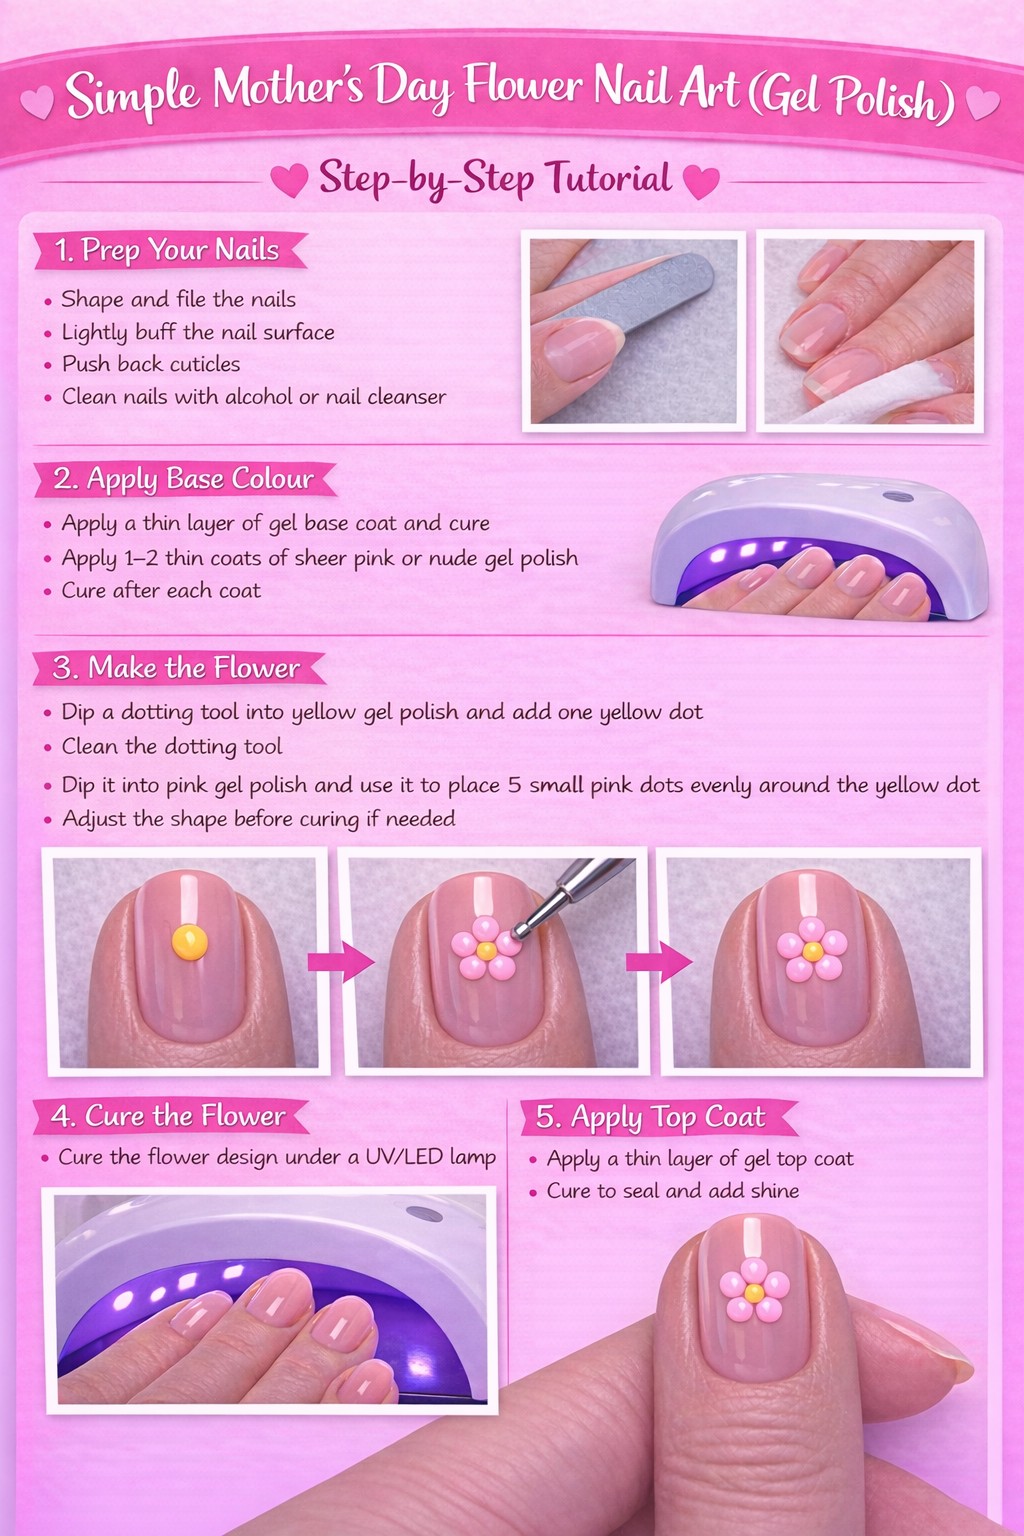
-
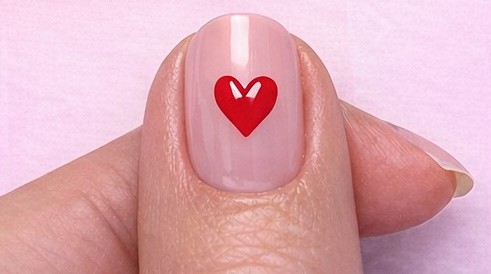
Nail Art to Love… Valentine’s Nail Design How-To
Our esteemed beauty tutor Karen who teaches at our Birmingham Academy has put together this beautiful, quick and simple nail art design that is so effective and a great add-on for your nail client’s in the run up to Valentine’s Day. Even for your own nails, just to get people talking and give a great opportunity to convert someone you meet into a new nail client!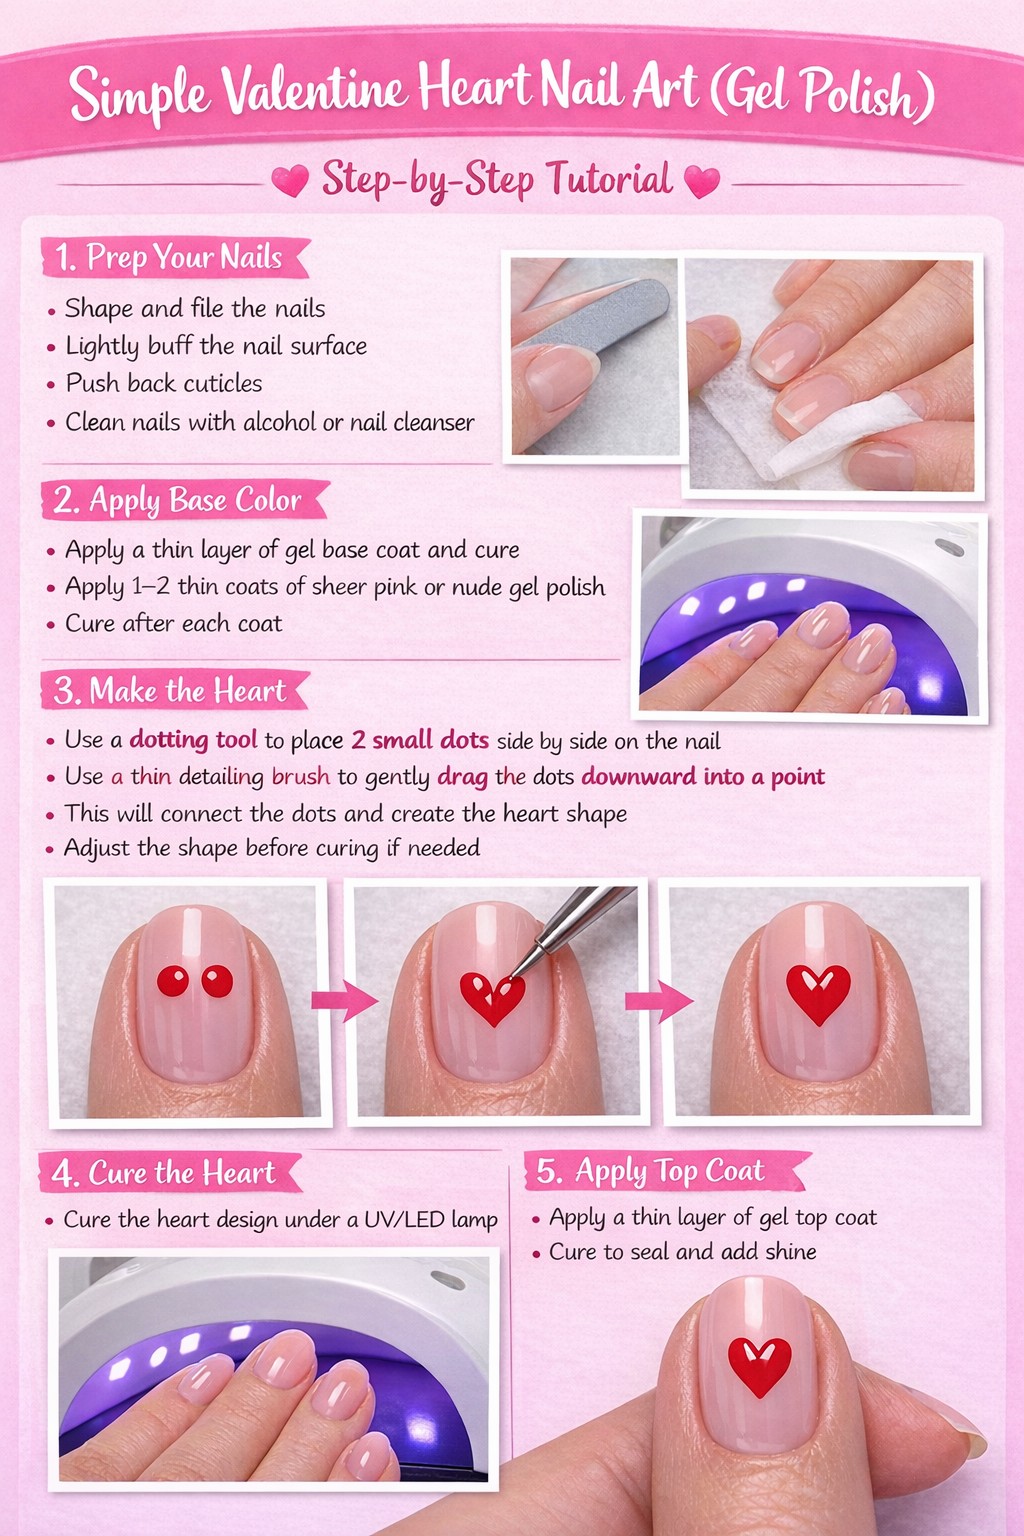
Inspired? Learn nail art skills with our accredited online courses…
-
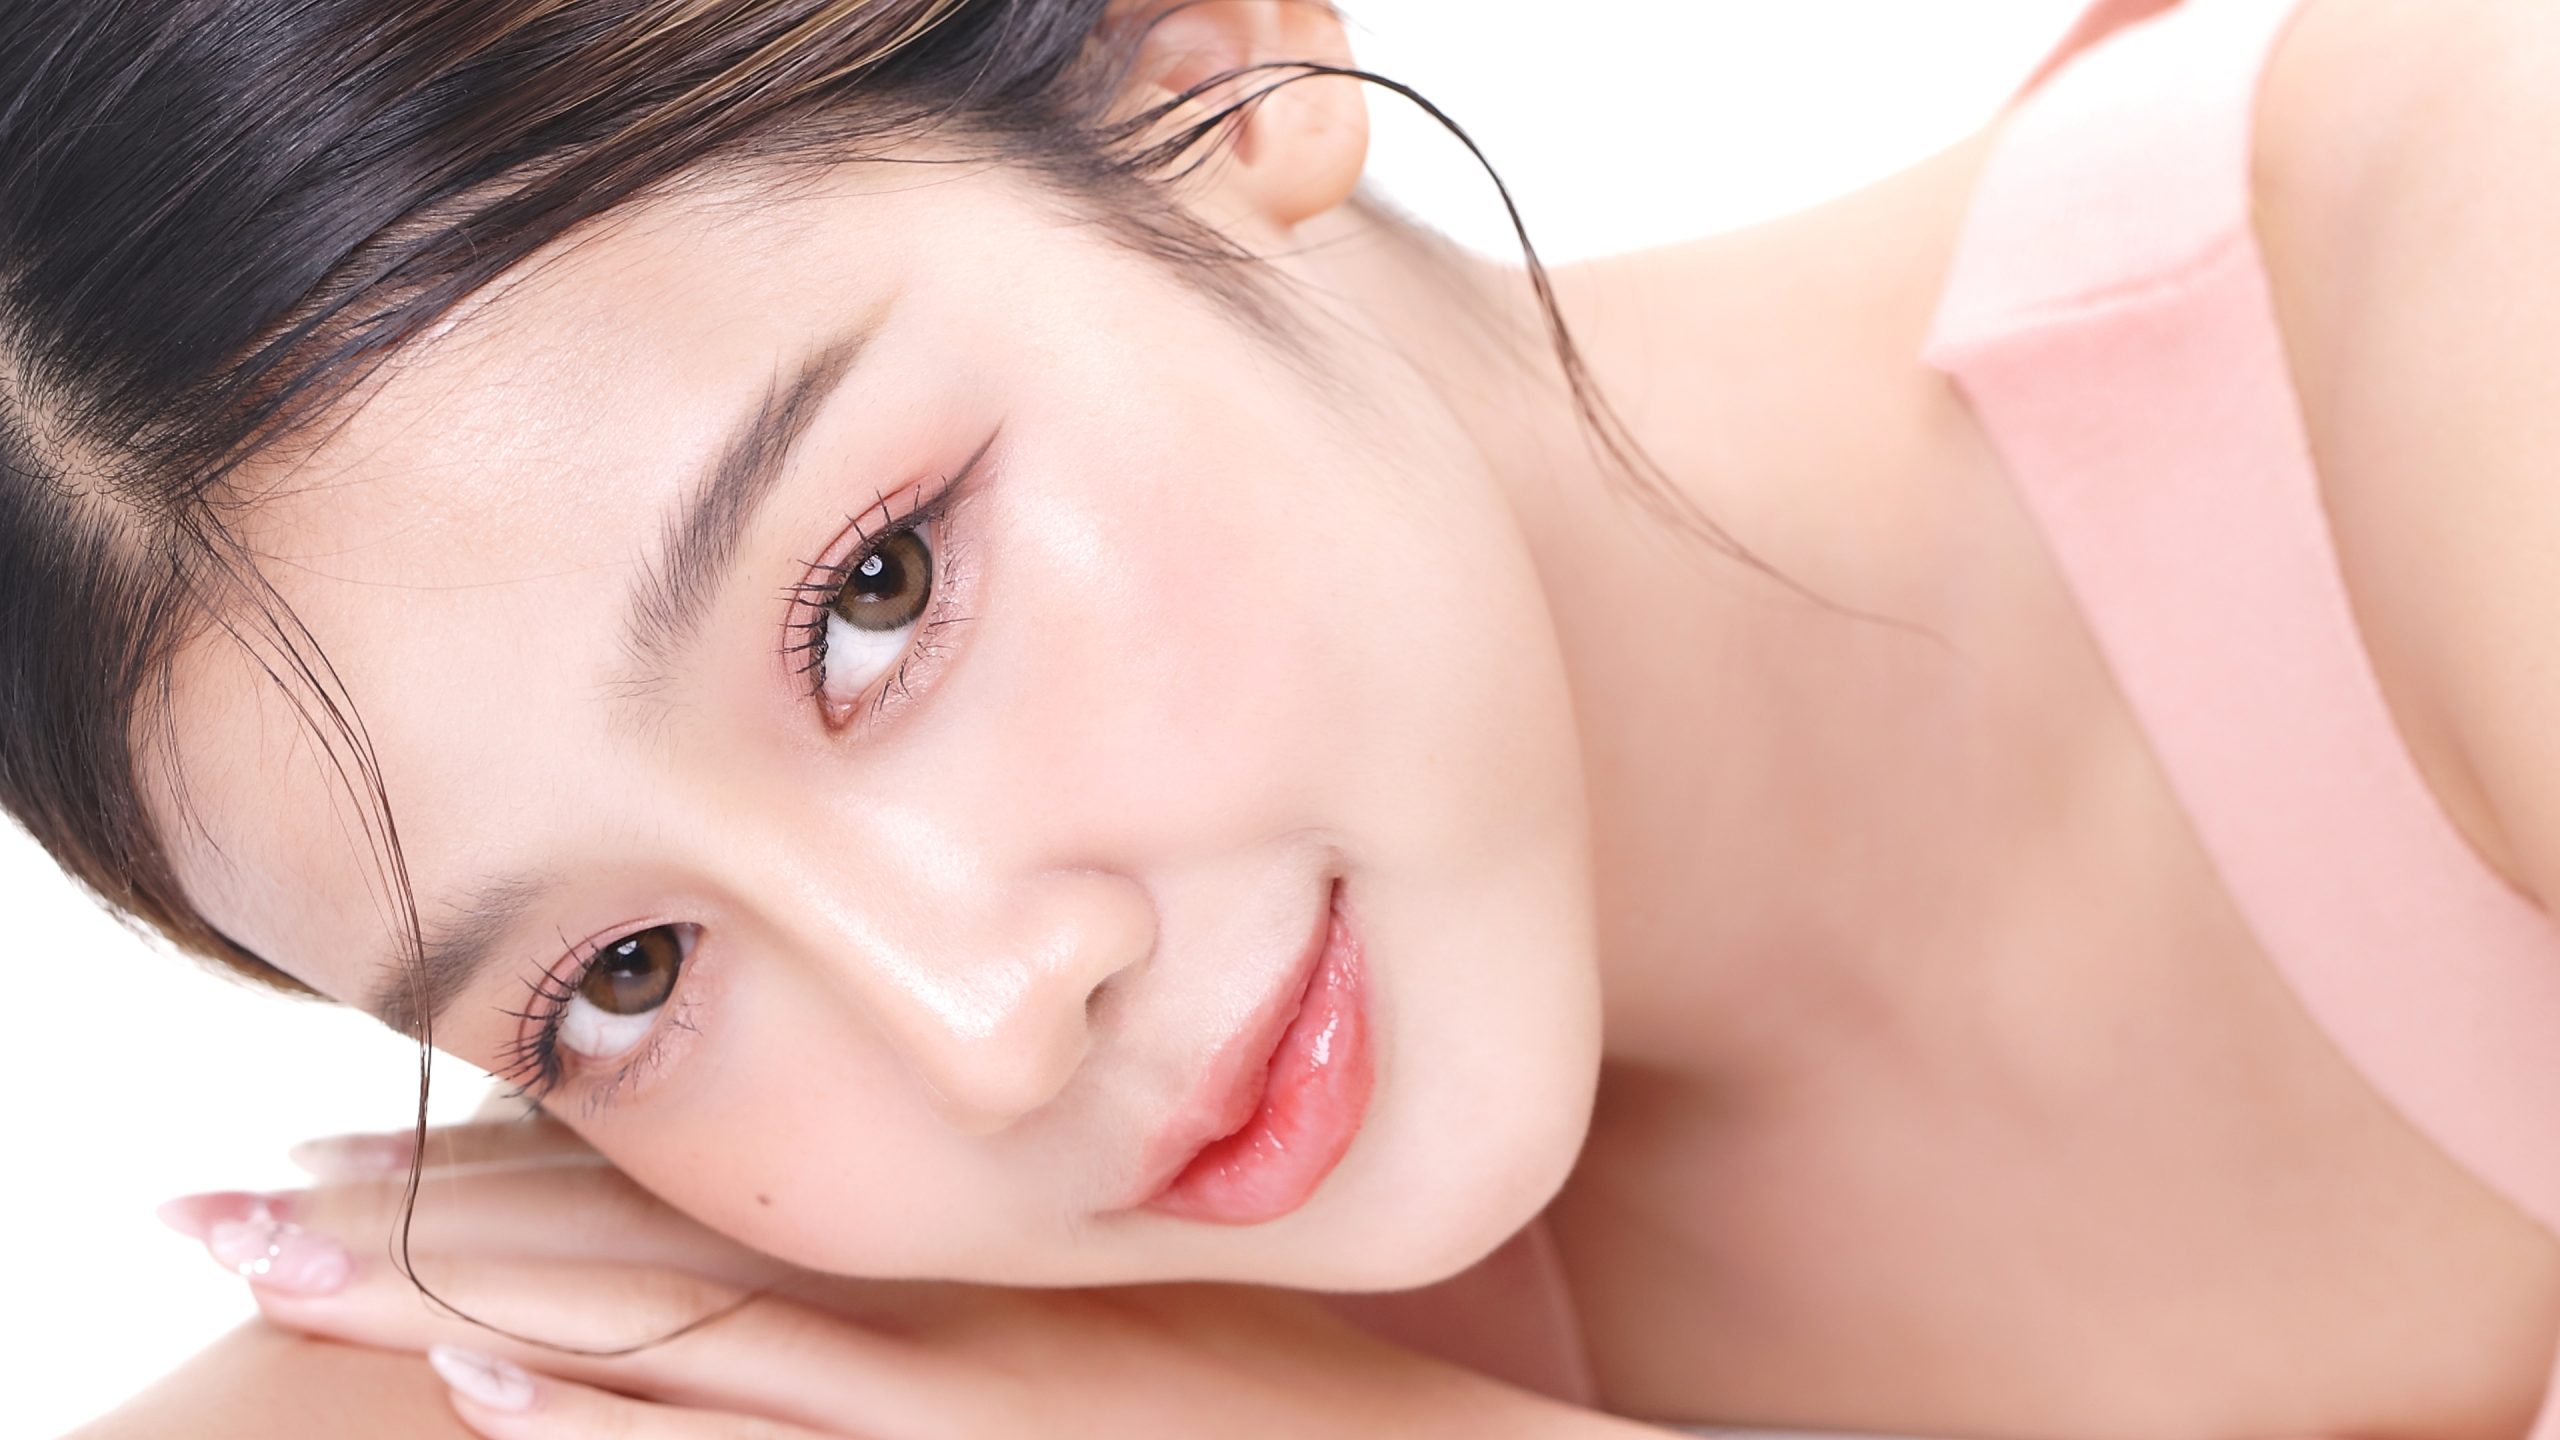
How to achieve Glass Skin?
Glass skin is everywhere right now as clients seek to achieve a fresh, ‘better than natural’ aesthetic. The glass skin trend evolved in the K-beauty scene deriving from Korea. It refers to skin that is smooth, flawless and luminous with a sheen that literally resembles glass. The look is achieved through a skincare regime that prioritises intense hydration, exfoliation, and nourishment to create a radiant, pore-less finish that appears as refined and reflective as glass. Many people opt to go make up free once they have achieve the glass skin look for their skin to help maintain the clarity of their skin. Note that creating the full translucence and refinement of the skin this look requires, also requires clients to be healthy from within both in their water intake, diet and lifestyle choices. Now let’s look at how to begin achieving this look…Step 1: identifying your skin type and condition
This is vital to ensuring the products you are using will meet the needs of your skin. Skin can only be perfected when the products used remedy the concerns or provide the support the skin requires to look and feel its best. For example if you have dehydrated skin, this is down to a lack of water but this can cause the skin to overproduce sebum to compensate so understanding this will help you pick products with the right formulation and active ingredients to effectively hydrate your skin,
Step 2: Cleansing
You want to be using a cleanser formulated for your skin type. Oil or gel cleansers work well as part of a glass skin regime as they effectively remove environmental pollutants from the pores but don’t strip the skin’s natural oils when used daily. A double cleanse (cleansing your face twice) works best for thoroughly cleaning the skin. For your second cleanse, a foaming cleanser such as CeraVe Foaming Facial Cleanser works well.
Step 3: Exfoliation
Exfoliation helps remove dead skin cells and blockages from the pores, revealing the newer, more radiant skin cells beneath. This also allows moisturising products to be better absorbed. To avoid irritation or creating tightness in the skin, it is recommended to exfoliate only once or twice per week. Use a gentle chemical exfoliator such as Neogen Dermalogy Real Cica Pad.
Step 4: Use a Toner
Toners help to reduce pore size, restore the pH (acid mantle) of the skin after cleansing to avoid irritation or tightness of the skin. They also help further products such as serums to be better absorbed. Avoid toners containing alcohol or witch hazel to avoid drying out the skin, which is the opposite of what the glass facial seeks to achieve.
Step 5: Try an Essence
Essence products are water-based products that add moisture to the skin. They are becoming popular with the K-beauty trendsetters as they deliver potent ingredients to the skin for anti aging, hydrating, healing and soothing properties that make them suitable for almost all skin types. One product well recommended is Then I Met You The Giving Essence.
Step 6: Hydrate with Serums
This step is about applying serums tailored to your specific skin needs to actively improve the skin’s condition and appearance through greater hydration. Serums containing Vitamin C, Vitamin E, and Hyaluronic Acid will all be effectively absorbed by skin that has now been thoroughly cleansed and exfoliated. Some products have been formulated to combine the most useful active ingredients such as Peach & Lily’s Glass Skin Refining Serum which is great for oily or acne prone skin, whereas The Ordinary 100% Plant-Derived Squalane is a natural oil that is greater for drier skin types.
Step 7: Lock in moisture with a moisturiser with SPF
Seal in the benefits of your chosen serum or oil, using a high quality moisturiser. One product highly recommended for glass skin results is Origins GinZing Energy-Boosting Gel Moisturiser as it is quickly absorbed into skin but leaves it feeling supple without any sticky or oily residue. Moisturisers which contain SPF benefits are great as an all-rounder to also help protect skin from the effects of sun damage, otherwise be sure to apply an SPF with a protection factor of 15 or above at least once daily.
Step 8: Weekly Maintenance with Masks
Once a week you want to use an exfoliating mask such as one formulated with 10% glycolic acid and around 1% salicylic acid. Alternatively a clay mask works well to deeply cleanse the skin. This works well for those prone to oilier skin or blemishes, but is equally kind to dry or sensitive skin to shed dead skin cells and keep the skin feeling smooth. You’ll also want to follow this with a once weekly hydrating face sheet mask such as Original Glow Sheet Mask is great to leave skin feeling plumped, fresh and radiant.
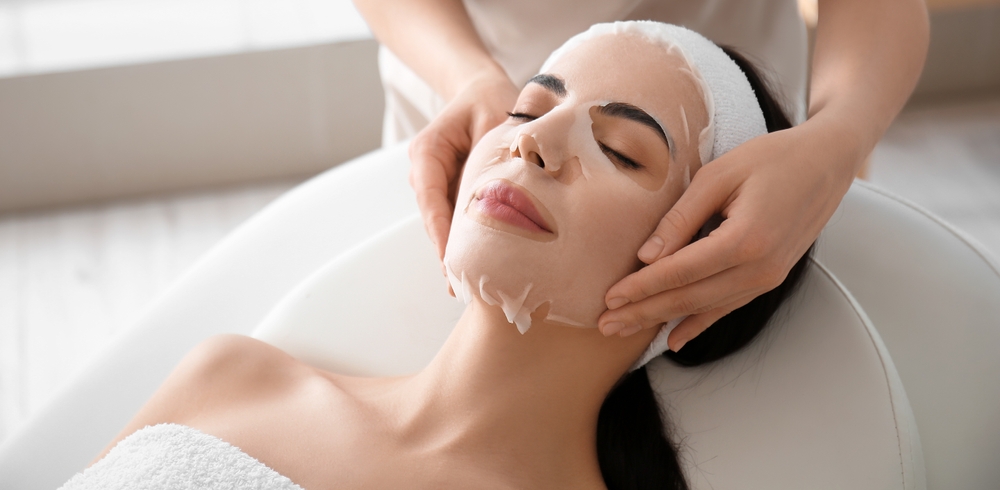
Natural steps to achieve glass skin from the inside out include:
- Avoid excessive sun exposure.
- Eat blueberries which are high in anthocyanins which are high in antioxidants and avocados which are high in oleic acid which are a healthy fat that helps fight inflammation. Eating cold water fish such as salmon or tuna which are high in Omega-3 fatty acids are also great for maintaining healthy skin.
- Drinking plenty of water and avoiding alcohol, caffeine, smoking and environmental pollution will also help keep skin looking its best.
- Regular sleep is essential for skin renewal and avoiding dull skin or dark circles undereye.
Learn the essential skills to work in skincare, providing therapeutic treatments to your clients (and earning up to £100 per treatment) with our Accredited Courses…
-
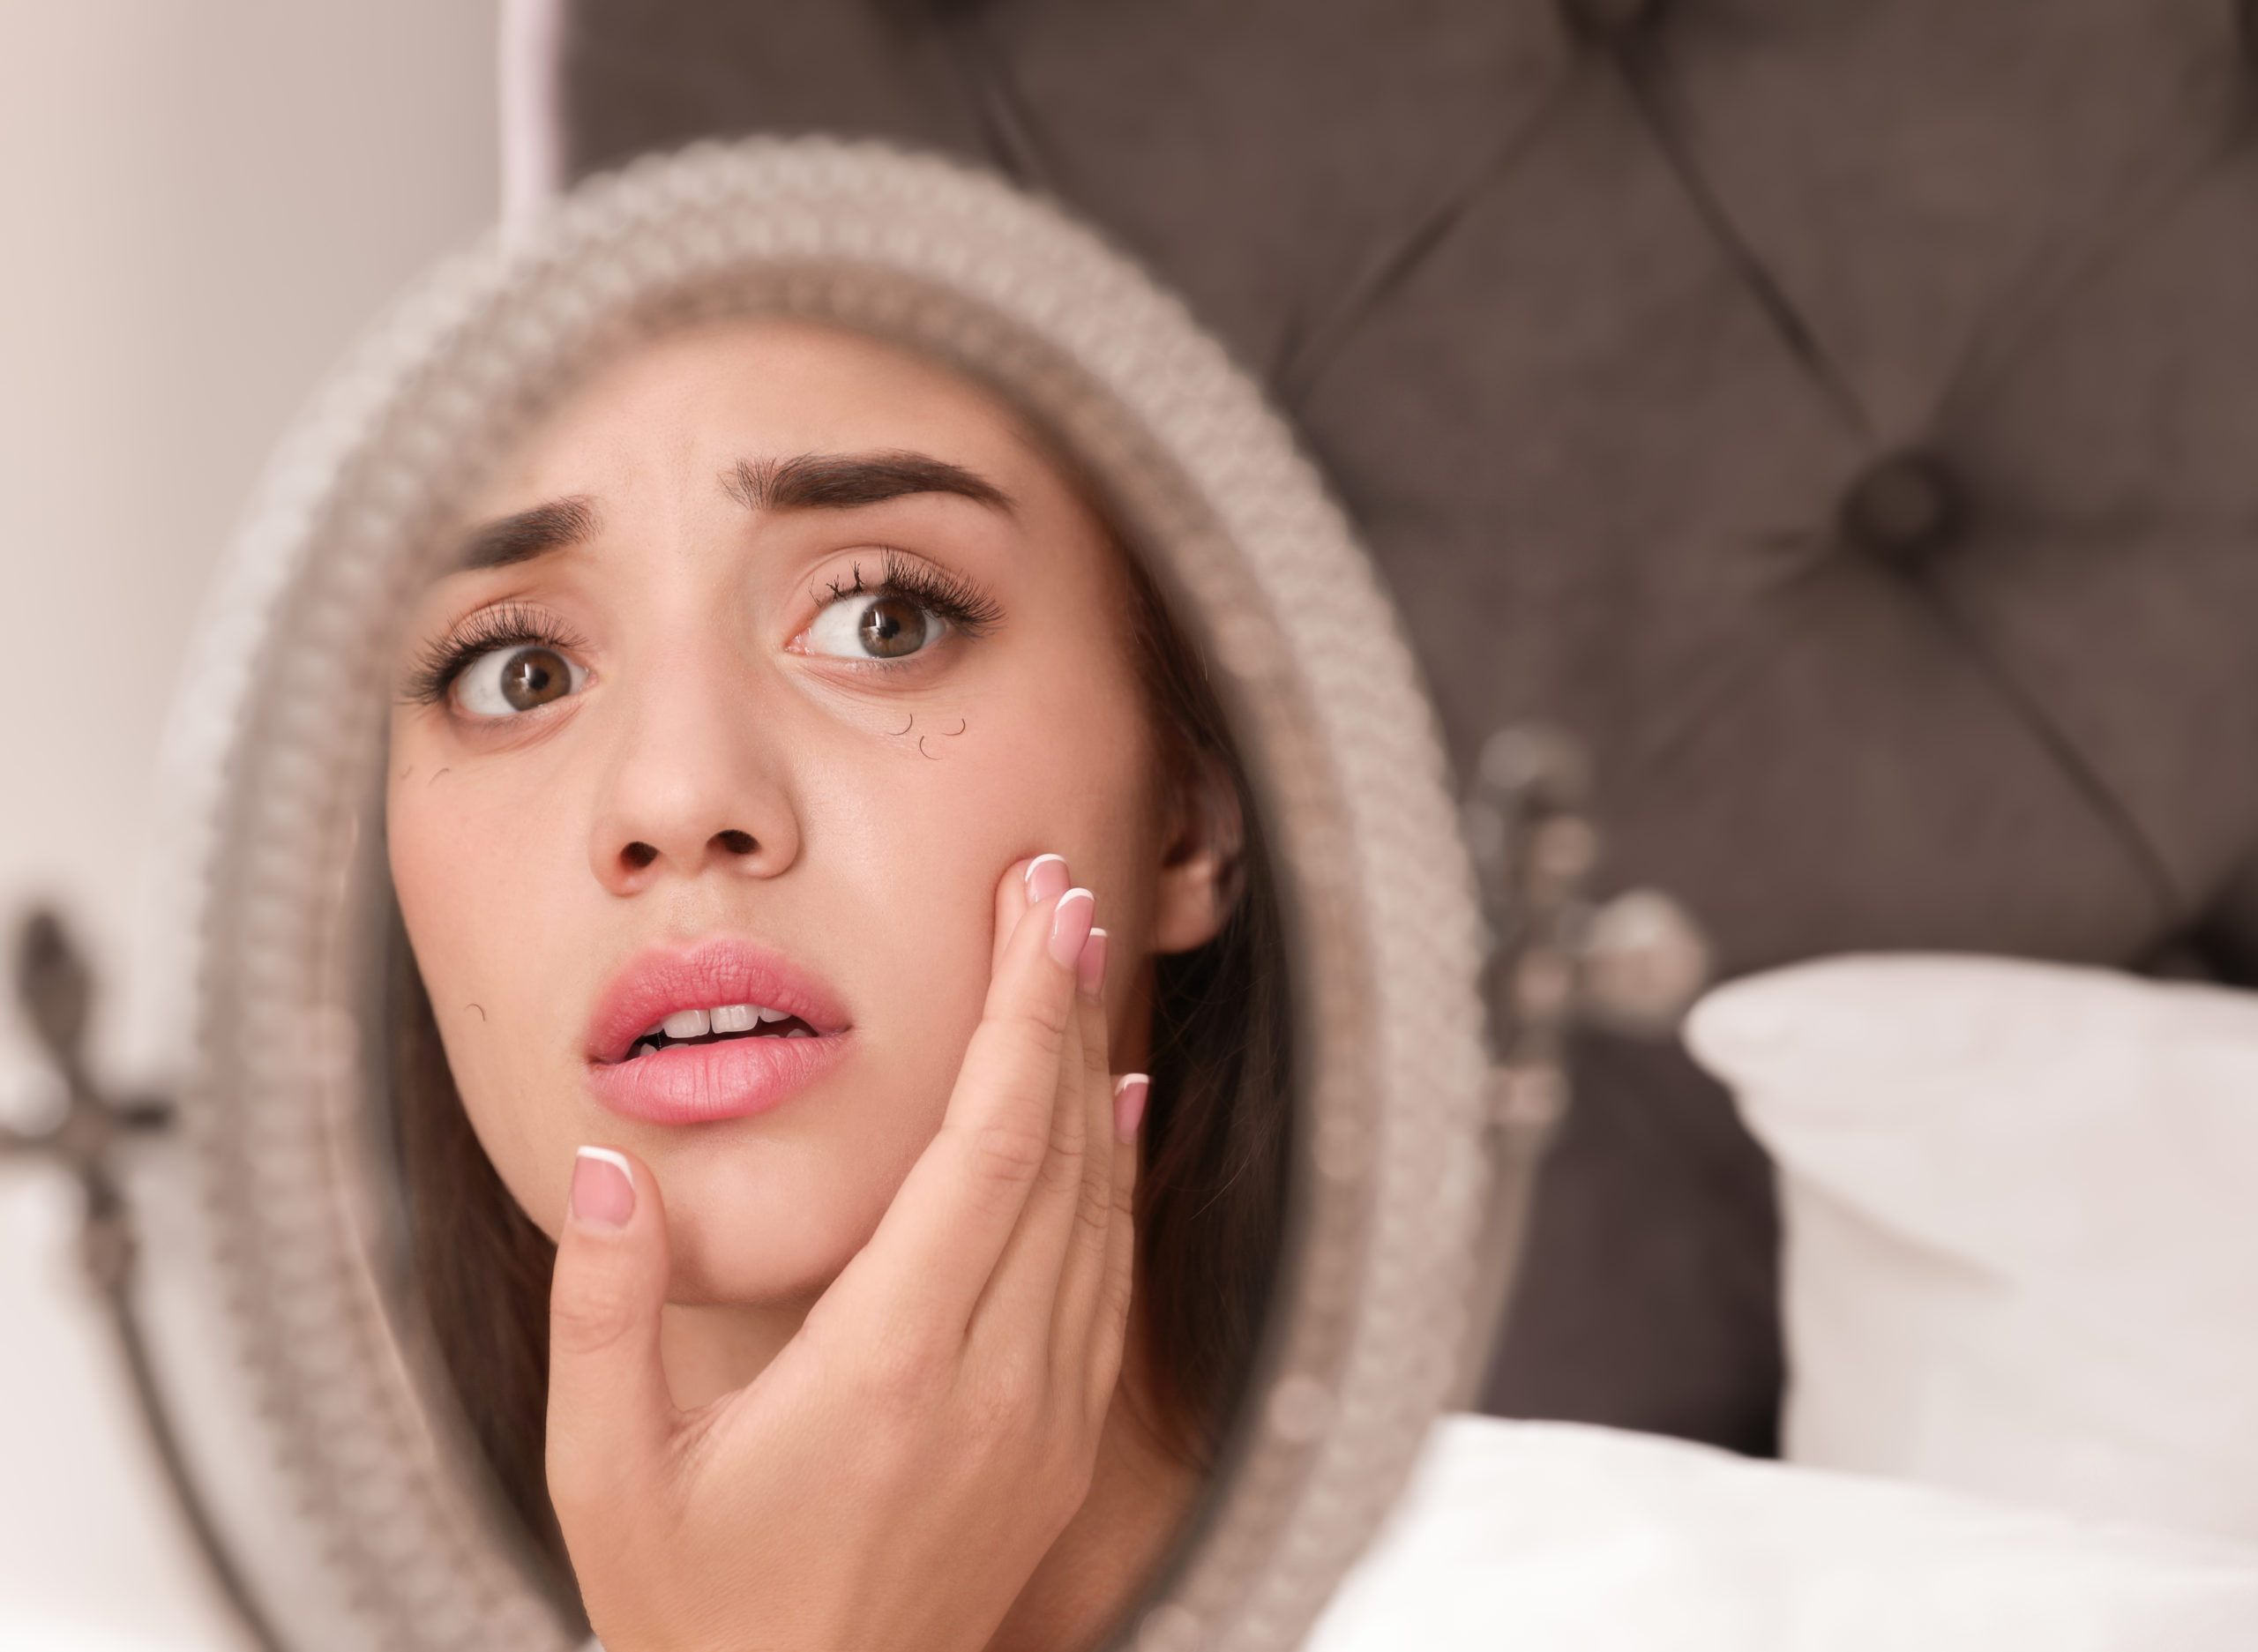
Ingredients to avoid with Lash Extensions

As a Lash Tech we appreciate it can be frustrating having clients return for an infill only to find a few hairs have stuck around! Often these clients require additional information on how to promote the longevity of their lashes. Many of their skin care and make up products could be unknowingly causing their lashes to fall out sooner than expected due to their ingredients. In today’s blog we’re looking at the main ingredients to avoid to maintain the longevity of your clients lashes.

Waterproof make up
There are two issues with waterproof make up and Lash extensions, the first is that may long-stay or waterproof products contain oils which over time break down the bonds within the glue and cause the lashes to fall out. The second problem is that they are very hard to cleanse off, which would require the client to either use an alcohol or oil based product which can have a negative impact on lashes. It may also lead to clients picking and rubbing the product which will add to premature lash loss.
Instead of waterproof make up we suggest using a non-waterproof make up and a lash friendly cleanser and to always use a lash shampoo to maintain their lashes at home.

Oil based products
Oil based products are perhaps the biggest culprit for lash loss. Lash glues contain ingredients that are easily broken down when exposed to oils, oils break down the bonds needed to maintain the effectiveness of the glue. Encourage your clients to check their cleansers, moisturisers and serums for oil based ingredients and avoid using these around the eyes.
What about using oil to remove lashes? This is a question that comes up regularly and although oils dissolve the bonds of the glue we wouldn’t suggest using at home oils such as baby oil to remove lashes, this is because they aren’t affective enough to remove all of the adhesive. Always suggest that they have their lashes professionally removed to ensure all product is taken away.

Alcohol
Another common ingredient in the skin care industry, alcohol is extremely drying to the skin and lashes. It will often be listed as Isopropyl Alcohol or Isopropyl Myristate, encourage client to check their skincare products as the drier their natural lashes the less retention they will have.
-
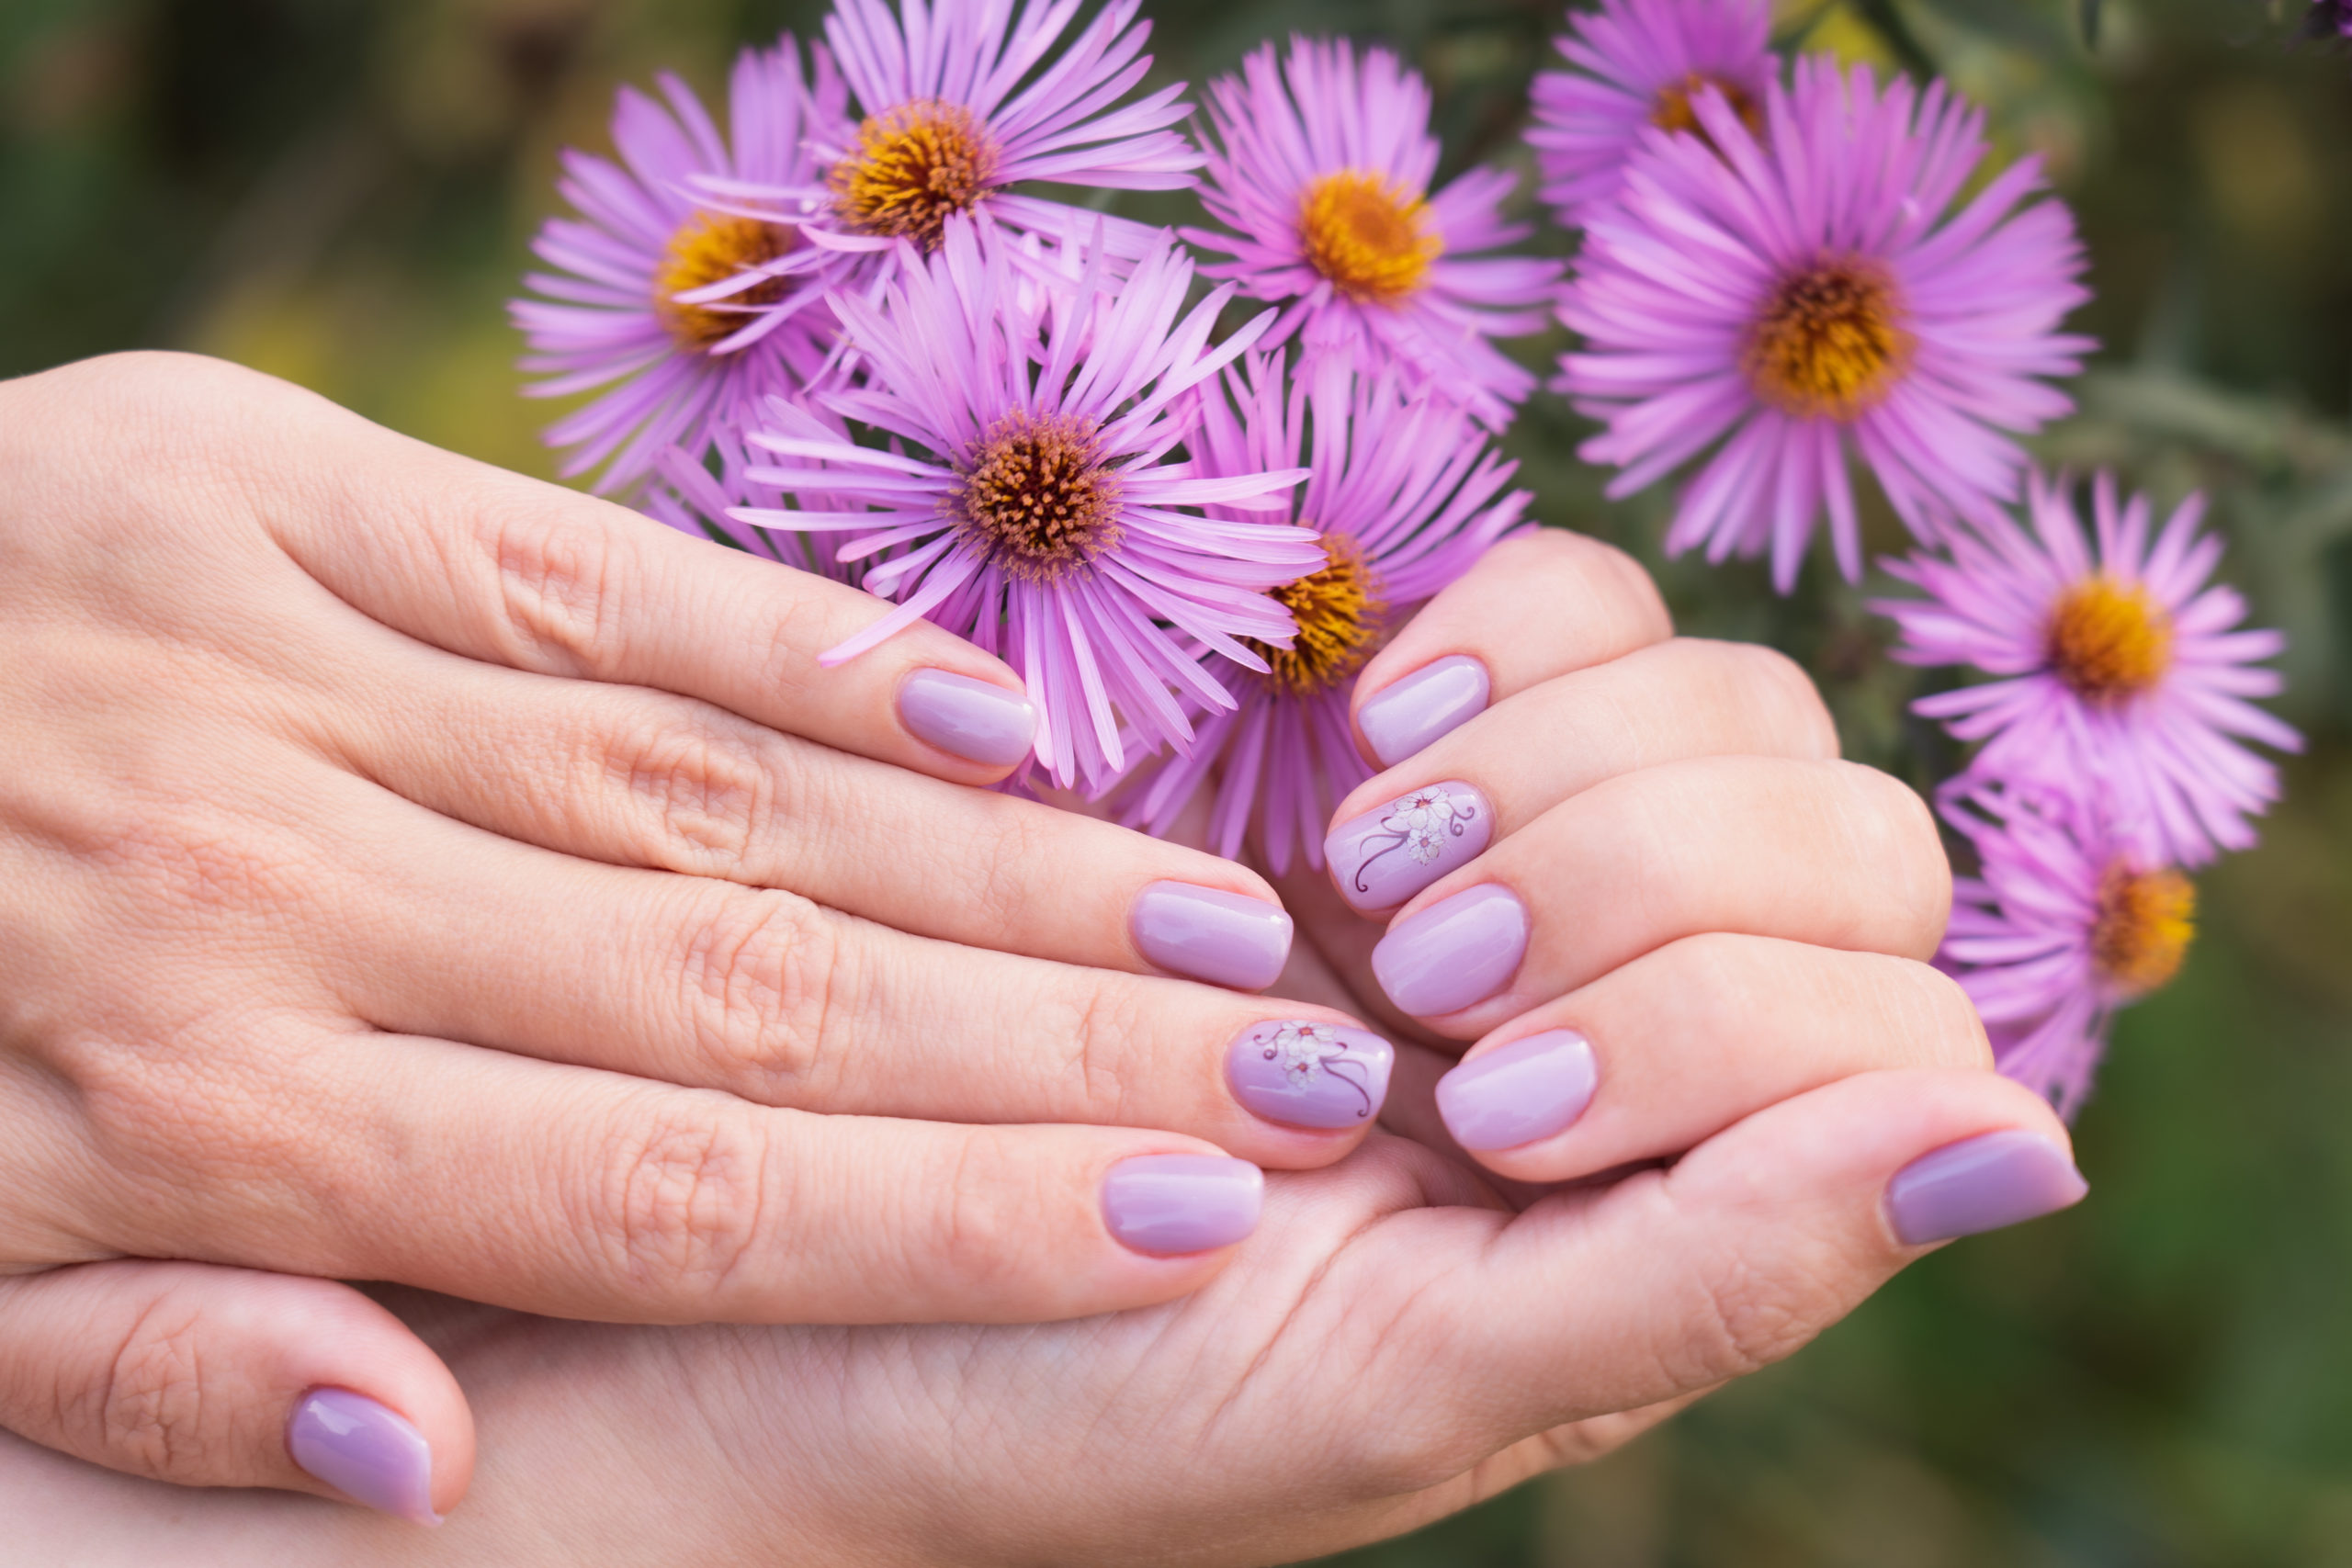
Can I use Stickers with Gel Polish?

Noticed an increase in floral nails on your social feeds over the last few weeks? You may be part of the lucky few holding the skills (and patience!) to freehand these intricate designs, if freehand painting is something you’re still practicing there is a simpler and faster technique to achieve this sort-after spring look! In this weeks blog were taking a look at our quick guide for incorporating stickers into your Gel Polish treatments.
What will I need?
- Nail file and cuticle tools
- Lint free wipes
- Acetone and dehydrator
- UV/LED lamp
- Gel base and top coat
- Gel colours of your choice
- Tweezers
- Nail Stickers
- Cuticle oil
Step by Step
- Prep the nails
- Apply Base coat and cure
- Apply a single layer of your chosen base colour and cure
- Apply another layer of your base colour and cure
- Using your tweezers delicately apply the nail sticker to the nail, being careful to press down lightly to avoid denting the last layer. Remember at the stage the nail will have a tacky residue, ensure you apply accurately as you wont be able to remove the sticker and try again!
- Finish with application of top coat, curing and don’t forget the Cuticle Oil!
In need of some inspiration?


-
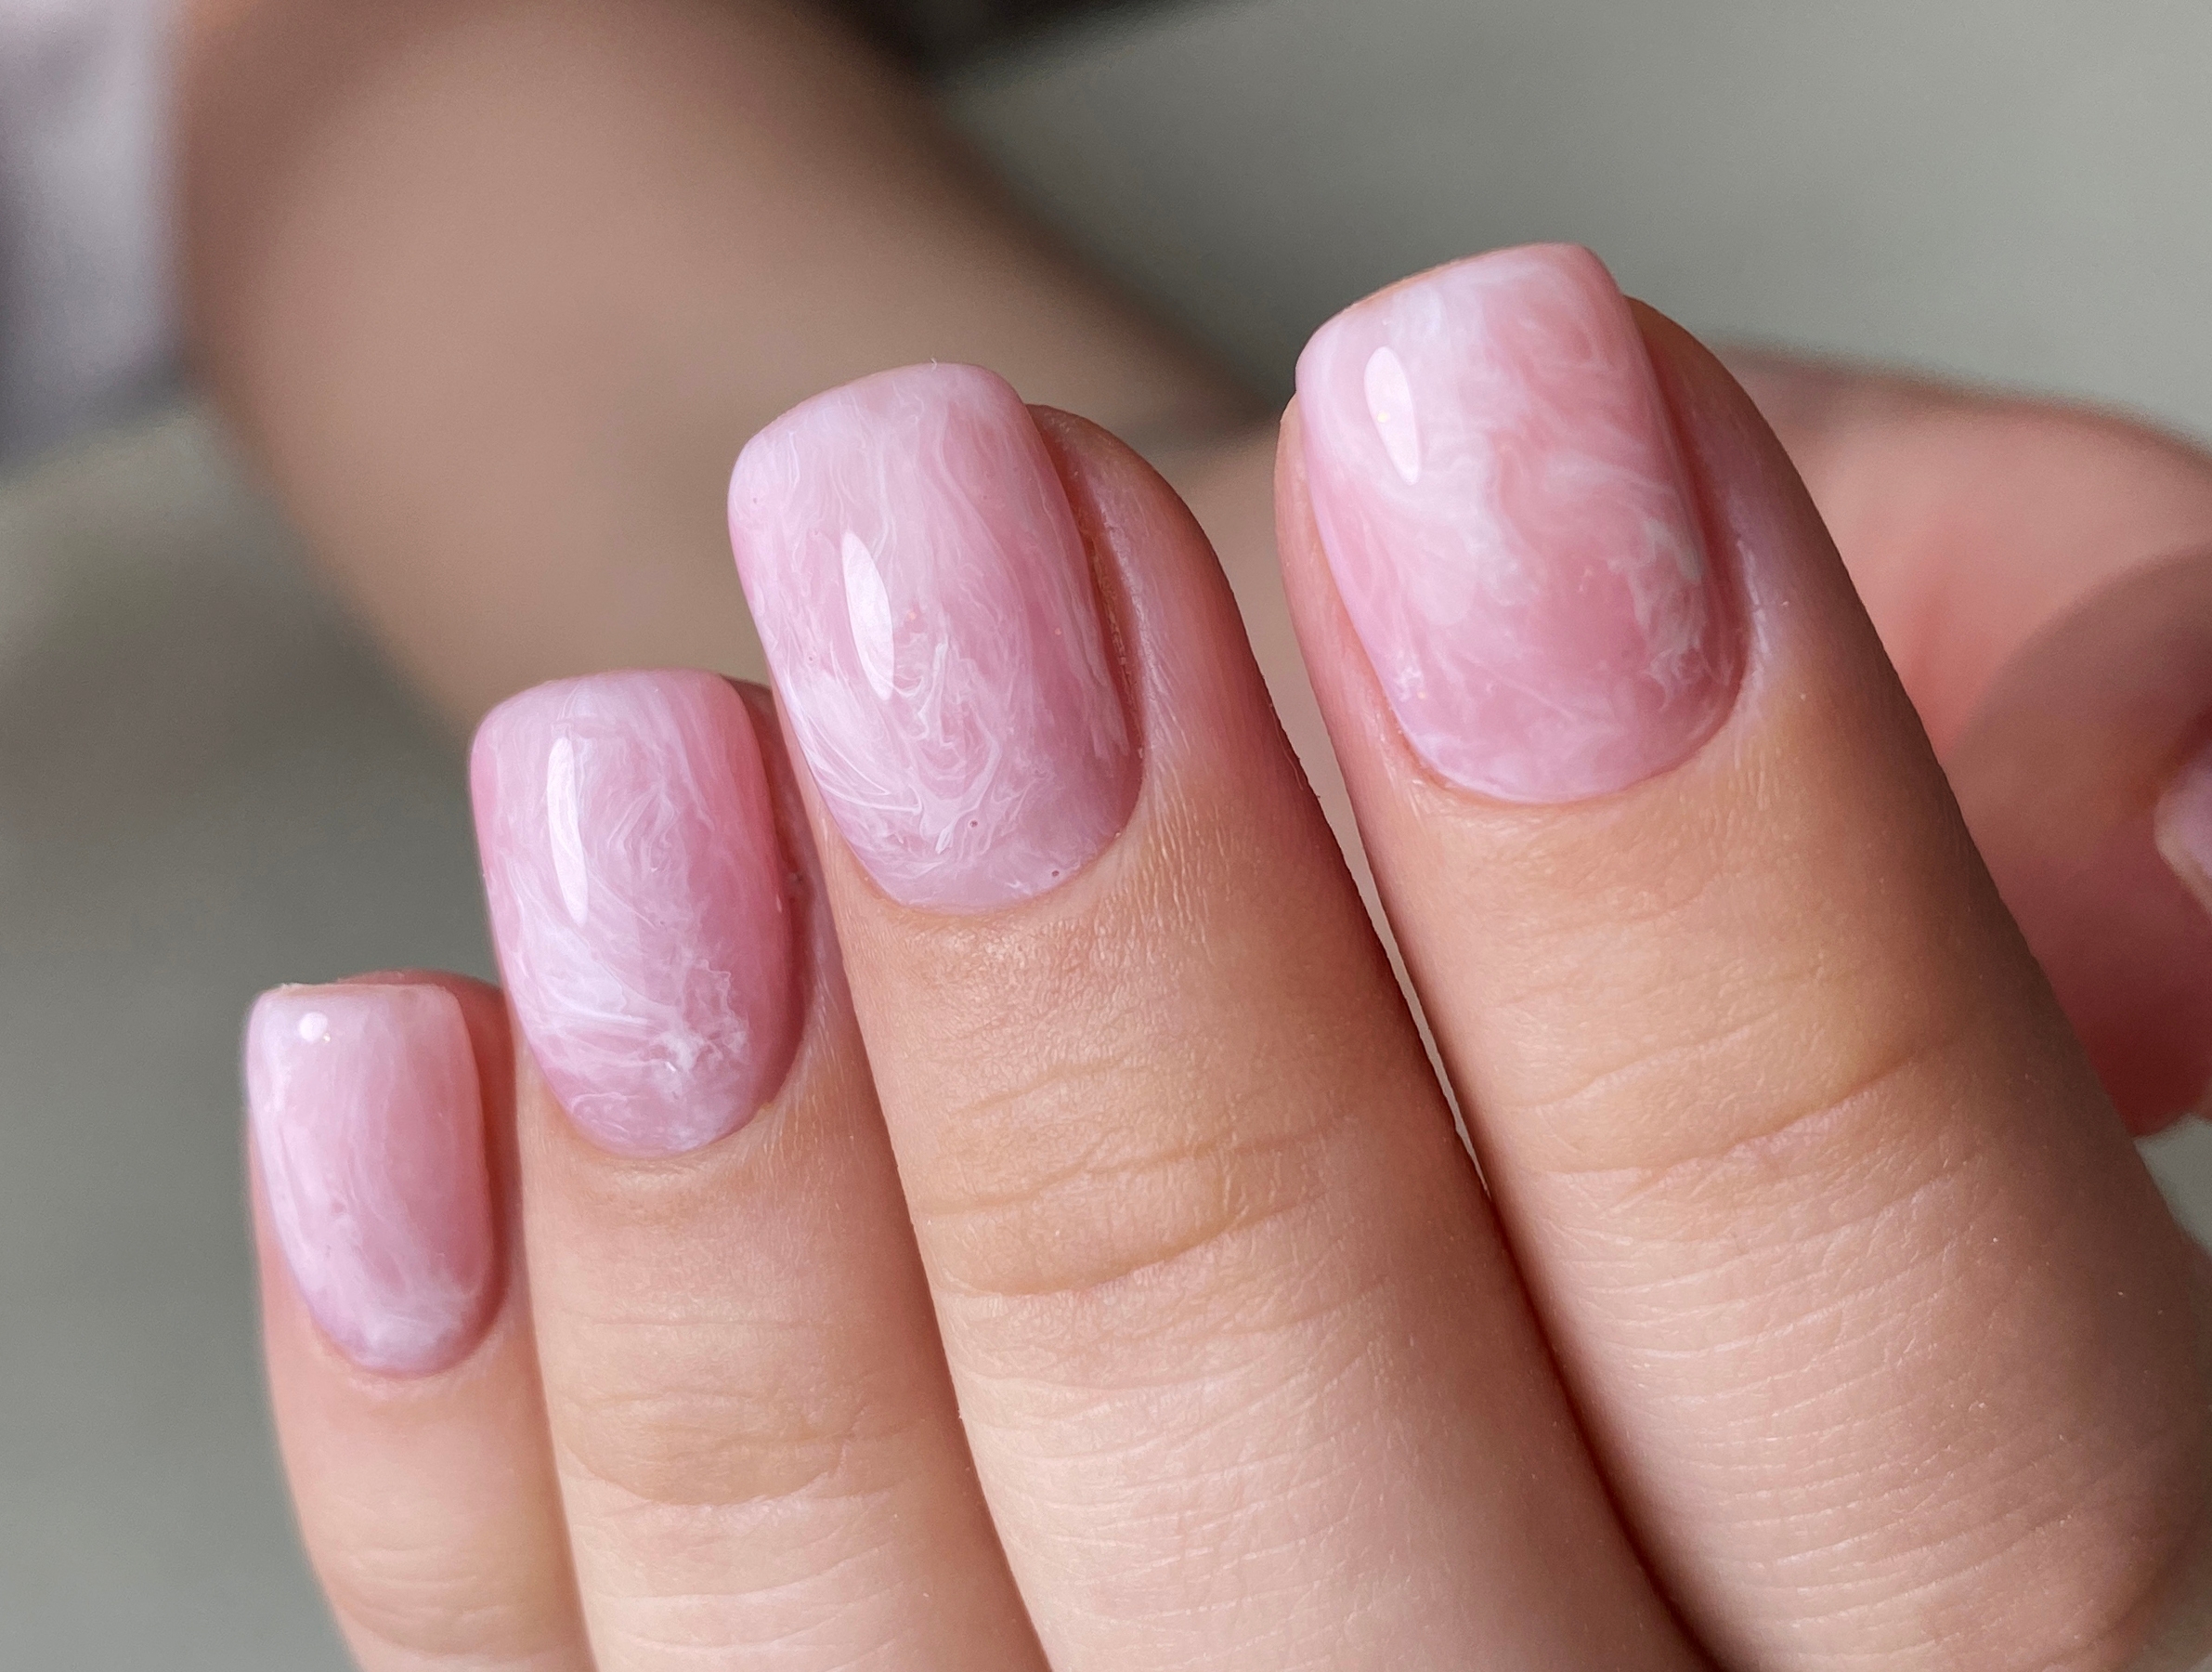
The Perfect Spring Marble

Create a perfect spring nail look with this simple yet effective marbling technique!
What will I need?
- Nail file and cuticle tools
- Lint free wipes
- Acetone and dehydrator
- UV/LED lamp
- Gel base and top coat
- Gel colours of your choice
- Fine brush (striper brush)
- Cuticle oil
Step by Step
- Prep the nails
- Apply Base coat and cure
- Apply a single layer of your chosen base colour and cure
- Apply another layer of your base colour, this time avoid curing and move onto the next step
- Apply spots of your other chosen colour/colours to the uncured nail and using a clean fine brush, swirl the colours into your desired design. Cure the nails.
- Finish with application of top coat, curing and don’t forget the Cuticle Oil!
In need of some inspiration?


-

Spring lash shedding?

Birds are singing, daffodils are sprouting and days our getting longer.. we are ready for spring! But are our lashes? You may start to notice your clients lash retention changes this time of year, this is down to the impact the seasons have on our natural hair cycles. In preparation for Winter and the cold temperatures we hold on to much more hair, this hair is in its final ‘Telogen’ phase or resting phase as its better know, ready for shedding! As the weather starts to warm up we no longer need this retention and we start to loose hair at a fast rate, not only on our heads but our lashes too! Don’t despair there are ways in which we can manage our clients lashes to ensure a smooth transition into the spring/summer months.
Client education
Share with your clients what is happening to their lashes, this will ensure that they have realistic expectations for their lash retention and when they should be returning for infills! It may be worth while sharing on your social media some ‘did you know?’ statements about seasonal lash changes.
Clients need to ensure that during this time more than ever they are cleansing their lashes, cleansing will reside the risk of impacted follicles. If follicles start to become impacted it may mean an even faster shed.
Scheduling Infills
Ideally we would like our clients returning to us every two weeks for their infills, if they notice their lashes becoming more spare they may need to reduce the time between their treatments. We recommended that they return with at least 30% of their previous lashes still intact to get the most out of their infill service.
What lashes shall I use?
As we are loosing lashes at a faster rate you may notice more shorter/baby hairs start to emerge. To look after these natural lashes we recommend using shorter and lighter lashes during the spring months, this will ensure no damage to the natural lashes take place.
-
The Right Tool for the Job – Best Brushes for Acrylic, Poly Gel & UV Gel
This article was first published on 18th May 2016 & was updated on 17th February 2022
When it comes to creating the perfect nail extension, there is more to consider than simply your technique. Good technique is essential but the right tools will help you to create better results, more easily and more quickly.
Generally speaking, as you begin to practice you will usually be using the brush that came included within the starter kit you may have purchased. We always recommend using a brush that is from within the same brand or range as the acrylic or gel products you intend to use as these have been designed and tested for best results using those specific products. However as you become more experienced and knowledgeable, you may have a preference for a different brush which works best for you and your way of working.
Brushes for UV Gel (builder gel) Application


UV Gel will usually require the use of a standard size 4 or 5 flat brush (for the creation of nail extensions). These are often designed for use specifically with UV Gel and are optimally shaped and sized for easy product pick up and application. These are often made with synthetic bristles to provide an easy to clean, long lasting and affordable brush which picks up the product without encouraging it to sink into the brush which could cause product wastage and make it harder to glide the product from brush to nail. Gel Polish is usually applied with the brush that came enclosed within the product lid and there is no need to use any alternative brush.
Brushes for Poly Gel Application
Poly Gel is a new system that has become hugely popular over the last 3-5 years as the products come packaged in an easy to dispense tube that can help to reduce product wastage and risk of cross-contamination. Your product will usually come supplied with a metal flat edged tool for ‘slicing’ some of the gel product from the tube ready for use. You then apply this ‘bead’ of sliced product direct to the prepped natural nail and work the product using a flat gel brush. Poly Gel products are applied very similarly to standard builder gel products (that come in tubs and jars) and so a standard gel application brush will be suitable, however you will need to ensure you use the ‘slip solution’ product supplied with your poly gel to avoid the product sticking to your brush. Rather than brushing the product on as you would with standard builder gels, you simply pat the bead applied to the nail into shape using your gel brush. It is important to clean your poly gel brush after use using a lint free wipe to remove excess product and soak in gel brush cleaner if required to remove any hardened product and help reshaping of your brush bristles. Always stand the brush in a cup to dry with bristles facing up to avoid the brush drying misshapen.
Where it gets more tricky is when considering the best brush for use with acrylic products…
Brushes for Acrylic Application
Natural vs Synthetic Bristles

There are several factors that must be understood about brushes before you can begin to select a brush. Firstly it is important to understand why brushes for use with acrylic are usually made from kolinsky, sometimes called sable hair. Kolinsky is the hair gathered from a type of weasel found in the cold regions of Russia & China. Natural hair is used as it has an advantage of providing natural thickness towards the belly of the brush which allows it to hold liquid effectively (as in acrylic liquid). The strength and flexibility allows the brush to return to a point when wet. All hair has a structure known as the medulla which allows moisture to be absorbed. This acts as a reservoir to hold the acrylic liquid in nail brushes and releases in a controlled manner as pressure is applied with the brush by the nail technician. Kolinsky hair is far better in quality (sometimes known as golden sable) than the hair gathered from other weasels (sometimes known as red sable or just ‘sable’). If a brush states kolinsky, you can be sure you are buying the best quality brush bristles possible.
With any natural hair brush, it is essential to maintain the brush with correct cleaning after every acrylic application to avoid the brush becoming stiff and damaged. You can purchase brand specific brush cleaners (designed to remove your specific acrylic product) and these often contain conditioners within them to keep the bristles smooth, flexible and keep the brush shape for longer. Natural brushes can be cleaned within acetone but this is not recommended as it can dry and damage the bristles over time.


With improved technology, some manufacturer’s are beginning to use synthetic bristles for acrylic brushes. This is also in response to those who want a ‘vegan’ option. Modern technology now allows many synthetic bristles to effectively mimic the properties of natural brushes to a degree. Synthetic bristle brushes are more durable as they are less effected by contact with the monomer (acrylic) liquid than natural hair. Many nail techs prefer natural hair however as synthetic brushes will struggle to hold the acrylic liquid as effectively. Synthetic bristle brushes are usually used more for nail art and gel application. Care must be taken when cleaning such brushes as they are often made with nylon or polyester which can be damaged if left to soak in acetone. Most brush cleaners are acetone free for use with UV Gel brushes.
Choosing the Right Size
When you first begin to practice your application of acrylic, you will usually make use of a smaller brush which could be a size 6 or 8. These brushes are great to begin with as they effectively lift a smaller bead of acrylic (powder with liquid) allowing you to master your application technique with the 3 zones. They also allow you to learn the ability to get your ratio of liquid to powder correct with more control. This smaller brush size of 6 or 8 is usually included within starter kits for this reason.


However as you begin to advance in your experience and skills, you may find smaller brushes make your application slower and your treatment time longer. When working in the salon or as a mobile therapist where timing is key to ensure you can maximise your earnings, it is important that you can begin to reduce your treatment timings. One way to do so is to look to use a larger acrylic brush. Larger brushes allow you to effectively pick up a larger bead of product which means you can cover a larger area of the nail with less strokes. You will still be using your 3 zone process but will not require the use of up to 3 smaller beads to cover each zone, instead you may be able to achieve coverage of an entire zone in just one large bead. This does of course take much practice and good technique to ensure you are getting your ratio of powder to liquid correct to avoid flooding the nail or creating poor adhesion through too little powder/product too thin.
When first starting out in nail extensions working with a smaller brush, there is a tendency to need to file the nails into shape at the end of application. This is because when you are applying numerous small beads, there can be a tendency for areas of the nail extension to become lumpy or too thick (of course some products self-settle better than others). This extra filing also increases your treatment timing. An advantage of using a larger brush is that you apply less beads and so there is less likelihood for areas of the nail extension to have thicker areas (where two beads/layers have overlapped) and less chance of the extension becoming too thick assuming you are confident with your product ratio. It is also said that reduced filing helps to create stronger, more stable nail extensions and the process is more comfortable for clients. With experience, a larger brush can enable you to create more professional looking nail extensions in less time.
Due to the nature of having more bristles within a larger brush, this enables them to keep a better shape at the belly of the brush which also can make the larger brush easier to work with when laying down your bead onto the nail or tip. This can quite simply be seen by the fact that the larger the brush, the more structured the shape with a distinct pointed end rather when dry, rather than the more round or flatter shape of smaller brushes. It allows the brush to be more flexible and glide the bead more easily. Smaller brushes have a tendency to go much flatter with less pressure which can flatten the bead or trap it within the bristles making application more tricky.
While working with a larger brush, it does not limit your ability to still pick up a smaller bead which you may use when infilling or rebalancing the nail as with experience you will learn to utilise the point of the brush for fine detail work. As you grow in confidence and more importantly, experience of creating the correct ratio of liquid to powder; you can begin to gradually increase the size of brush you are working with going from a 6-8 to a 10 then 12. You may even work up to a size 14 or 16 although many nail techs typically prefer working with a size 10 or 12 depending on the brand of products they are working with.
Remember to stay working with a brush from within your product brand when working on nails for clients. When initially practising with a larger brush however you may wish to pick up an inexpensive artist’s supply brush from any stationery store or online (as these are often very similar in style but cheaper as they are unbranded). It is a great way to trial a brush size without a big spend but should not be used for client’s nails as you cannot guarantee good results as such brushes are not tested for best results with your brand of products.
Once you have invested in a good brush, you may want to buy a brush case or cover (some brands come with a brush cap) to protect your bristles and also a brush cleaner that is recommended for use with your brush.
Want to learn the art of Nail Extensions? We have Beginner and Advanced Courses available from only £199! Find more information at: https://new.thebeautyacademy.org/nail-treatment-cou…
-
Troubleshoot common Gel Polish issues
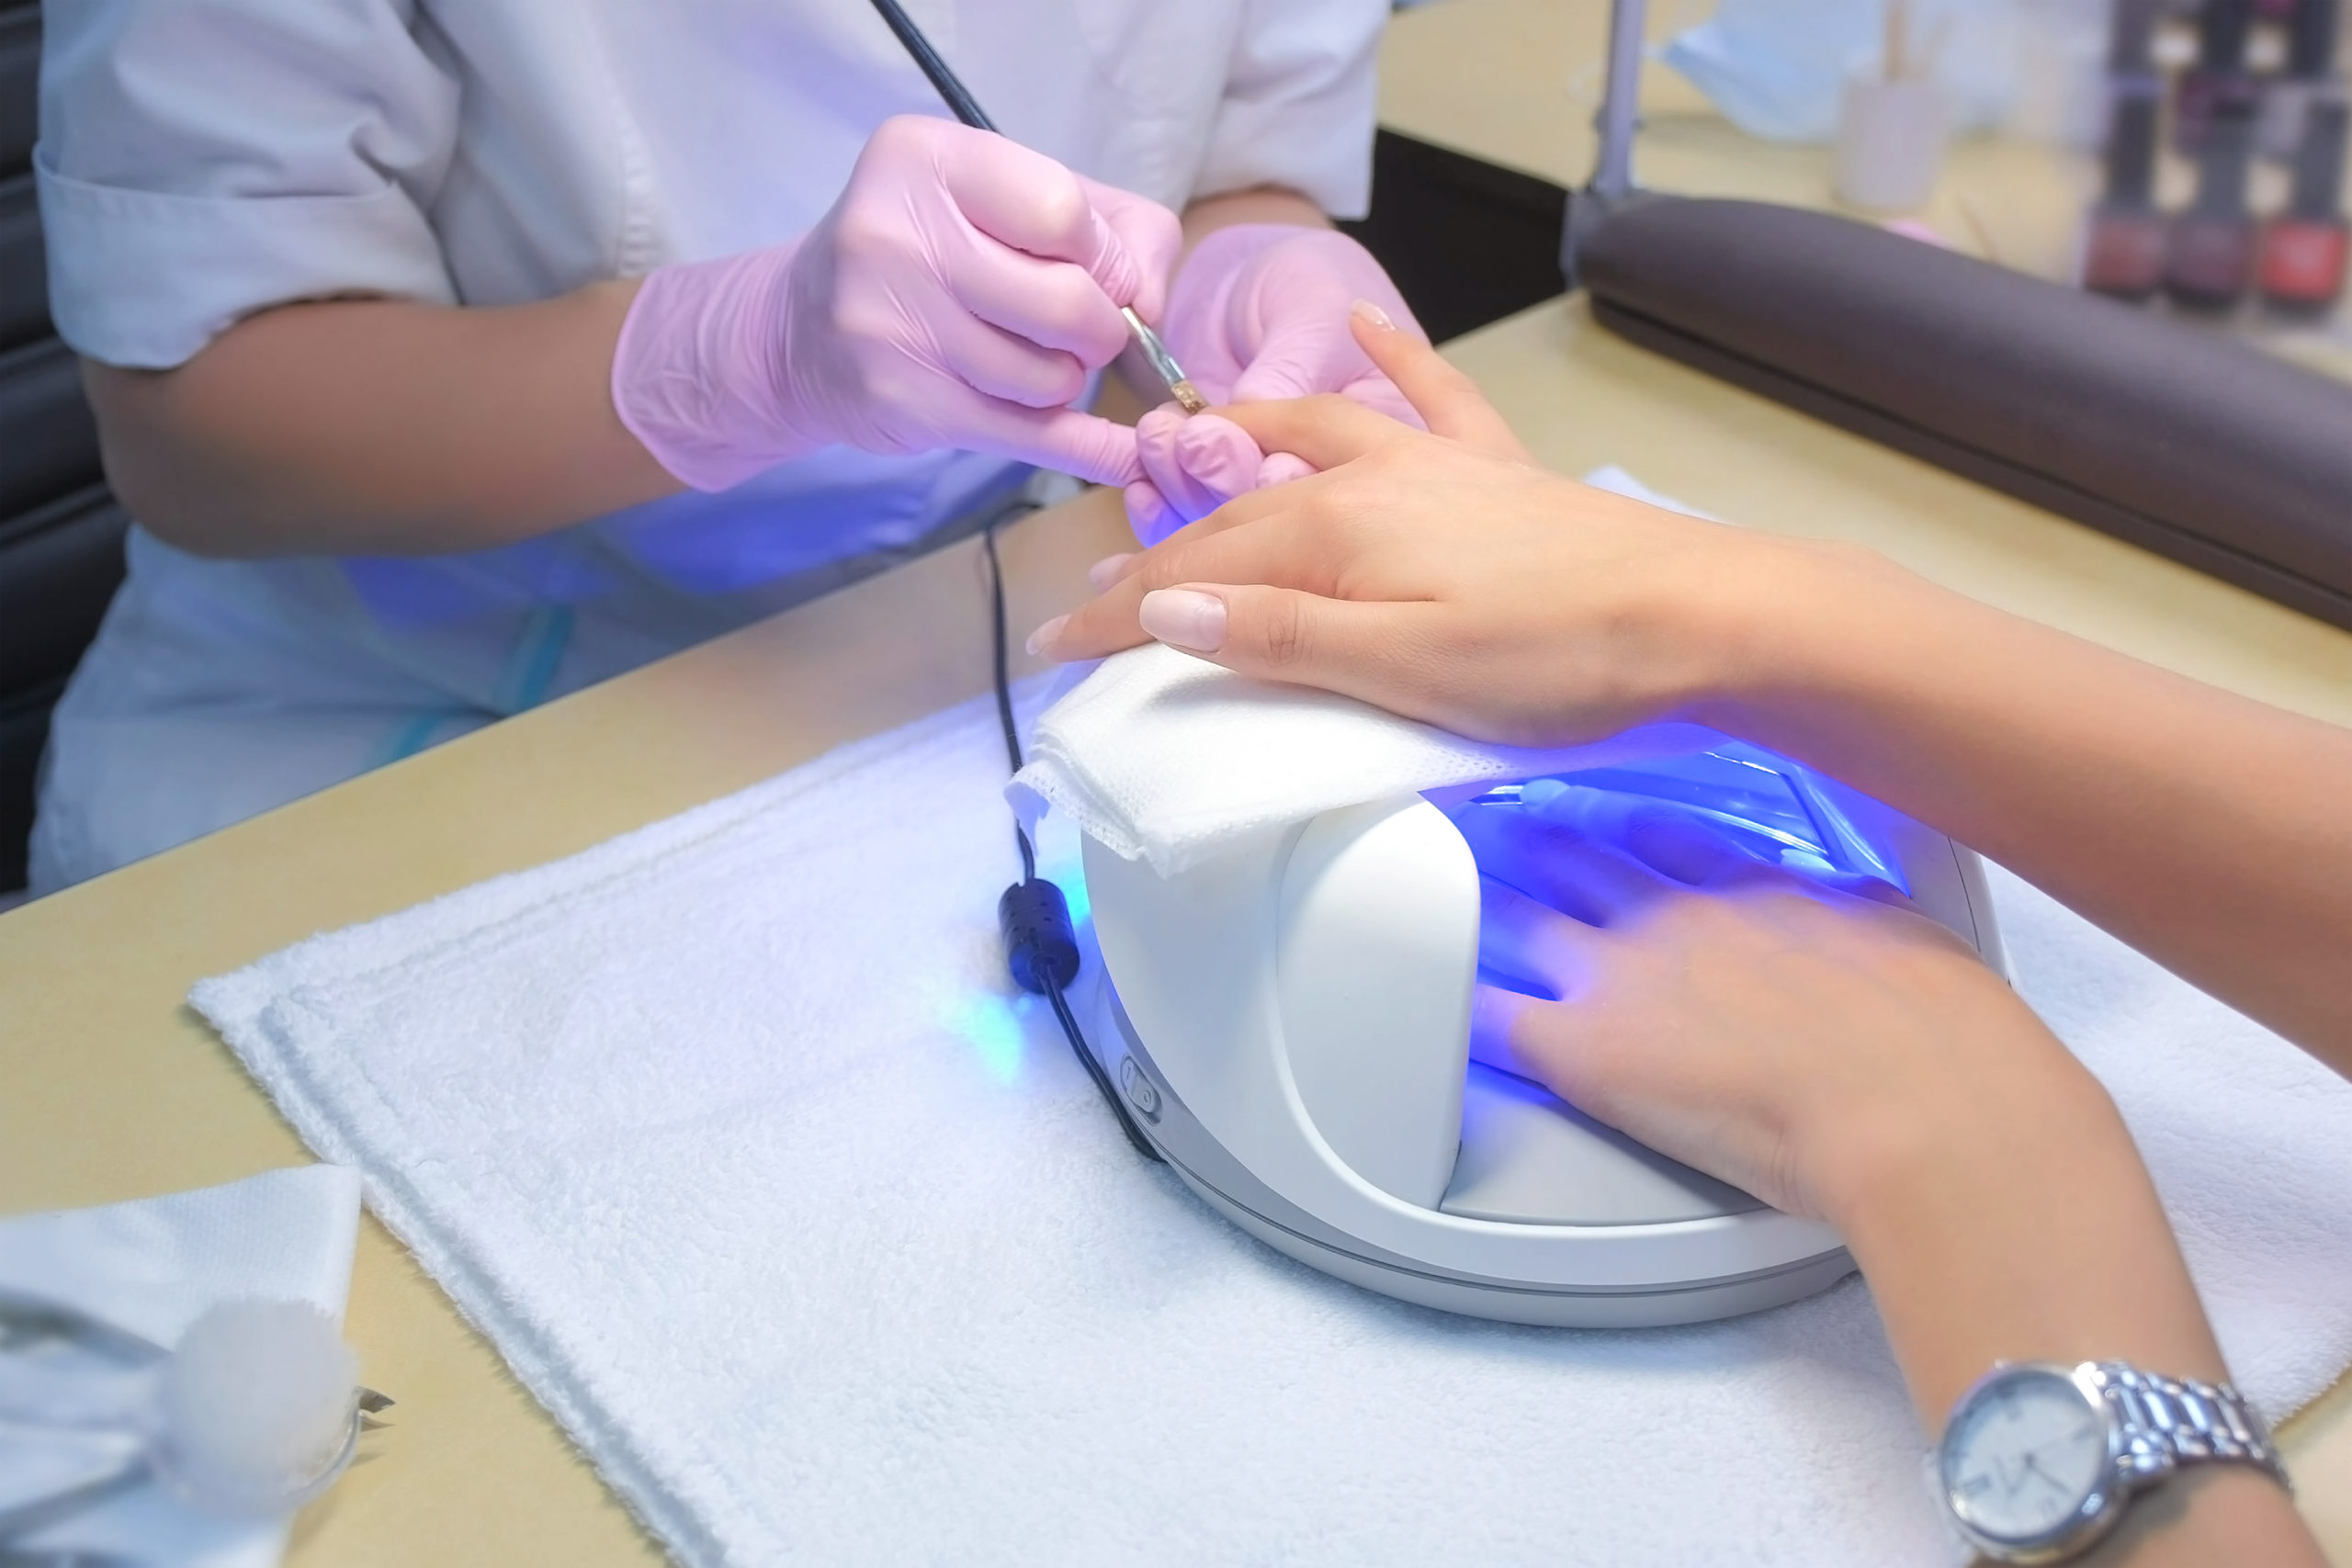
For this weeks blog we have collated the most common issues that can arise during Gel Polish treatments. Here are our top troubleshooting tips to reduce these issues and finish with the perfectly smooth finish clients desire

Shrinking Gel
As it cures Gel shrinks, the best way to prevent this causing an issue to the final result of the treatment is to ensure that the nail edges are always capped. Capping the free edge prior to curing will reduce the risk of shrinking impacting the finished look. As Gel polish self-levels you may find that the polish starts to shrink before you cure, if this starts to happen try curing a few nails at a time to limit the time the Gel is left to shrink.
Lifting/Peeling Gel
There are a few steps we can take to avoid nails peeling, all starting with how we prepare the nail prior to application of Gel products.
Always ensure that you proceed with a dry manicure prior to gel application, avoid using oil based products when completing cuticle work and avoid soaking the nails. Any moisture left of the nail could impact the longevity of the treatment. Dehydrators are ideal at reducing moisture on the nail surface.
Lint free wipes can help to prevent micro debris from sticking underneath the gel, this will not only help with lifting but will help create a soother finish.
When it comes to applying Gel, thinner is best. By applying thin layers and curing you allow the gel to be fully cured before the next layer. Sometimes if it is too thick it may feel touch dry but underneath the surface it may not be cured, this can lead to lifting.
Bubbling/wrinkling Gel
This issue can be quite common on the thumbs and one reason for this is improper curing placement. When it comes to curing try applying and curing the fingers fist and then the thumbs separately, this will allow the full coverage of the thumb within the lamp, avoiding the gel moving and wrinkling.
It’s also important to note that lamp strength does reduce over time, if you’re starting to see more bubbling or wrinkling it may be time to change the bulbs and see if that makes a difference.
Applying the Gel in light layers will also reduce the risk of wrinkling.
-
Highly Defined Brows, Map to your clients face shape.

Brow artistry has taken over the Beauty industry. Gone are the days of the simple tint and shape. With the popularity of fuller, natural looking brows treatments such as Brow Lamination and Highly Defined Brows are in high demand. There is a high level of skill needed to perform these treatments, our best piece of advice for students is to practice, practice, practice!
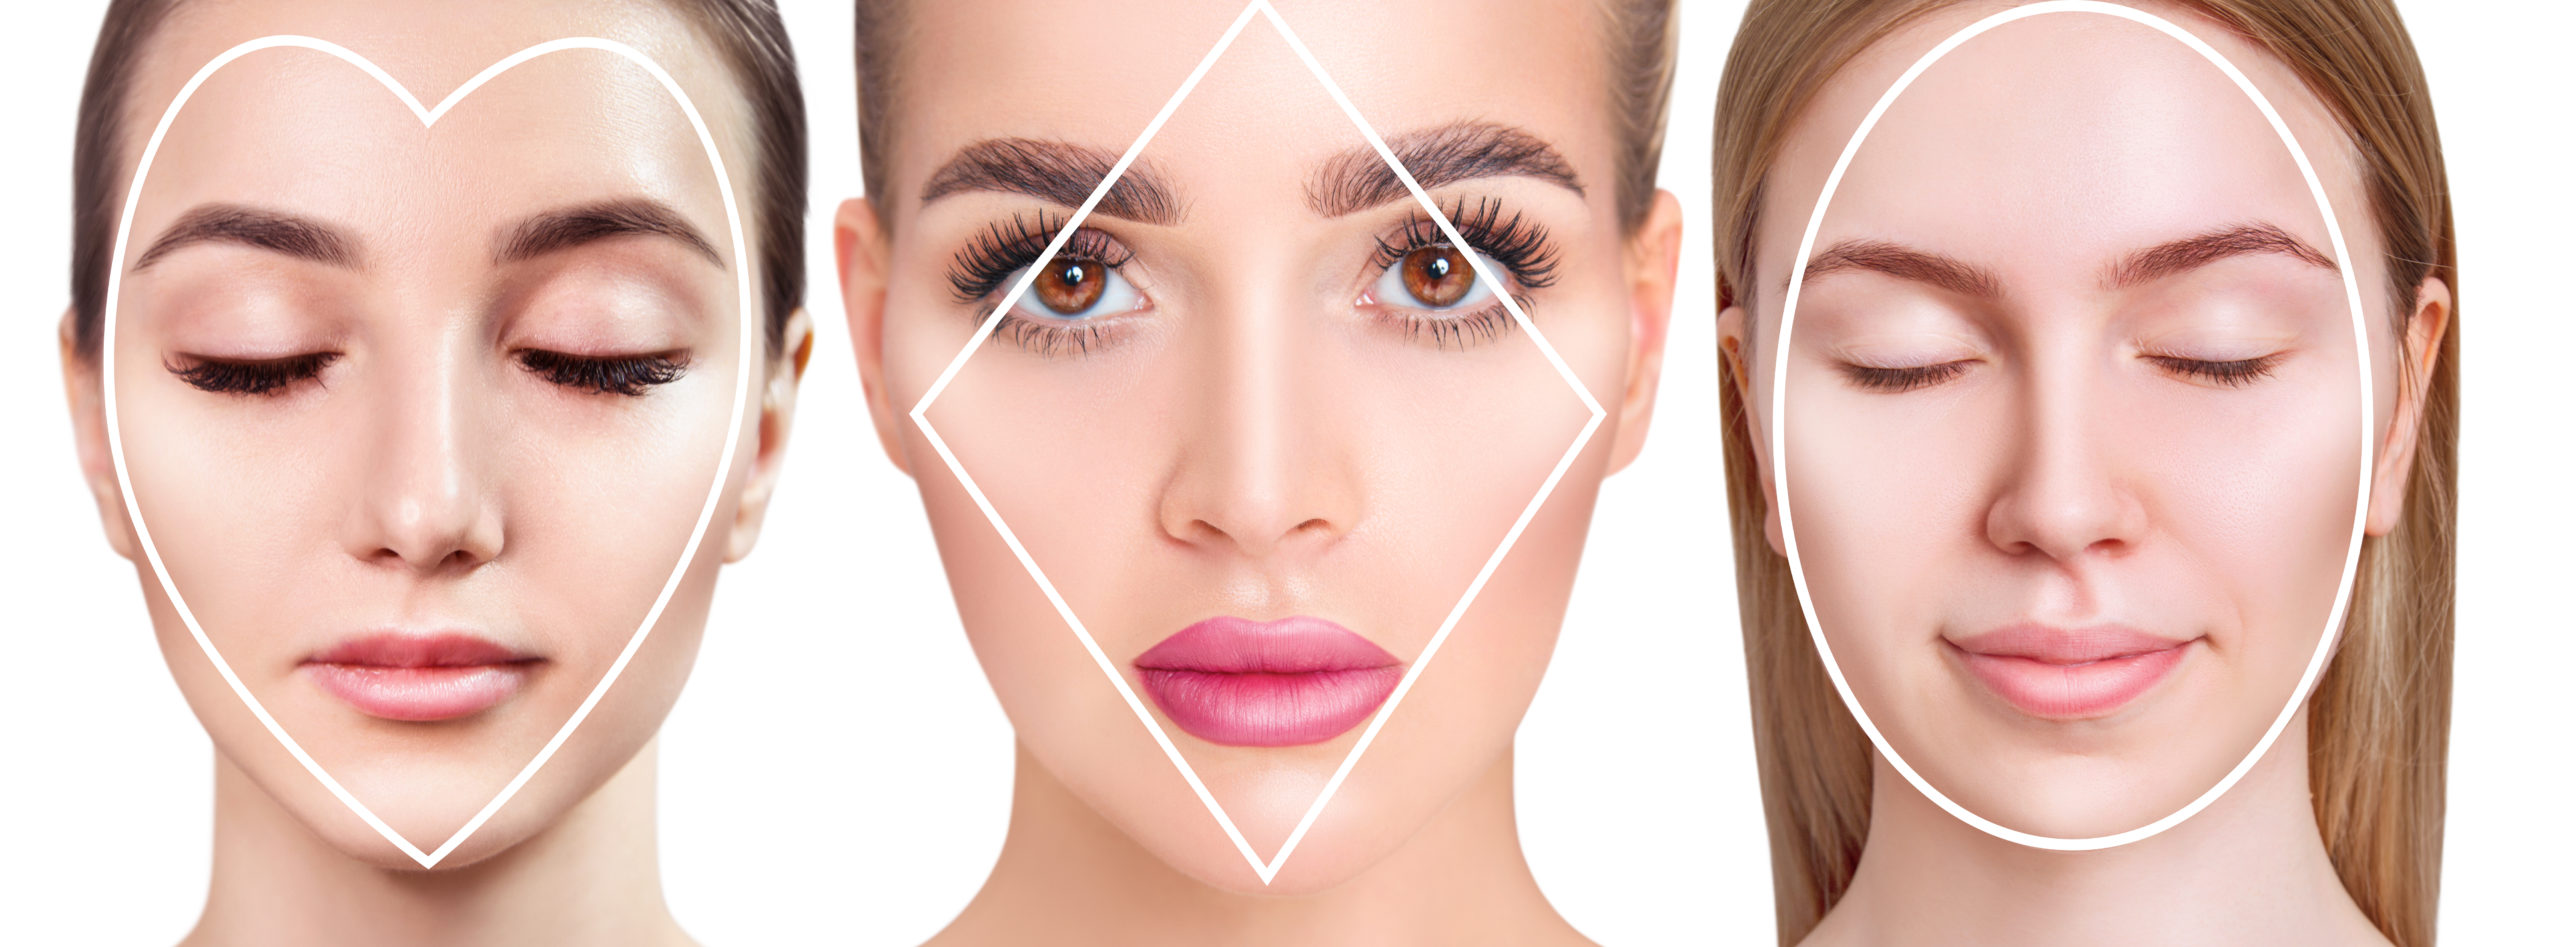
Brow Mapping is the starting point for any successful brow treatment, in this week’s blog we’ll be reviewing the Do’s and Don’ts when mapping brows inline with clients face shapes.
Round Face

When mapping, create length to the face by added an arch to the brow, keeping the brow soft and slightly curved. Avoid round, flat or highly arched brows.
Square Face

Create height in the arch of the brow. Creating a longer brow will create width to the face. Avoid Flat and round brows.
Oval Face

Oval faces suit most brow shapes, try to keep the brow line soft. Avoid an oval brow.
Rectangular Face

Create a longer brow to add width to the face. Keep brows Angular. Avoid keeping the brows too close together.
Heart Face

Add height to the centre of the brow, keeping it soft and slightly curved. Avoid round and flat brows.
-
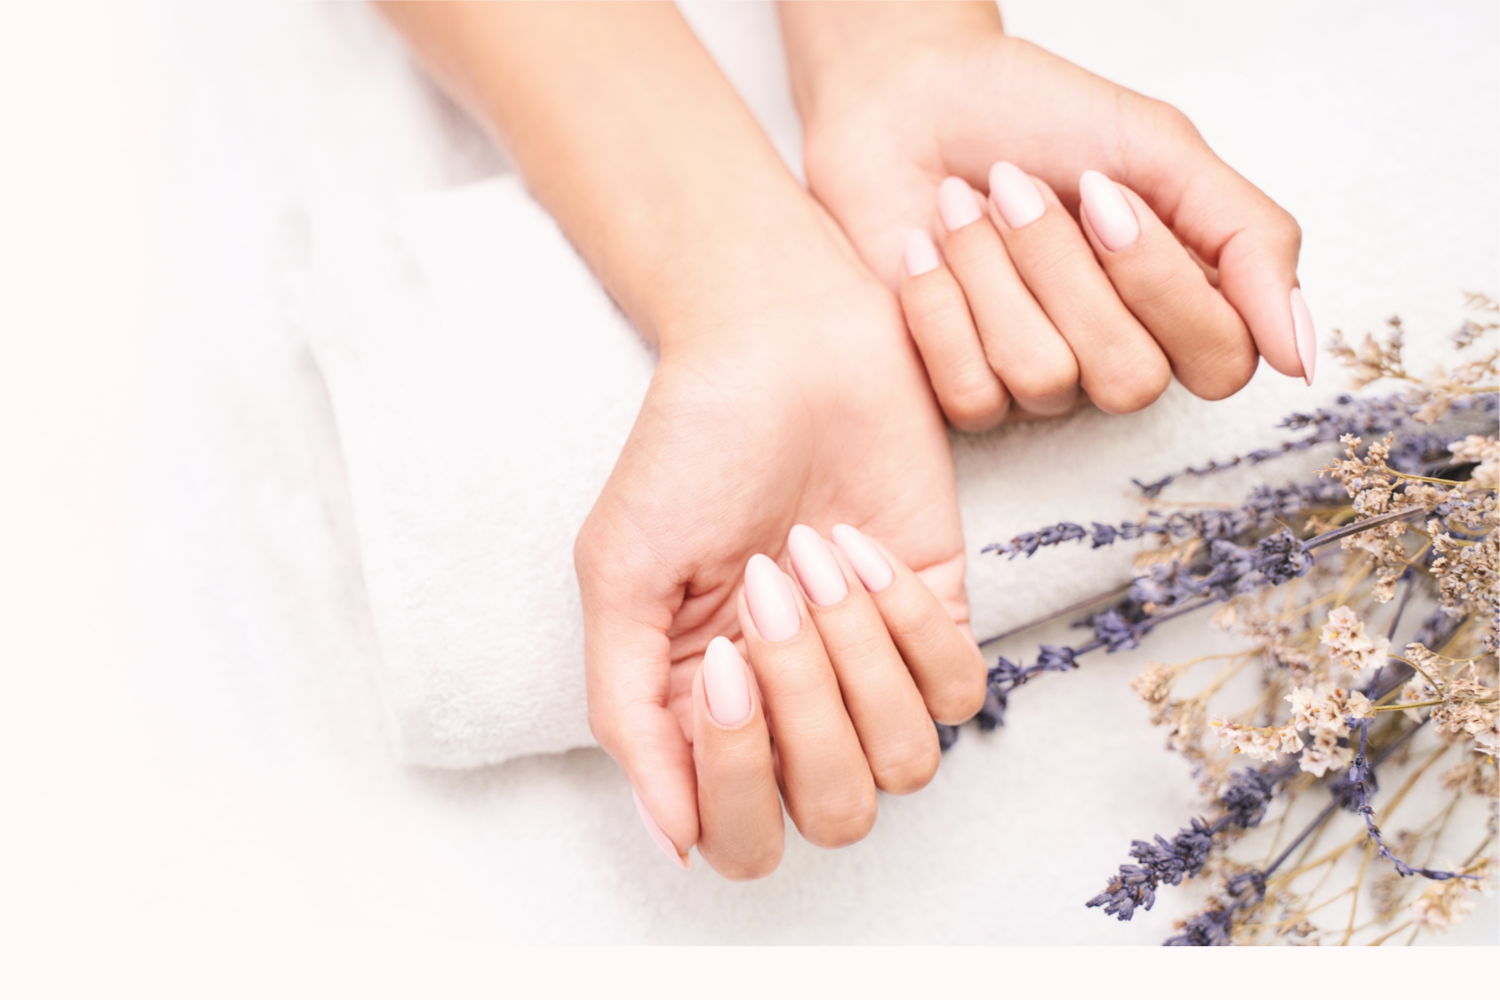
Maintaining Nails in-between treatments

This week we’re sharing our top aftercare tips for maintaining nails in-between treatments, keeping them looking fresh for longer.
- Avoid excessive exposure to water and heat within the first 24 hours of treatment
- Always use gloves when handing cleaning products, gardening or doing the washing up
- Limit exposure to chemicals found in common ‘Holiday’ products such as Suncream and Insect spray, wash hand throughly after application
- Use cuticle oil once or twice a day to maintain the hydration of the nail and surrounding skin
- Avoid picking or peeling gel or polish! This can damage the natural nail and affect future treatments.
Most importantly, visit your Nail Technician every 2-3 weeks to maintain your infills.
-
Lash Mapping, where to start…

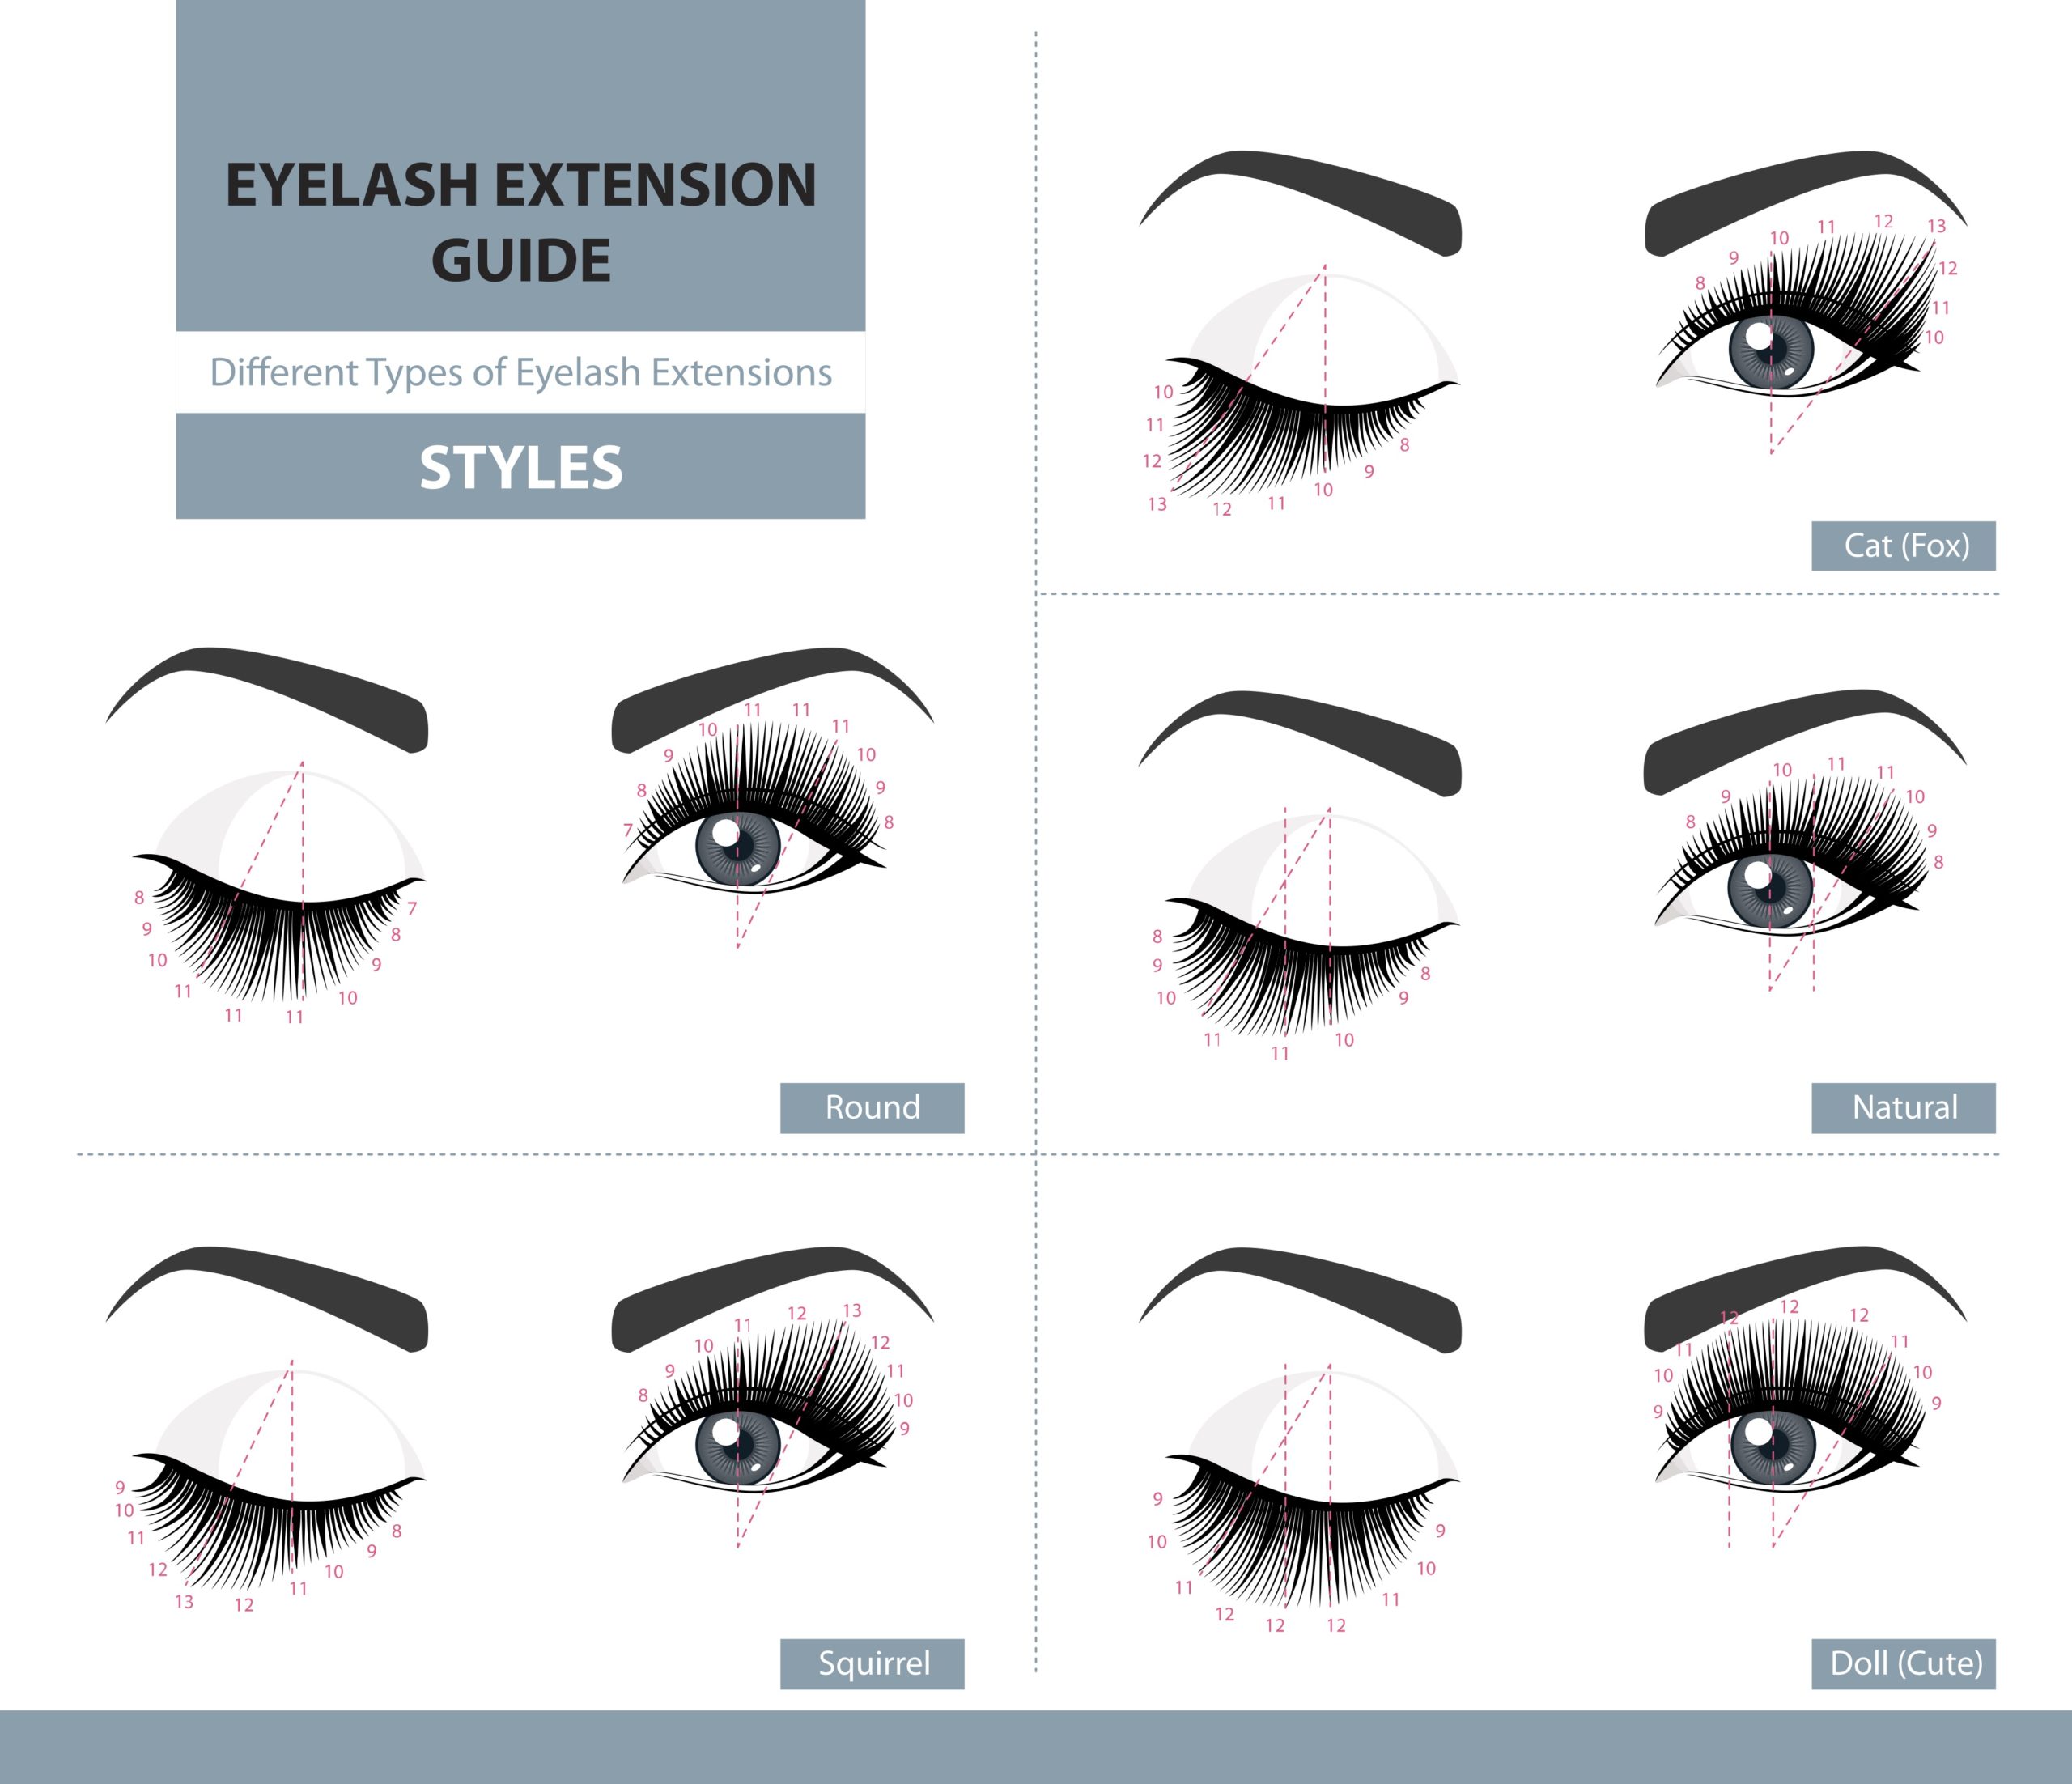
Firstly, what do we mean by lash mapping? Lash mapping is the art of dividing the lashes into sections to create a desired look using different lash lengths. Lash mapping is the perfect way to enhance your client’s natural eye and face shape. It’s a skill that is developed over time and like all treatments takes a while to perfect! In this blog we’ll review the most common Lash looks and their maps to give your insight into the types of eyes and face shapes that would benefit from them the most.
Classic or Natural
This is the style that we all start off learning, applying lashes in a 1-1 ratio. This classic technique suits clients who are looking for more of a natural look with added length. Ideal for first time clients that are new to Lash Extensions.
Doll Eye
Ideal for opening up eyes and making them appear larger. Map shorter lashes at either corner of the eye, gradually becoming longer until you reach the longest length in the middle section. The Doll eye map is perfect for almond shape or hooded eyes.
Cat/Fox Eye
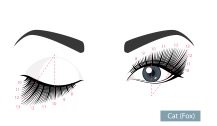
These maps are becoming more and more popular with clients for its ability to add some drama! Ideal for round or droopy eyes.
Squirrel Eye
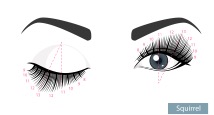
Squirrel can be a tricky one to start with so is reserved for the more seasoned of lash techs, as you will need more zones and lash lengths to achieve this look. A relatively natural looking map this is ideal for opening up client’s eye.
The Kim K Eye

The Kim K Eye is another map that is becoming increasingly popular with clients. This look is designed around applying longer lashes at equally distanced points along the map, this creates a fuller, fluffier look. Ideal for clients with smaller eyes and a high set brow, this map can create the illusion of larger eyes. This is another map that benefits from a lot of practice!


