


Are you currently a salon business owner? Or renting a room somewhere? Looking at new treatments to add to your menu but feeling overwhelmed and at a loose end? Why not try something different and become a tutor! Gain a qualification in teaching, get your courses accredited, and be insured as a teacher. Start teaching the subjects you love, to inspire the next generation of Beauty Therapists.
The Beauty Academy
-
The Right Tool for the Job – Best Brushes for Acrylic, Poly Gel & UV Gel
This article was first published on 18th May 2016 & was updated on 17th February 2022
When it comes to creating the perfect nail extension, there is more to consider than simply your technique. Good technique is essential but the right tools will help you to create better results, more easily and more quickly.
Generally speaking, as you begin to practice you will usually be using the brush that came included within the starter kit you may have purchased. We always recommend using a brush that is from within the same brand or range as the acrylic or gel products you intend to use as these have been designed and tested for best results using those specific products. However as you become more experienced and knowledgeable, you may have a preference for a different brush which works best for you and your way of working.
Brushes for UV Gel (builder gel) Application


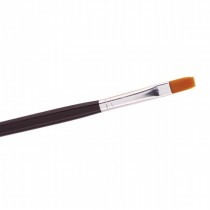
UV Gel will usually require the use of a standard size 4 or 5 flat brush (for the creation of nail extensions). These are often designed for use specifically with UV Gel and are optimally shaped and sized for easy product pick up and application. These are often made with synthetic bristles to provide an easy to clean, long lasting and affordable brush which picks up the product without encouraging it to sink into the brush which could cause product wastage and make it harder to glide the product from brush to nail. Gel Polish is usually applied with the brush that came enclosed within the product lid and there is no need to use any alternative brush.
Brushes for Poly Gel Application
Poly Gel is a new system that has become hugely popular over the last 3-5 years as the products come packaged in an easy to dispense tube that can help to reduce product wastage and risk of cross-contamination. Your product will usually come supplied with a metal flat edged tool for ‘slicing’ some of the gel product from the tube ready for use. You then apply this ‘bead’ of sliced product direct to the prepped natural nail and work the product using a flat gel brush. Poly Gel products are applied very similarly to standard builder gel products (that come in tubs and jars) and so a standard gel application brush will be suitable, however you will need to ensure you use the ‘slip solution’ product supplied with your poly gel to avoid the product sticking to your brush. Rather than brushing the product on as you would with standard builder gels, you simply pat the bead applied to the nail into shape using your gel brush. It is important to clean your poly gel brush after use using a lint free wipe to remove excess product and soak in gel brush cleaner if required to remove any hardened product and help reshaping of your brush bristles. Always stand the brush in a cup to dry with bristles facing up to avoid the brush drying misshapen.
Where it gets more tricky is when considering the best brush for use with acrylic products…
Brushes for Acrylic Application
Natural vs Synthetic Bristles

There are several factors that must be understood about brushes before you can begin to select a brush. Firstly it is important to understand why brushes for use with acrylic are usually made from kolinsky, sometimes called sable hair. Kolinsky is the hair gathered from a type of weasel found in the cold regions of Russia & China. Natural hair is used as it has an advantage of providing natural thickness towards the belly of the brush which allows it to hold liquid effectively (as in acrylic liquid). The strength and flexibility allows the brush to return to a point when wet. All hair has a structure known as the medulla which allows moisture to be absorbed. This acts as a reservoir to hold the acrylic liquid in nail brushes and releases in a controlled manner as pressure is applied with the brush by the nail technician. Kolinsky hair is far better in quality (sometimes known as golden sable) than the hair gathered from other weasels (sometimes known as red sable or just ‘sable’). If a brush states kolinsky, you can be sure you are buying the best quality brush bristles possible.
With any natural hair brush, it is essential to maintain the brush with correct cleaning after every acrylic application to avoid the brush becoming stiff and damaged. You can purchase brand specific brush cleaners (designed to remove your specific acrylic product) and these often contain conditioners within them to keep the bristles smooth, flexible and keep the brush shape for longer. Natural brushes can be cleaned within acetone but this is not recommended as it can dry and damage the bristles over time.


With improved technology, some manufacturer’s are beginning to use synthetic bristles for acrylic brushes. This is also in response to those who want a ‘vegan’ option. Modern technology now allows many synthetic bristles to effectively mimic the properties of natural brushes to a degree. Synthetic bristle brushes are more durable as they are less effected by contact with the monomer (acrylic) liquid than natural hair. Many nail techs prefer natural hair however as synthetic brushes will struggle to hold the acrylic liquid as effectively. Synthetic bristle brushes are usually used more for nail art and gel application. Care must be taken when cleaning such brushes as they are often made with nylon or polyester which can be damaged if left to soak in acetone. Most brush cleaners are acetone free for use with UV Gel brushes.
Choosing the Right Size
When you first begin to practice your application of acrylic, you will usually make use of a smaller brush which could be a size 6 or 8. These brushes are great to begin with as they effectively lift a smaller bead of acrylic (powder with liquid) allowing you to master your application technique with the 3 zones. They also allow you to learn the ability to get your ratio of liquid to powder correct with more control. This smaller brush size of 6 or 8 is usually included within starter kits for this reason.


However as you begin to advance in your experience and skills, you may find smaller brushes make your application slower and your treatment time longer. When working in the salon or as a mobile therapist where timing is key to ensure you can maximise your earnings, it is important that you can begin to reduce your treatment timings. One way to do so is to look to use a larger acrylic brush. Larger brushes allow you to effectively pick up a larger bead of product which means you can cover a larger area of the nail with less strokes. You will still be using your 3 zone process but will not require the use of up to 3 smaller beads to cover each zone, instead you may be able to achieve coverage of an entire zone in just one large bead. This does of course take much practice and good technique to ensure you are getting your ratio of powder to liquid correct to avoid flooding the nail or creating poor adhesion through too little powder/product too thin.
When first starting out in nail extensions working with a smaller brush, there is a tendency to need to file the nails into shape at the end of application. This is because when you are applying numerous small beads, there can be a tendency for areas of the nail extension to become lumpy or too thick (of course some products self-settle better than others). This extra filing also increases your treatment timing. An advantage of using a larger brush is that you apply less beads and so there is less likelihood for areas of the nail extension to have thicker areas (where two beads/layers have overlapped) and less chance of the extension becoming too thick assuming you are confident with your product ratio. It is also said that reduced filing helps to create stronger, more stable nail extensions and the process is more comfortable for clients. With experience, a larger brush can enable you to create more professional looking nail extensions in less time.
Due to the nature of having more bristles within a larger brush, this enables them to keep a better shape at the belly of the brush which also can make the larger brush easier to work with when laying down your bead onto the nail or tip. This can quite simply be seen by the fact that the larger the brush, the more structured the shape with a distinct pointed end rather when dry, rather than the more round or flatter shape of smaller brushes. It allows the brush to be more flexible and glide the bead more easily. Smaller brushes have a tendency to go much flatter with less pressure which can flatten the bead or trap it within the bristles making application more tricky.
While working with a larger brush, it does not limit your ability to still pick up a smaller bead which you may use when infilling or rebalancing the nail as with experience you will learn to utilise the point of the brush for fine detail work. As you grow in confidence and more importantly, experience of creating the correct ratio of liquid to powder; you can begin to gradually increase the size of brush you are working with going from a 6-8 to a 10 then 12. You may even work up to a size 14 or 16 although many nail techs typically prefer working with a size 10 or 12 depending on the brand of products they are working with.
Remember to stay working with a brush from within your product brand when working on nails for clients. When initially practising with a larger brush however you may wish to pick up an inexpensive artist’s supply brush from any stationery store or online (as these are often very similar in style but cheaper as they are unbranded). It is a great way to trial a brush size without a big spend but should not be used for client’s nails as you cannot guarantee good results as such brushes are not tested for best results with your brand of products.
Once you have invested in a good brush, you may want to buy a brush case or cover (some brands come with a brush cap) to protect your bristles and also a brush cleaner that is recommended for use with your brush.
Want to learn the art of Nail Extensions? We have Beginner and Advanced Courses available from only £199! Find more information at: https://new.thebeautyacademy.org/nail-treatment-cou…
-
A Great Success
“All of your dreams can come true, if you have the power to pursue them’’ – Walt Disney.
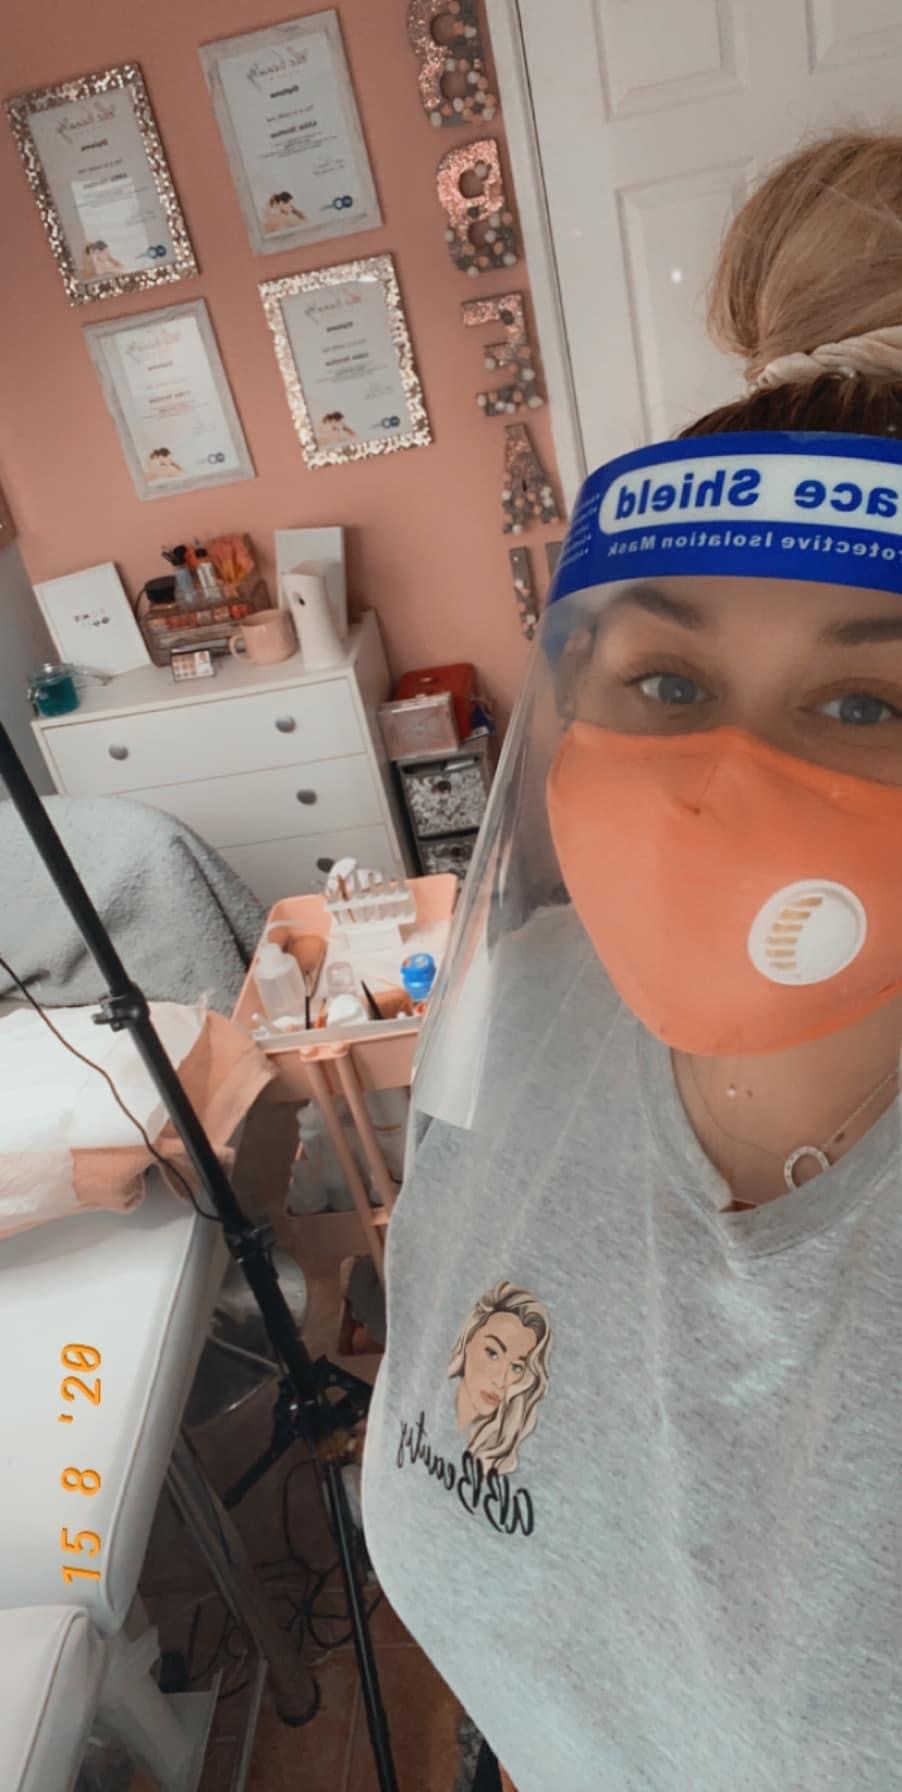
Never has this quote been truer than in Abbie Stretton’s career journey. Abbie had the courage to overcome her challenges and make the jump into the beauty sector and hasn’t looked back. In the last two years Abbie has grown a successful business and received award nominations for her work.

We first met Abbie back in 2019 when she attended her very first eyelash training course with us. Back then she was on a different path. Having graduated from University, Abbie found herself in a job that she hated and feeling depressed. She knew she wanted a change but was unsure of the path to take. Beauty had always been a passion of hers, she decided to take the leap and hasn’t looked back since.
Now busy with regular clientele, her own website and looking into creating her own lash brand.
A huge well done to you Abbie from all of us at the Beauty Academy. Follow Abbie’s success on Instagram @abbeauty_xo
‘’This course changed my perspective of myself, I had this burst of confidence. I was so intrigued by The Beauty Academy, it looked so professional from the website. I thought this is the training place for me. I’m so glad I made that decision!’’ – Abbie
If you’d like to share a success story please email us at [email protected]
-

What are the Advantages of Virtual Academy Beauty Training over Classroom Courses?
With many of us having experienced more flexible working arrangements during lockdown and the benefits of staying connected online, more of us are feeling confident in taking other aspects of our lives online. Not only does online training allow you to study safely from home without any risks of Coronavirus posed from travel or being present in person, it is also flexible to fit into your life.
There is no travel cost or time to consider, no early morning rushed commutes or needing to pay for additional childcare while you are away from home. There are no physical barriers to overcome as there is no attendance needed. The costs are also reduced for the training provider in offering online training versus overheads for bricks and mortar classroom based training, which translates as more affordable training options for students.
Our courses start from only £99 and are fully accredited for insurance with ABT, giving you the exact same qualification as those achieved by attending face to face classroom training. All the benefits of classroom learning, without the hassle.
-
How to Troubleshoot the Most Common Problems with Nail Extensions
Issues with nail extensions lifting or coming off prematurely as usually down to a number of specific reasons linked to incorrect application or improper home care by the client following application. We discuss the most common problems nail technicians will see and how to resolve here: