
Uncategorized

  • How to maximise profit within your beauty business

    How to maximise profit within your beauty business

    Running a profitable beauty business can be a rewarding yet daunting task! there are so many things to think about when running your own business. This can be challenging when the majority of your day is focussed on delivering treatments. If you’re struggling to find the time to generate new ideas for boosting income you’ve come to the right place! We’ve collated some of our best advice for therapists to maximise profits.

    Increase your client base

    Whether you are just starting up or have been going a while there may be opportunities to grow your client base. There’s the obvious promotional platforms such as social media/ local magazines, however many marketing experts agree that the networking is an avenue that can be the most beneficial when targeting new clients. For example, there may be the option to have a mutually beneficial partnership with local businesses in your area that compliment the work you do such as Bridal shops or Hairdressers. A ‘you scratch my back, I’ll scratch yours’ scenario of promoting each others businesses can boost both businesses profits. If you already have a loyal client base, you can also enrol the support of these clients to grow. Offering refer a friend rewards or hosting launch events within the salon whereby clients can bring a friend/family member along. These events work well along side the launch of a new treatment or product where you can offer taster treatments/demonstrations/product trials or spread out at various times of the year to mark events i.e Valentines day/Christmas.

    Increase spend per visit 

    If you’re serious about increasing your profit then one clear winning strategy is to encourage your client to spend more when they are with you. Use each treatment booking to your advantage to promote the add on services and retail that you offer within the salon. This doesn’t have to be a hard sell as remember your client is there for a reason, they may have come in to get amazing lashes.. their lashes will stay amazing for longer if they use a lash shampoo between infills! If you’re not retailing product in your salon you’re not only limiting your revenue but you may also be disadvantaging your client by not providing them with a full service which includes education and aftercare on how to maintain their treatment at home.

    When up-selling services, consider the treatments that compliment each other the most. This could be adding additional massage onto treatments, adding additional LED therapy onto facials or tinting with Lash extension services. Also consider the benefits of courses of treatments, offering incentives can be an easy way to reward clients for booking courses such as by 6 get one free.

    Top tips for retailing product:

    • Only recommend products that you genuinely believe will benefit the client, link these back to their main concerns or objectives. For example you may have a facial client concerned with acne so share why you think a spot treatment would work best for them or a Gel polish client who always has dry cuticles, why would this nail oil help?
    • Let the client explore the product. Give them the chance to try the product on their skin as most people prefer to try before they buy!


    Review your treatment menu

    A lot can be said for less is more, its important to focus on what you do and do it well vs offering too many services. Think about your niche and what makes you different, why should your clients come to you? It’s these unique differences that you should be promoting at every available opportunity. It may also be time to consider your pricing, when was the last time you increased your prices? Complete some market research into your local area to ensure you remain competitive and avoid underselling your skills!
    Looking to start your own beauty business this year? Call our team on freephone 0800 999 2277 (option 1) to tailor a beauty training package for your business start-up. Already trained in beauty and need more business know-how? Our Online Starting a Business in Beauty Course is the ideal starting point to plan, market, brand and launch your own beauty business. 

  • Which brow treatment is best in 2022?

    Which brow treatment is best in 2022?

    Brow trends come thick and fast just like fashion, the way we shape and style our brows can be directly linked to pop culture. From the over plucked 90s to the bushy 2020’s there’s a style for every era and with so much at our disposal now the possibilities for brow styling are endless!

    All about the Lamination

    Arguably, the most popular treatment in recent years is Brow lamination, favoured by celebrities and fashionistas! The treatment itself is a straight forward process where the brows are brushed and set using fixing product into the desired style, creating fuller more even brows. Often combined with tinting the treatment allows for the therapist to increase the visual volume of the brows which makes it a great treatment for clients looking to grow out their brows for a more natural style.

    Our Brow Lamination, Shaping & Tinting Training Course is designed to help you give your clients a uniform, full eyebrow shape.  This is the ultimate solution for eyebrows that do not have symmetry where the hairs follow a different pattern, with lamination (also known as lifting) we can realign the brows in such a way to give them the desired shape they want.​ This treatment solves the messy brow issue, creates volume and fullness, while giving you a sleek well-kept brow shape for up to 2 months. Treatments are typically between £30-£50 when combined with a brow tint and shape. A very lucrative service to offer to your clients!

    Highly Defined Brows

    Promoted by celebrities, this treatment aims to create natural-looking brow shape, defined colour and give the illusion of fuller, thicker brows, making these brows a must-have treatment. This high-precision procedure transforms eyebrows into a naturally arched shape, dramatically enhancing and defining facial features. Perfectly-groomed brows are one of the most popular treatments within the salon. Performed by a skilled brow artist the treatment includes techniques to create the desired brow shape and appearance, including waxing, tinting and threading.

    Our Highly Defined Brows Training Course is a generic treatment course designed to teach you one of the most popular beauty treatments currently offered within the industry. You will learn a range of brow-grooming procedures, including waxing, threading and tinting of the brows, to allow you to competently offer this in-demand treatment from home and/or mobile, creating a natural-looking arches and a defined brow shape for your clients. These treatments typically earn you between £25-£40! Clients return every 3-6 weeks to maintain their precise brow shape, keeping your appointment book filled!

    Henna Brows 

    Similar to brow tinting Henna colours the natural brow. Henna is a natural alternative to other chemical dyes and is plant based making it an appealing option for colouring the brow and creating a more expressive brow. Henna also creates a better skin stain which gives a denser, fuller brow. Although a safe way to colour the hair and skin it is vital to perform a patch test when using Henna to check for skin reaction.

    On our Henna course you will learn a range of brow-grooming procedures, including hot waxing, and application of henna of the brows, to allow you to competently offer this in-demand treatment from home and/or mobile, creating a natural-looking arches and a defined brow shape for your clients. Earn up to £35 an hour providing these lucrative brow treatments!

    Want to up your Brow Skills & start earning up to £40 an hour? Explore our ABT Accredited Courses:

  • How to start a side hustle Beauty Business along side your existing job

    How to start a side hustle Beauty Business along side your existing job

    Research suggests that 35% of people in the UK now run their own side hustle business. Many side businesses start out as hobbies along side your current job, eventually becoming your main source of income! With Beauty services surviving recessions, it makes them the ideal option to kick start something on the side. Becoming a Therapist or Technician is ideal if you’re looking for something to fit around your current life, work and family.

    We’ve collated our top tips to support you in making your first steps to starting your side hustle business!

    Find your passion

    The first thing to consider when starting a side beauty business is what area of beauty interests you. It can be easy to jump in and want to offer all services, the pitfall of this is becoming a ‘jack of all trades’. We would always recommend starting off with the treatments you feel most passionate about, whether it’s Lashes, Nails or Make Up, finding your passion will mean you’ll be excited to put the time and energy into practicing your skills and offer amazing treatments to your new clients!

    Training

    In order to get started with offering treatments to clients you will need to gain insurance. For insurance providers to cover you, you will need to have relevant qualifications in the treatments you are providing. Our Accredited Online or 1 day Diploma courses are ideal to get started alongside your current job. Online courses allow you to study conveniently, while managing your current commitments. Accessible 24/7 through our online student portal, learn in your own time, at your own pace. Alternatively you may prefer to have a tutor on site to guide you through face to face, making the 1 day Diploma courses the ideal option as they are fast track, available 6 days per week all year round and offered across our 10 training centre locations across the UK. Both online and classroom based training provide an accredited certificate that is recognised to gain insurance to work freelance!

  • Introducing Mega Volume Lashes…

    Introducing Mega Volume Lashes…

    Ready to take your Russian lashes to the next level?

    The Russian Volume lash technique was introduced by Russian lash artists approximately 7 years ago. This revolutionary method allowed multiple lashes to be applied safely to a single natural lash with the use of super fine, light weight lashes (0.05 – 0.07). The technique involves several different fanning techniques to create up to 9-dimension beautiful symmetrical fans.
    Since then, Russian Volume lashes have been in high demand and all the while, fanning techniques and synthetic lashes have continued to evolve. Further ultra-thin, light weight lashes (0.03 – 0.04), optimised lash tools and enhanced lashing techniques have made way for Mega Volume Lashes; 10- dimension and upward fans and lash bouquets! The perfect solution to fulfil client demands for fuller light fluffy colossal lashes!

    Eyelash extensions continue to be hugely popular and in-demand treatments but it is a competitive industry and it is vital to ensure you have the highest level of knowledge and skills to meet the needs of your clients. Lead by celebrities and fashion trends, mega volume lashes are the latest ‘next big thing’ and it is important you are able to provide these advanced services as a lash technician. This course will teach you to take your lash treatments further, covering all aspects to create stunning 10D+ lash looks that stand out from the competition and have your clients returning to you regularly to maintain their lashes.


    Do I need prior experience to complete this course?

    Our advanced Mega Volume lash course is suitable for lash technicians who have some experience of Russian volume lashes and would like to up their skills and expand their current lash designs. This course will guide you through the latest mega volume tips and techniques, covering the appropriate products and equipment required for mega volume lashing, different ways of calculating lash volume, lash styling including templates and fanning techniques to create 10D+ beautiful volume fans!

    If you are beginner to eyelash extensions, we recommend you complete our courses in Classic & Russian volume lashes first (or alongside this Online course), to develop the knowledge of fundamental lash extension skills and techniques to enable you to learn these more advanced treatments.

    What’s involved with an online course?

    Our online course will teach you to perform mega volume lash eyelash extension treatments with confidence. 

    Guided by our comprehensive study materials and video tutorials, this online course will take you through the process to perform these hugely popular treatments, as well as learning the theoretical knowledge and safety procedures involved in practising these treatments to an industry-standard.

    You will be required to complete test your knowledge questions and case studies of practical treatments.

    Our online courses are fully accredited by IPHM to allow you to gain insurance to work from home or mobile upon completion!

    What does the course cover?

    • Refresher on essential health, safety, anatomy & physiology related to lash treatments
    • Fundamental mega volume lash techniques & tips
    • Products & equipment for mega volume lashes
    • Calculating lash volume
    • Lash styling including templates & fanning techniques to create:  Cat eye with L lashes, Open eye effect, Top lash line & Wispy look
    • Lash corrections using colour

    Do I need a kit? 

    To enable you to make the most of this professional course, if you do not already have lash extension products; we advise that you purchase an optional starter kit to practice with and then for using on your first few clients.

    How can I book this course?

    Book securely online, by clicking below to learn more and enrol online. Got questions? Call on team on freephone 0800 999 2277 or message us using LiveChat on our website!

  • Marketing your new business on social media

    Marketing your new business on social media

    In this week’s blog we’re sharing our top tips when it comes to promoting your new beauty business on Social media. In todays modern world the traditional ways of advertising have gone out of the window, with more and more companies relying on word of mouth and visual representations online to ensure their success. Without social media accounts your business is invisible as the majority of clients admit to checking businesses socials out before they book treatments.

    What are the benefits of social media? Think of social media platforms as your virtual shop window, it represents everything you want your business to be know for. They’re also a great way of staying connected with clients, building relationships and a loyal client base as well as networking with other businesses.

    Here are our top tips for promoting your business online.

    1. Target your market audience

    The social media platform you choose to use should depend on your client demographic. Younger users are choosing platforms TikTok and Snap chat over Instagram and Facebook. Instagram is a very popular choice for millennials and has an incredible 2 billion person user base! Making it a great choice for a new business. Whilst Facebook still maintains a large 25-35 demographic their largest growing demographic is the 65+ group. Something to consider when starting your socials is the best option for connecting with your target audience.


    2. Promoting your work

    Ensure that your business account is a representation of the work you carry out within the business, this should be separate from any personal accounts. When people search for your business they want to see images of your nails/lashes instead of your dog!

    You only have a split second to grab someones attention when scrolling through their socials. You need to make your posts as impactful as possible, whether it be through images of your work or video clips. To get the best images you may want to invest in equipment such a good quality camera, a ring light and for videos a sturdy camera stand for smooth footage.

    Before and after images work incredibly well to showcase the work you do, these are found to get more interaction from users.

    3. Schedule your posts

    It can be busy work starting a business and finding the time to update your accounts may become a challenge. Aim to set some time each week to preschedule and plan your posts for the week to save on any last minute panic posts! Facebook and Instagram are connected through Meta and have useful integrated systems to allow you to schedule posts in advance. There are also companies such as Hootsuite which can do this for you using an app.

    Research the times of day that are the best to post on your chosen platform, for example the most used time on instagram is 10am-1pm, with Tuesdays and Wednesdays being the most popular days.

    Aim to post once a day and keep your follows engaged by regularly posting stories.


    4. Connect with your audience

    Make sure to take the time to reply to comments and messages on your accounts. By connecting with your followers your building an online community and loyal client base ready to book their next appointment!


    5. Use #hashtags

    Hashtags are a way of getting your posts seen by more people so great for growing your following! You can use unto 30 hashtags per post, however posts with excessive amounts of hashtags are seen as spam so avoid using too many! Creating your own hashtag such as #lashesbygrace can allow clients to follow your work directly! Encourage your clients to use your hashtag to gain a momentum.


  • Why should you advance you lash skills beyond Classics

    Why should you advance you lash skills beyond Classics

    New to the world of lashes? Starting out as a Lash Tech can be a rewarding job and great income booster! It takes a while to perfect your skills which is why we always advise starting with Classic Individual Lash Extensions. If you’ve got the to the stage where you feel confident with individual lashes and want to take your lash artistry to the next level we’re here to help! In todays blog where looking at the benefits of incorporating Hybrid and Russian Volume lashes into your skill set!

    Firstly, whats the difference? 

    Classics:

    Classics are the most common type of extension and are perfect for creating a natural look, ideal for clients who are looking for a natural lengthen and volume without the drama.

    They are applied in a 1:1 ratio, one lash applied to one lash. The other main difference is the thickness of the lash ranging from 0.10-0.15

    Classics vary in price, lash techs on average will charge on average £40 for a set


     Russian Volume 

    An advanced technique that requires lots of practice.. Russian lashes use fans created with individual lashes to apply to the natural lash.Typically, a volume lash uses 2 to 5 extensions per fan while a mega volume fan uses 6 to 16 artificial lashes.

    This creates a very full, dramatic look. Ideal for clients that are looking for a fuller, less natural look.

    A set of Russians range from £60-£70


    Hybrids 

    One of the newest and most popular styles combines Classic and Russian volume styles, using a blend of individual lashes with fans to create a full, glamorous set!

    Hybrids can still have a natural look and take some practice to perfect, these are the sets that take the most artistry to deliver.

    Hybrids on average can set clients back £55 for a full set


    What are the benefits of branching out into other lash styles? 

    1. Client base. It will allow you to tap into a new client base. Clients looking for fuller, bolder lashes will prefer Russian Volume and Hybrid lashes
    2. New skills. If you’re now a master of Classics you might be looking for more of a challenge, starting to practice lash mapping, making fans and building your skills in lash artistry could be the challenge you’ve been looking for!
    3. Business marketing. Russian Volume and Hybrid lashes are extremely popular, in regards to marketing your business they may be the treatments you need to start boosting your social presence, use before and after photos, videos and tutorials to build your social media using the hashtags #Russianvolume and #Hybridlashes
    4. Increased revenue. You can charge more per set for Russians and Hybrid lashes, taking your average hourly income from £30 up to £70!


    Where do I start?

    Our one day Accredited Diploma courses are the perfect way to get you started with new skills, you’ll learn the theory relating to the lash treatments and the rest of the day will be getting hands on practical experience. On Russian Volume training you will learn how to make your own fans and apply them using Lash Mapping techniques and on the Hybrid course using pre-made fans along with Individual lashes to create new, bold looks. I addition to applying lashes, on the Hybrid course you will also learn the skill of lash tinting, a great add on service for your clients with natural lighter lashes.


  • What are Quick Dip nails?

    What are Quick Dip nails?


    Looking for a nail system that lasts longer than Gel Polish? Look no further than Quick Dip nails. Although the Quick Dip trend isn’t new, a recent increase of social posts is rocketing the service, making it a more popular choice for clients and Nail Techs alike. Who doesn’t want a manicure that lasts a full two weeks?


    What are Quick Dip/Powder Dip nails?

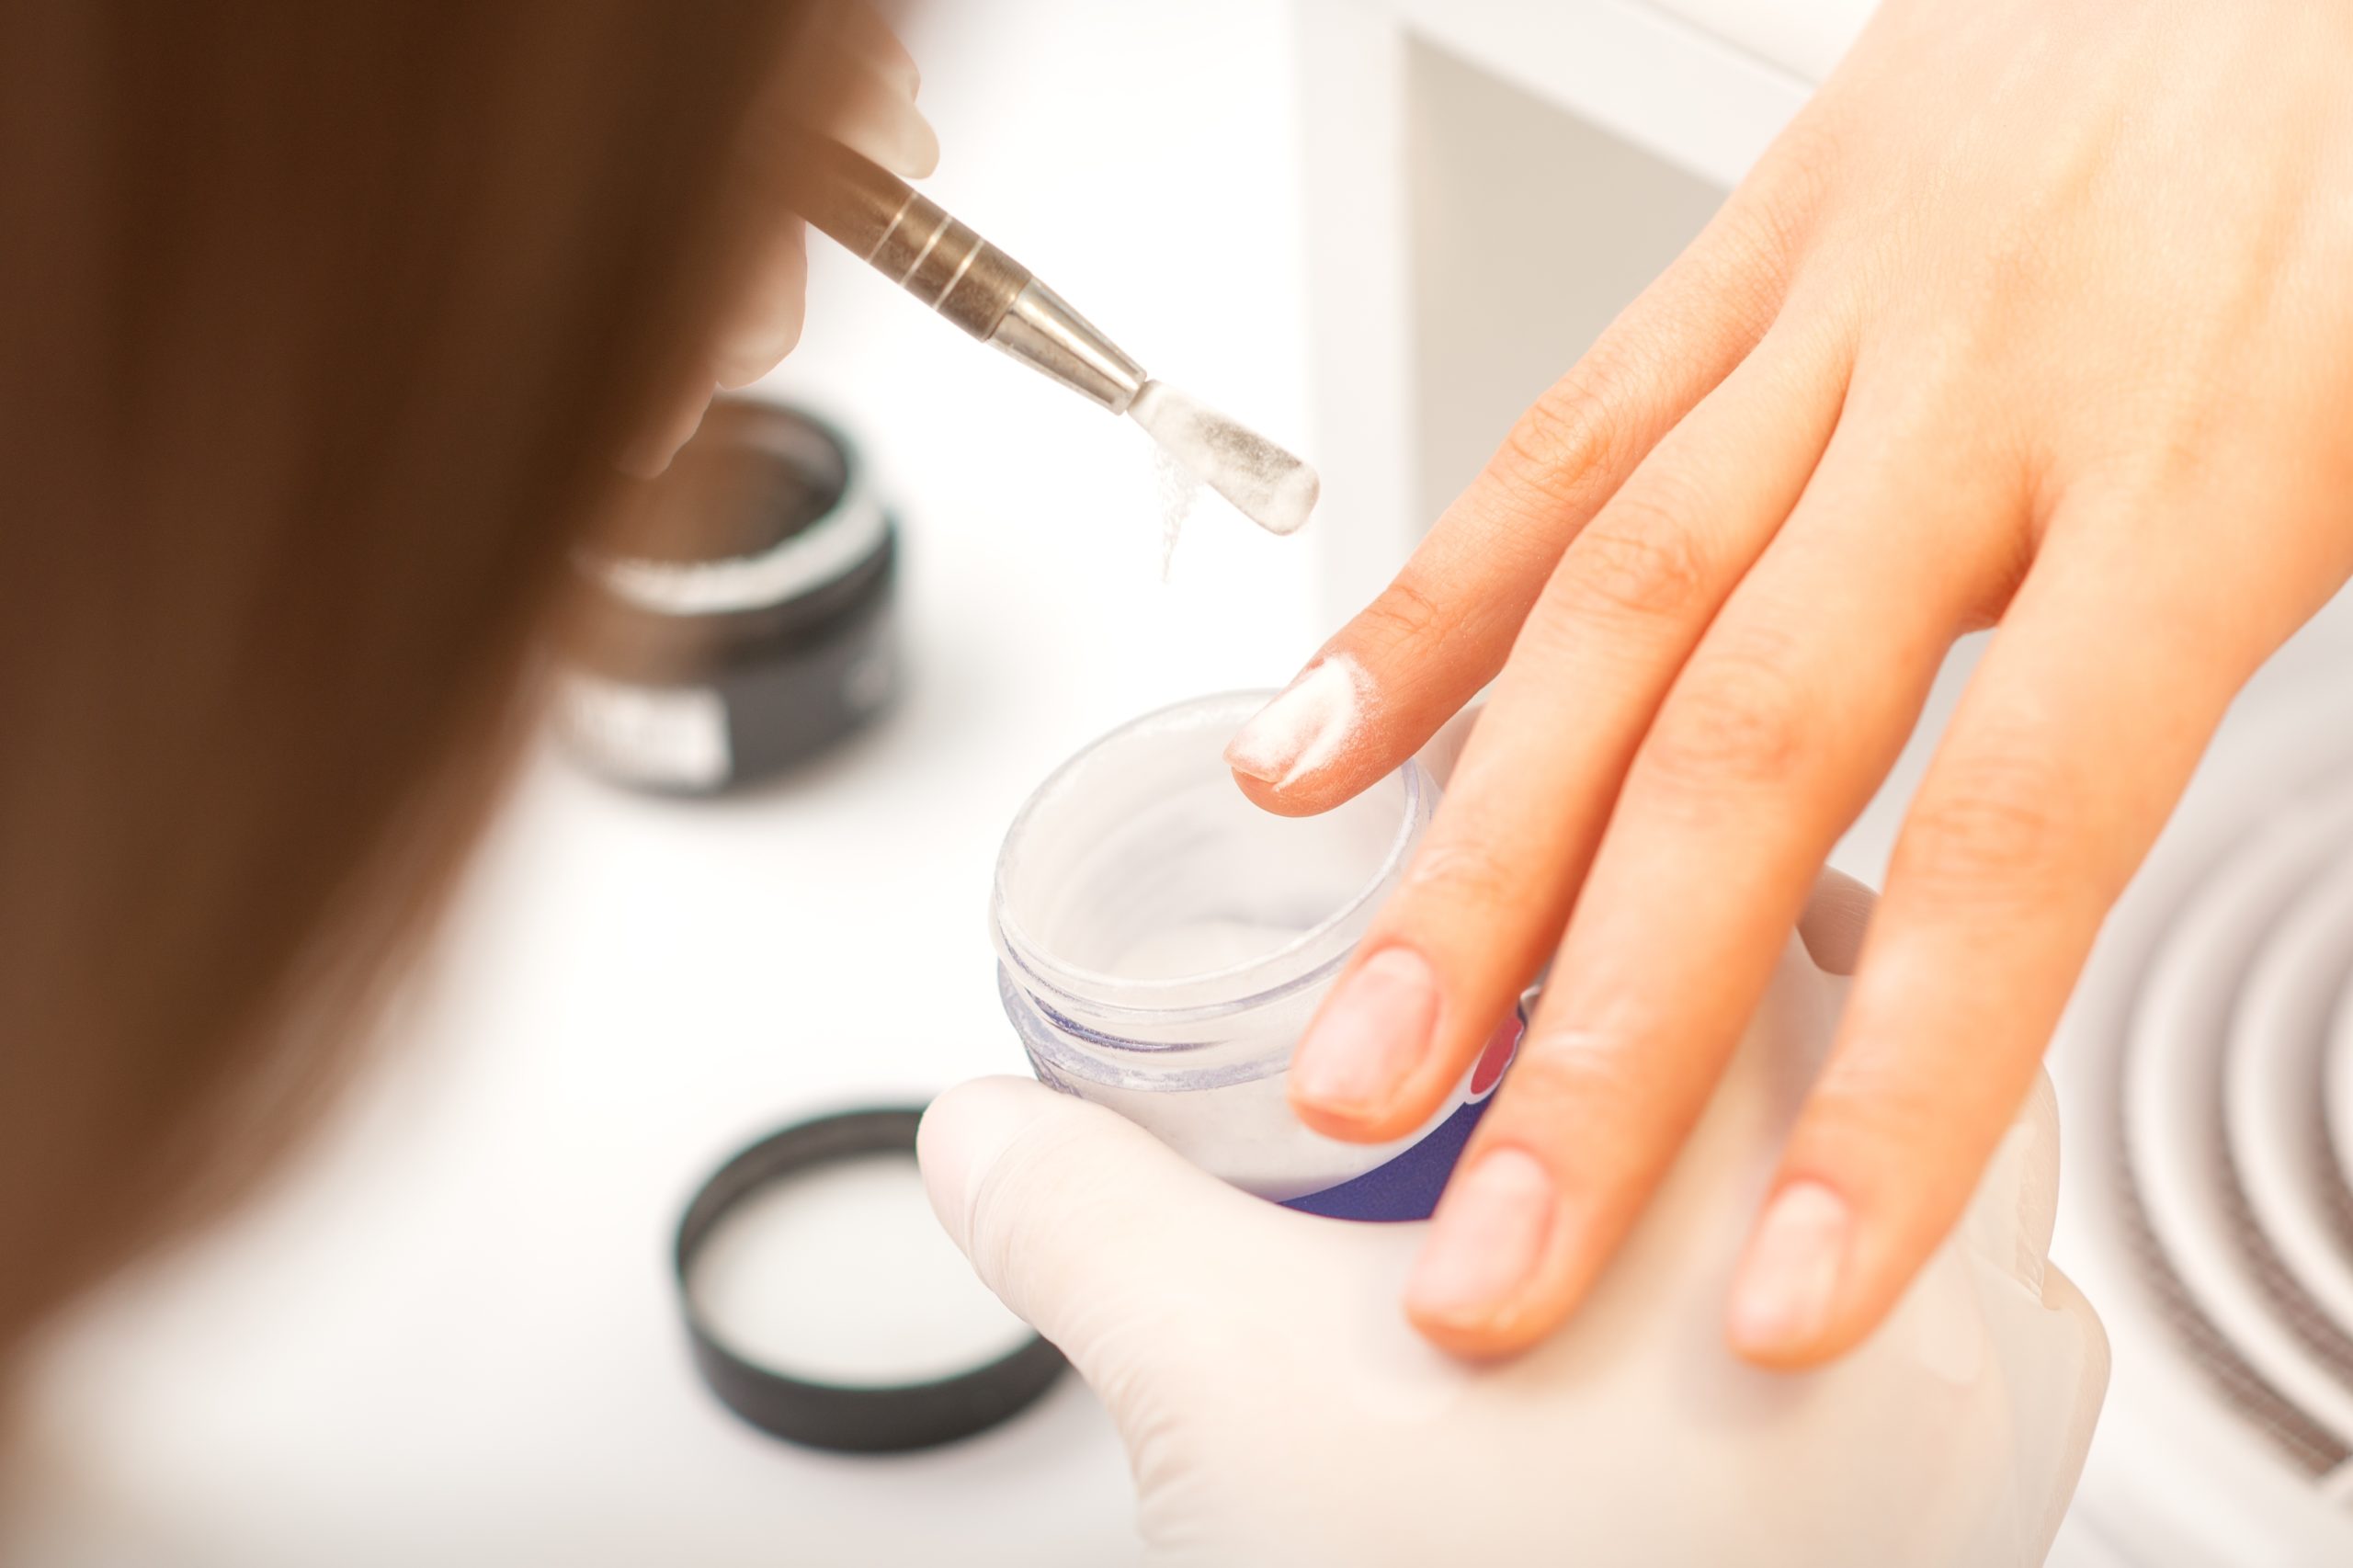
    Sometimes referred to as the ‘Diet Acrylic’ quick dip nail systems are a happy medium between a manicure and acrylics. A simple system that requires a base coat adhesive applied to the tip or natural nail, then while still wet the nail is dipped into the acrylic powder which hardens when the monomer interacts chemically with powders. This process is then repeated 2-3 times to build a strong enhancement. Activator is then applied to harden the nail. A quick buff, polish and voila a perfectly manicured set in less than an hour!


    What are the benefits Quick Dip/Powder Dip nails?

    The ‘Quick Nails’ system enables the nail technician to create beautifully strong nails in less than 1 hour.

    This can be used over tips or as natural nail overlays.

    Dip systems require fewer tools, no mess and no fuss


    How to perform Quick Dip/Powder Dip nails

    1. Prepare the nails with a dry manicure including cuticle work, filing and buffing
    2. Once the nails are prepared apply nail tips if required
    3. Apply base coat/adhesive to the nails
    4. Dip the wet nails into the powder
    5. Tap and brush off excess powder
    6. Repeat process until you achieve desired coverage (usually 2-3 times)
    7. Apply activator to Harden the nail
    8. Buff and polish


    How to remove Quick Dip/Powder Dip nails

    Quick dip nails should be removed according to the following process:-

    1. Clip the artificial nails to the length of the natural nail below.
    2. File the acrylic layer thin using the 100 grit file, without damaging the natural nail.
    3. Fill a glass dish with pure acetone, and leave the nails to soak for several minutes.
    4. Using a tissue, quickly wipe off the substance that has now softened,. The 180 grit of the file can also be used to cautiously file away the substance.
    5. Once the nails have been removed, the hands should be washed and a manicure treatment provided. For the first few hours following the removal of the acrylic, the nails will feel weak. This sensation will disappear by itself. It is recommended that once the nails have been removed, a nail hardener be used. The nail will then recover more quickly! If the acrylic layer is removed for the application of a new overlay, no manicure treatment should be provided. This will simply make the nails moist and greasy, and the new acrylic layer will not adhere well, and the risk of fungal infection will increase.


    Our Online Quick Dip course is the perfect go to for theory and practical application of these systems. Learn at your own pace, in your own time and receive an accredited diploma. 


  • Which Aesthetic Facial treatment should you choose to meet your client’s skincare needs?

    Which Aesthetic Facial treatment should you choose to meet your client’s skincare needs?


    This week’s blog is all about how to differentiate between the various advanced facial tools at our disposal. The beauty of Aesthetic treatments is that its not one show fits all, as professional therapists its our role to investigate and analyse our clients needs and skin concerns and prescribe the best course of action. We’re going to take a deeper look into four popular Aesthetic treatments, what skin they suit and how to use them in combination with one another to get the best results possible!

    Before you make a decision on the treatment or course of treatments your client should embark on a thorough consultation is needed, this is a bookable service with many clinics charging a small fee for their appointment time. A consultation appointment can range between 15-30 minutes. During this time you can request that the client fill in a facial consultation card so that you may find out more information on their skin care goals, current treatment and products they are using as well as their medical history. Once you have a broader understanding of your clients skin needs we recommend having a look at their skin, a detailed analysis will allow you to identify the skin concerns and areas that need focussing on. Following your investigation, with the client you can start to plan the treatment or course of treatments most suitable…

    What methods are available?

    In todays blog we’re going to focus on four of the most popular Aesthetic treatments in the industry, below you will see their benefits and the skins most suitable to enable you to make informed decisions on the best action to take for your clients skin.

    Derma planing 

    What are the benefits?

    • Removes dead skin cells
    • Rids the skin of ‘peach fuzz’
    • Helps to unblock blackheads
    • Generates new healthy cells
    • Creates healthier, smoother more radiant skin.
    • Corrects uneven skin tone and texture
    • Allows greater penetration for skin care products
    • Reduces the appearance of fine lines and wrinkles

    As Derma planing allows for greater penetration of product it works extremely well with Chemical Peels and advanced serums to further increase their efficiency (always check manufacturers guidelines) There is also the option to combine Derma planing with Micro needling, always perform Derma planing first, this would suit a client with dull, thicker/coarse skin with signs of ageing or acne scarring.

    What skin concerns benefit from Derma planing? 

    • Dull, Dry or Dehydrated skin
    • Sun damaged skin in need of brightening
    • Congested Skin (do not perform on active acne breakouts)
    • Premature Ageing

    Micro Needling 

    What are the benefits?

    • Helps to reduce the appearance of fine lines and wrinkles.
    • Reduce the appearance of acne scaring.
    • Refines large pores.
    • Helps products penetrate deeper into the epidermis.
    • Rejuvenates and firms the skin.
    • Brightens the skin through application of products.
    • Can reduce the appearance of stretch marks.
    • Hyper pigmentation.
    • Rosacea
    • Hair restoration

    What skin concerns benefit from Micro needling? 

    • More advanced ageing concerns i.e lines and wrinkles
    • Sun damaged skin in need of brightening
    • Acne scarring (do not perform on breakouts)
    • Stretch marks

    Micro needling works extremely well with LED light therapy, using a red LED light following Micro needling will support the healing process further and help to stimulate collagen production.


    LED Light therapy 

    What are the benefits?

    Benefits:

    • Reduce and heal acne
    • Prevent acne breakouts
    • Reduce age spots
    • Reduce freckles
    • Reduce Hyper pigmentation
    • Reduce sun damage
    • Reduce large pores

    What skin concerns benefit from LED Light therapy? 

    • Sensitive and rosacea skins
    • Acne breakouts
    • Premature ageing
    • Hyper pigmentation

    As a main function of LED light therapy is to promote healing it compliments all Aesthetic treatments. Use after chemical peels, derma planing and micro needling services to promote healing and wound repair.

    Chemical Peels 

    What are the benefits?

    • Reduce fine lines under the eyes and around the mouth
    • Treat wrinkles caused by sun damage and aging
    • Improve the appearance of mild scars
    • Treat certain types of acne
    •  Reduce age spots, freckles and dark patches (melasma) due to pregnancy or due to taking birth control pills
    • Improve the look and feel of the skin generally.

    What skin concerns benefit from Chemical Peeling? 

    • Dull, Dry or Dehydrated skin
    • Sun damaged skin in need of brightening
    • Congested and Acne prone skin
    • Premature Ageing

    Interested more in Aesthetics? Our Ultimate Aesthetics training package includes everything you need to get started within this arena!

    This training package combines all of our Aesthetics Courses, plus covers knowledge of anatomy and physiology. Ideal for those new to facial treatments / aesthetics and looking to take their beauty career to a specialist level. These lucrative and in-demand treatments will typically earn you between £40-£100 an hour. There has never been a better time to train within advanced facial skincare!

    As part of this two day training course package, you will learn the most popular advanced skincare treatments in the industry and how to combine these treatments to provide specialised and tailored facial skincare to meet the needs of your clients, whether they are seeking clearer skin from acne conditions to skin plumping from the anti-aging benefits. 

  • Should I invest in Microneedling?

    Should I invest in Microneedling?

    Medical microneedling, also known as collagen induction therapy, has been widely used in aesthetic medicine for many years. The first recorded use of microneedling was in 1905 by German dermatologist Ernst Kromayer. He experimented with various-sized dental burs mounted on motor-driven flexible cord equipment and used this technique to treat scars, birthmarks and hyperpigmentation.

    By 1995, a new technique was discovered by Dr Desmond Fernandes for the treatment of wrinkles and scars with the use of hypodermic needles. Around the same time, Dr Fernandes developed a small needle stamp to induce collagen production. This later led to the development of our modern micro-needling devices.


    What are the benefits of Micro needling? 

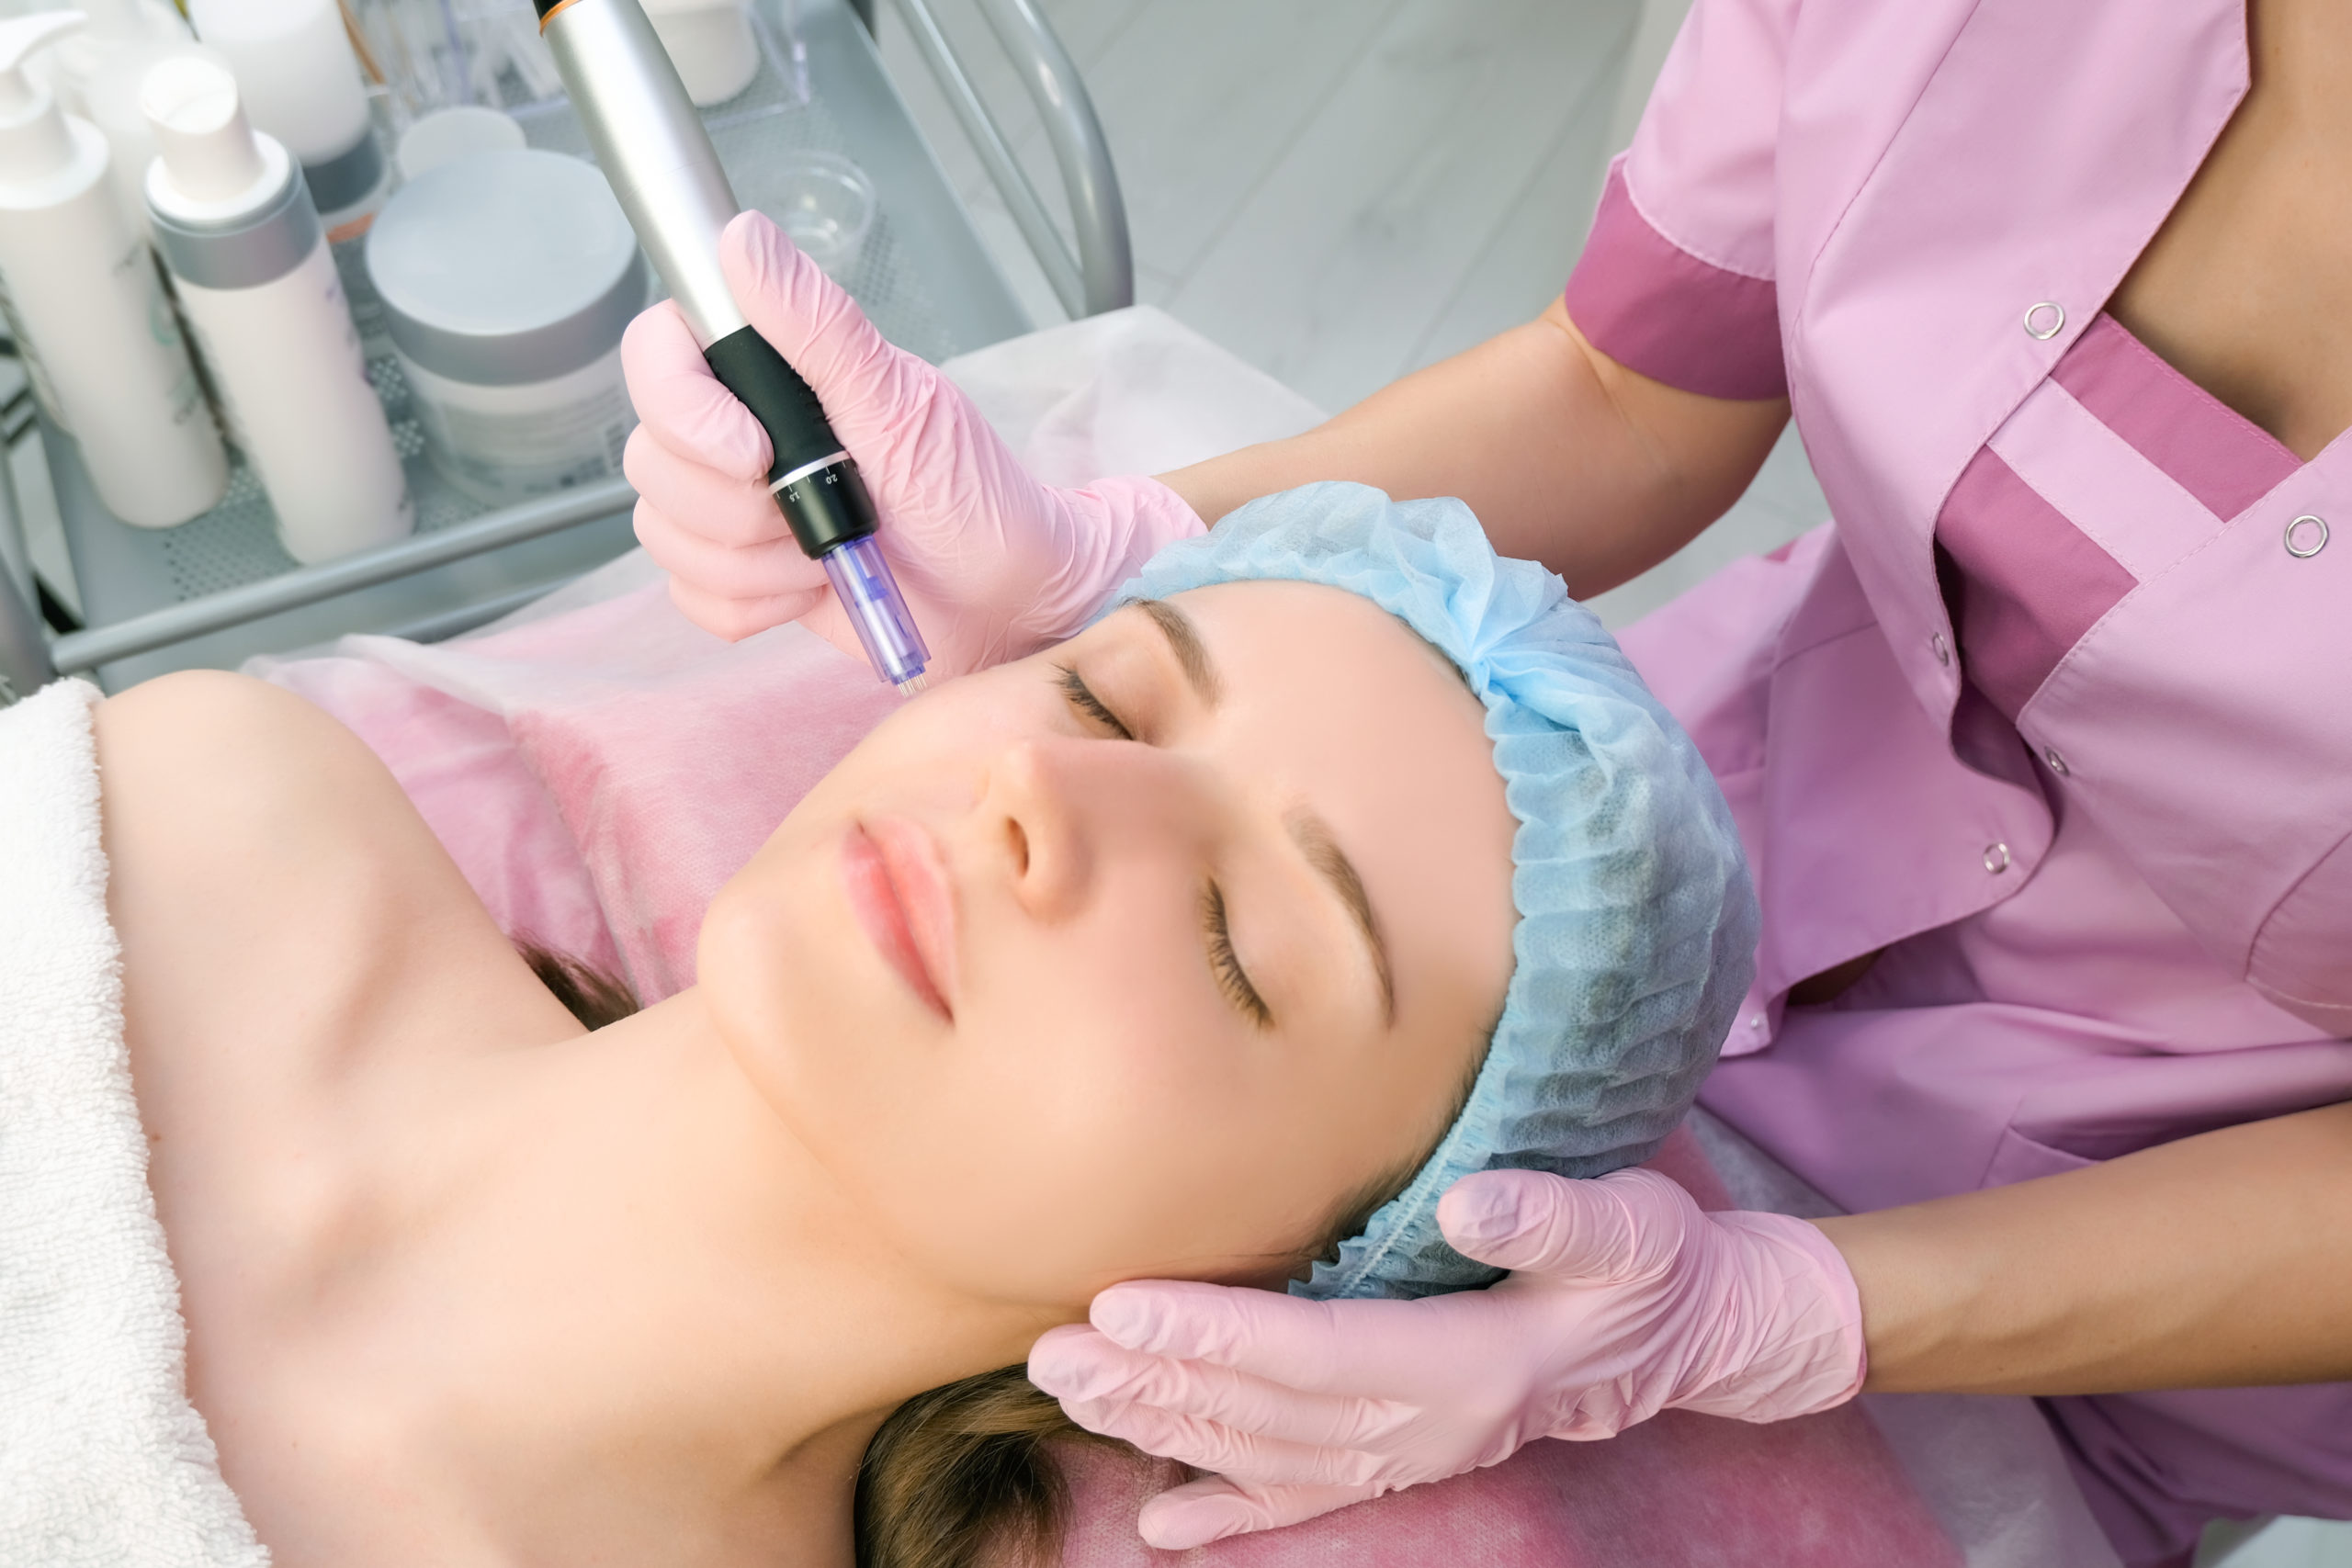
    Microneedling works by encouraging your skin to make more collagen.The pinpricks from the procedure causes slight injury to the skin and the skin responds by making new collagen-rich tissue. This new skin tissue is, in turn, more even in tone and texture. Because the needles used in this treatment are so small and penetrate very shallowly into the skin, microneedling is generally not painful. However, it stimulates your body’s natural wound response, forcing your skin to heal. The treatments biggest appeal is the minimal downtime, normally within 24-48 hours.

    • Helps to reduce the appearance of fine lines and wrinkles.
    • Reduce the appearance of acne scaring.
    • Refines large pores.
    • Helps products penetrate deeper into the epidermis.
    • Rejuvenates and firms the skin.
    • Brightens the skin through application of products.
    • Can reduce the appearance of stretch marks.
    • Hyper pigmentation.
    • Rosacea
    • Hair restoration


    Derma roller or Derma pen? 

    Skin-needling can be a very personal preference, however more experience will generally leave therapist craving the digital skin needling pen. The skin needling pen can adjust the needle depth and speed for different skin types, thicknesses and also conditions. The puncture wounds with the digital pen are generally finer and can produce more punctures and can be less painful in the skin.

    The digital skin needle pen (dermapen) can be expensive as a first purchase but can work out much more cost effective as the needle heads generally work out a few pounds dependant on where you purchase them. They can be purchased from a 12 pin to 36 pin. The 36 pin can feel more comfortable for the client as the surface area is larger.

    Derma skin rollers can range from £10 to £35 per roller depending upon the supplier. The rollers are available in a variety of needle length options.

    Derma skin rollers create a cone like shape in the skin so can be more painful for the client and also can create more trauma in the skin.


    How much can I charge?

    Micro needling treatment costs can vary depending on the area that is being treatment, the products and the combination of other modalities such as peels and LED light therapy. Treatments would usually start at around £150 per session, typically clients need 3-5 sessions to treat a more advanced concern such as acne scarring but may see improvement after the first session. Many clinics and skin centres will offer a consultation prior to a treatment session for the therapist to assist the treatments needed and provide the client with a quote for their services, including the amount and frequency of the treatments. Microneedling for larger areas of scarring such as areas of the body for scarring and stretch marks can start at £250 per session ranging to £450 for a longer session time.


    How do I train? 

    Our half day Micro needling course is an intensive advanced facial skincare training course that will teach you to deliver these in-demand treatments with confidence.

    The course will cover the following areas:

    • Revise Skin Anatomy & Physiology
    • Health & Safety
    • Correct selection & use of products/tools
    • Overview of Microneedling
    • Consultation & Contraindications
    • Treatment Procedure
    • Homecare & Aftercare

    As part of this course, you will complete online study prior to attending the practical training to cover the essential theory around anatomy, physiology, health and safety and theory of the treatment. Our team will also contact you by phone for a mini-consultation prior to confirming your training place to ensure you are free of contra-indications to fully participate in the training & hold the entry requirement qualifications.

  • Ultimate guide to Kim K Lashes

    Ultimate guide to Kim K Lashes

    What is the Kim K Lash look

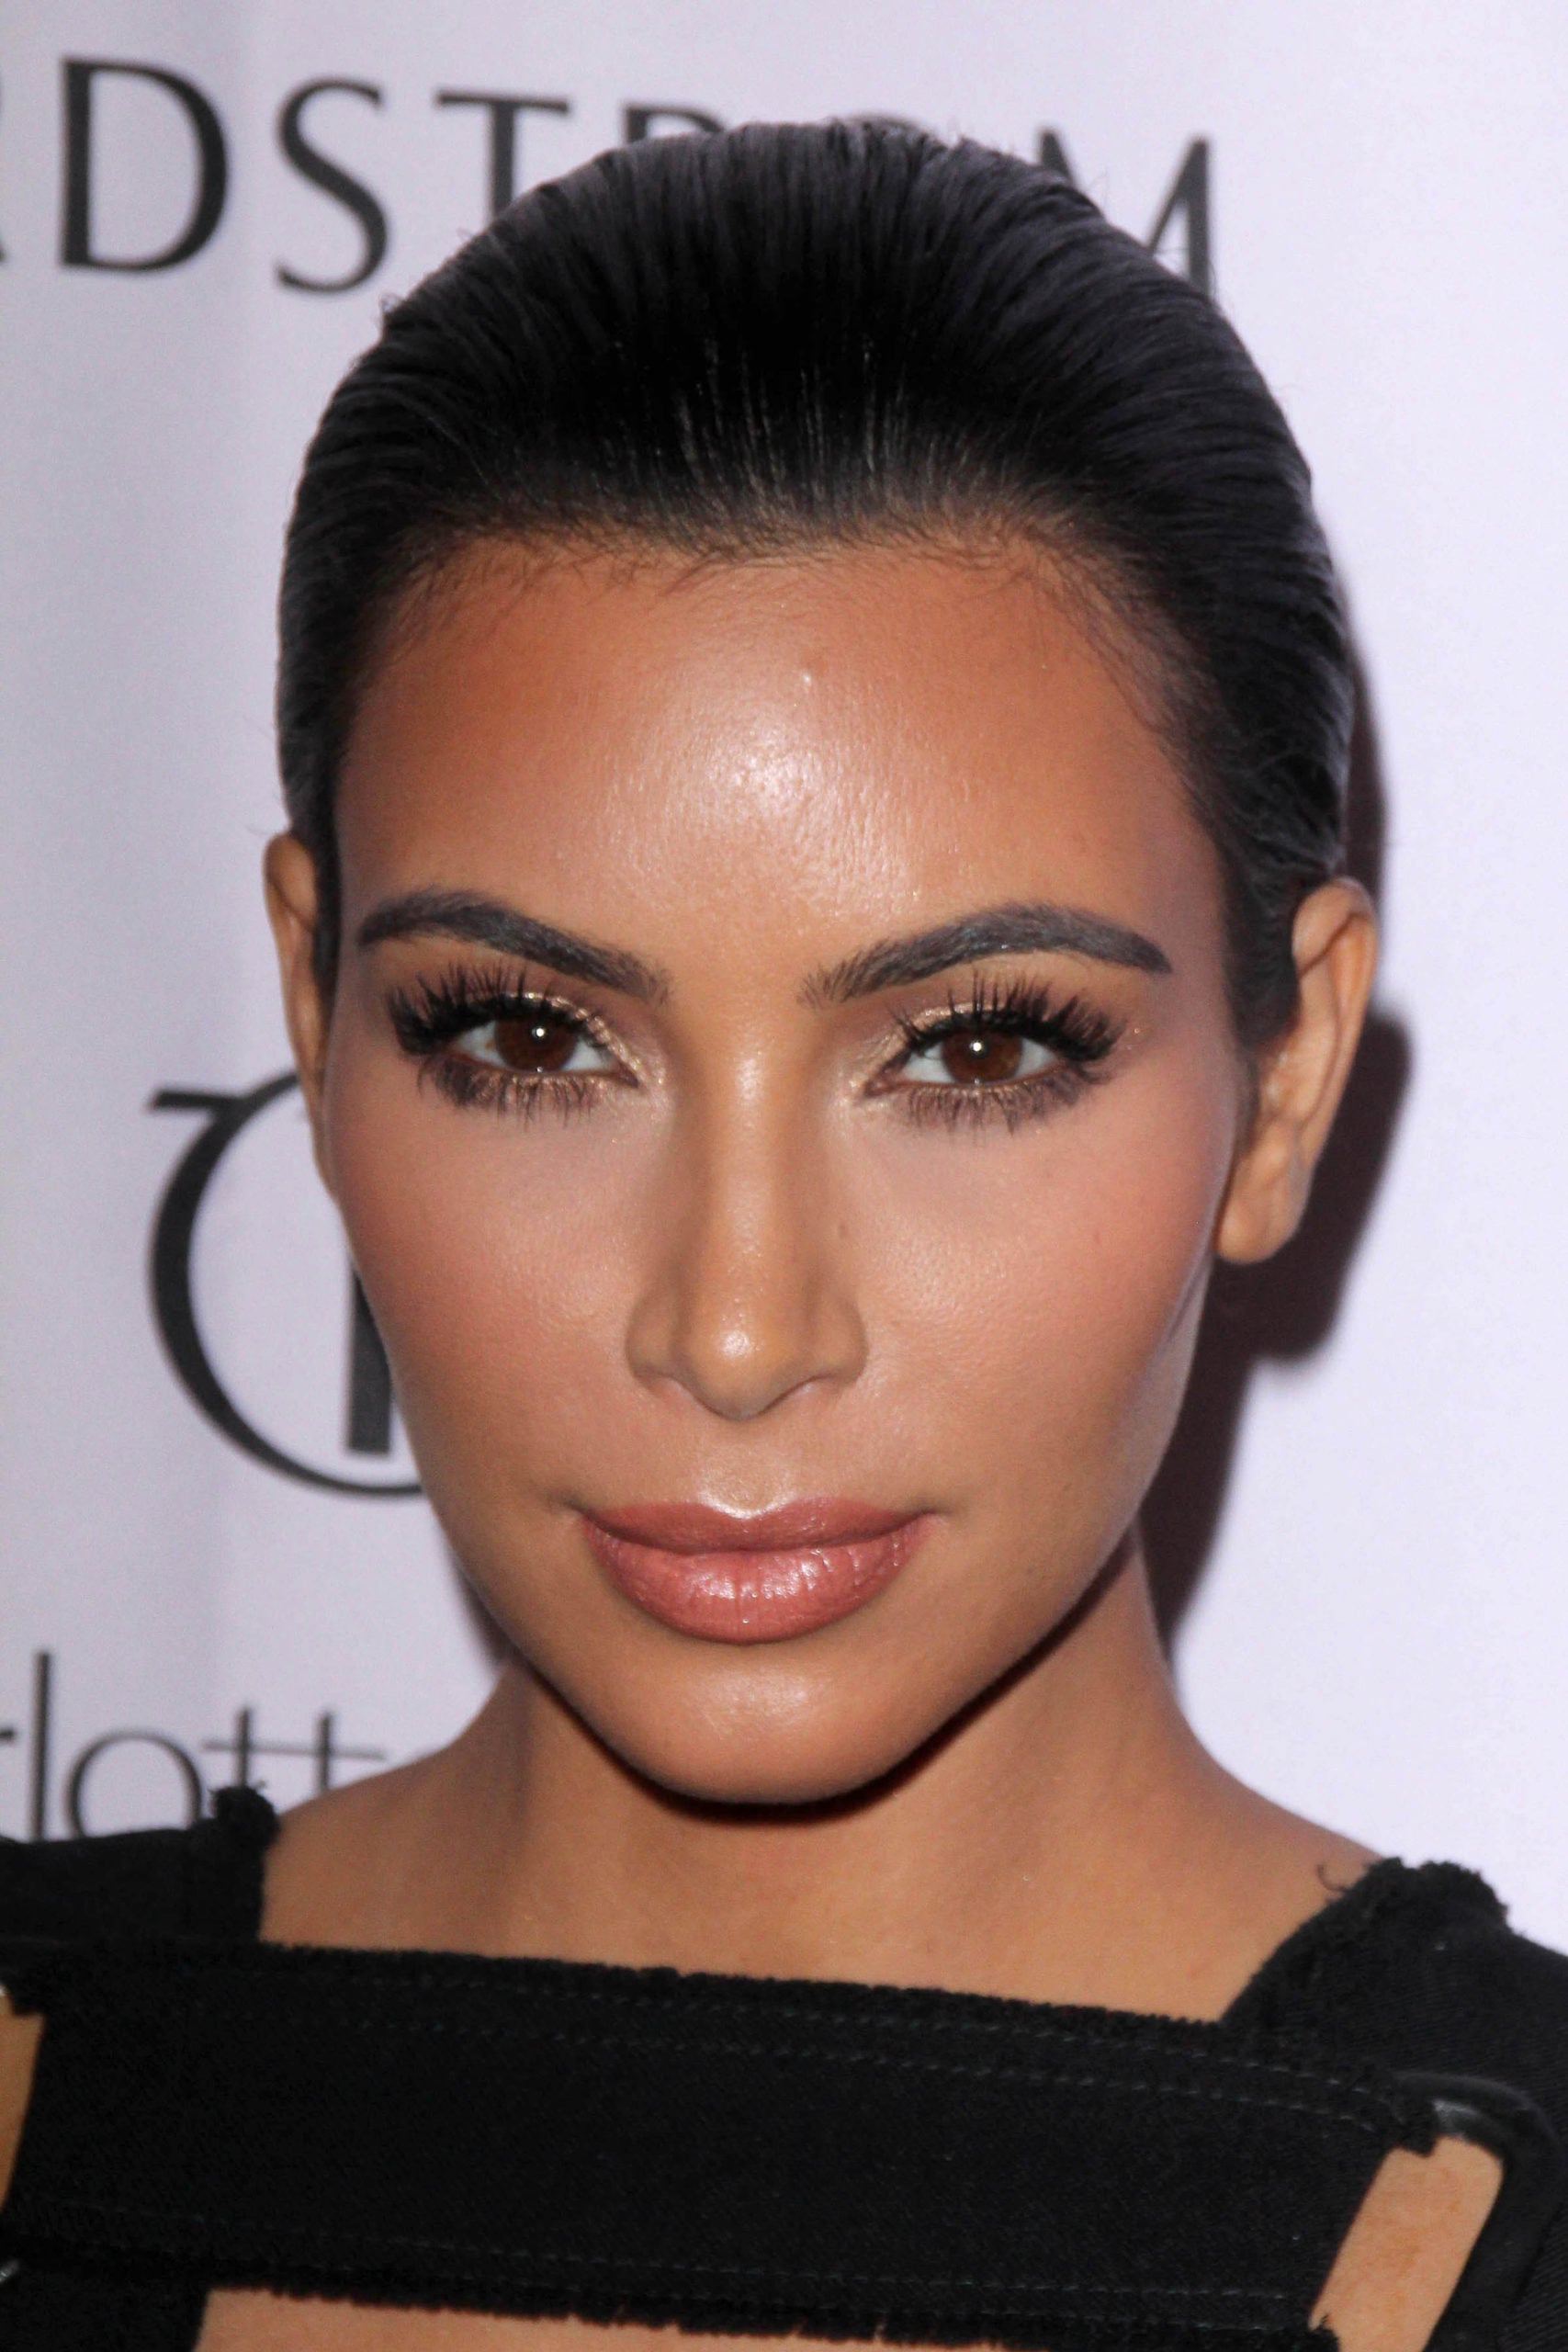
    The Kim K Lash look focusses on creating a wispy, spiked look. It’s a style that’s becoming increasingly popular with clients. This look is designed around applying longer lashes at equally distanced points along the map, this creates a fuller, fluffier look. Ideal for clients with smaller eyes and a high set brow, this map can create the illusion of larger eyes. This is a map that benefits from a lot of practice!

    To create the perfect Kim K look the key to master a wispy lash map. You will need to determine which lengths and where to place the spiked lashes to create an even volumed lash. Let’s take a close look at the method..

    Prepare your equipment: You will need your usual lash equipment such as eye pads and lash mapping pen in addition you may want to have some tape at hand for use during the application. An ideal tweezer would be a multifunctional tweezer that can be used with Classic and Volume extensions.

    Before you begin your Kim K Map: Following your clients natural lashes lash line and evenly mark the areas you will be applying your spikes, start at the peak points to create a frame for your map. When creating your spikes it can work best to create various lengths for a more natural/wispy result. Once you have mapped where to apply your spikes we would suggest applying these first prior to filling in the gaps with the following lashes.

    Filling in the gaps: Once you have applied your spikes, you’re ready to start filling in the lashes. The highest point of your lash map should be the middle or outer corner of the lash line, depending on whether you would like more of a foxy look! Professional recommendations would be to use 2 to 3mm shorter volume lashes to attach between spikes. If you choose to use 11 and 12mm for spikes in inner corners, the filling lashes in this area should be 9 and 10mm.

    Remember that practice makes perfect and you may not create the perfect set to start with, stick with it and the more you do the more confident you will become! If you have a lash map you would like to share tag us on your socials @thebeautyacademyuk 

  • Ingredients to avoid with Lash Extensions

    Ingredients to avoid with Lash Extensions


    As a Lash Tech we appreciate it can be frustrating having clients return for an infill only to find a few hairs have stuck around! Often these clients require additional information on how to promote the longevity of their lashes. Many of their skin care and make up products could be unknowingly causing their lashes to fall out sooner than expected due to their ingredients. In today’s blog we’re looking at the main ingredients to avoid to maintain the longevity of your clients lashes.


    Waterproof make up 

    There are two issues with waterproof make up and Lash extensions, the first is that may long-stay or waterproof products contain oils which over time break down the bonds within the glue and cause the lashes to fall out. The second problem is that they are very hard to cleanse off, which would require the client to either use an alcohol or oil based product which can have a negative impact on lashes. It may also lead to clients picking and rubbing the product which will add to premature lash loss.

    Instead of waterproof make up we suggest using a non-waterproof make up and a lash friendly cleanser and to always use a lash shampoo to maintain their lashes at home.


    Oil based products 

    Oil based products are perhaps the biggest culprit for lash loss. Lash glues contain ingredients that are easily broken down when exposed to oils, oils break down the bonds needed to maintain the effectiveness of the glue. Encourage your clients to check their cleansers, moisturisers and serums for oil based ingredients and avoid using these around the eyes.

    What about using oil to remove lashes? This is a question that comes up regularly and although oils dissolve the bonds of the glue we wouldn’t suggest using at home oils such as baby oil to remove lashes, this is because they aren’t affective enough to remove all of the adhesive. Always suggest that they have their lashes professionally removed to ensure all product is taken away.


    Alcohol  

    Another common ingredient in the skin care industry, alcohol is extremely drying to the skin and lashes. It will often be listed as Isopropyl Alcohol or Isopropyl Myristate, encourage client to check their skincare products as the drier their natural lashes the less retention they will have.

  • Can I use Stickers with Gel Polish?

    Can I use Stickers with Gel Polish?


    Noticed an increase in floral nails on your social feeds over the last few weeks? You may be part of the lucky few holding the skills (and patience!) to freehand these intricate designs, if freehand painting is something you’re still practicing there is a simpler and faster technique to achieve this sort-after spring look! In this weeks blog were taking a look at our quick guide for incorporating stickers into your Gel Polish treatments.

    What will I need?

    1. Nail file and cuticle tools
    2. Lint free wipes
    3. Acetone and dehydrator
    4. UV/LED lamp
    5. Gel base and top coat
    6. Gel colours of your choice
    7. Tweezers
    8. Nail Stickers
    9. Cuticle oil

    Step by Step

    1. Prep the nails
    2. Apply Base coat and cure
    3. Apply a single layer of your chosen base colour and cure
    4. Apply another layer of your base colour and cure
    5. Using your tweezers delicately apply the nail sticker to the nail, being careful to press down lightly to avoid denting the last layer. Remember at the stage the nail will have a tacky residue, ensure you apply accurately as you wont be able to remove the sticker and try again!
    6. Finish with application of top coat, curing and don’t forget the Cuticle Oil!


    In need of some inspiration?