

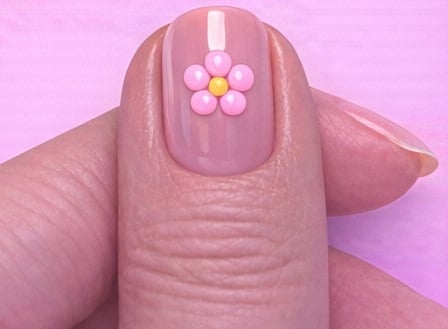
Our fabulous tutor Karen who teaches at our Birmingham Academy has put together this beautiful, quick and simple nail art design that is so effective and a great add-on for your nail client’s this Mother’s Day, even perfect for Spring! Or maybe pamper yourself, just to get people talking and give a great opportunity to convert someone you meet into a new nail client!
Nails
-
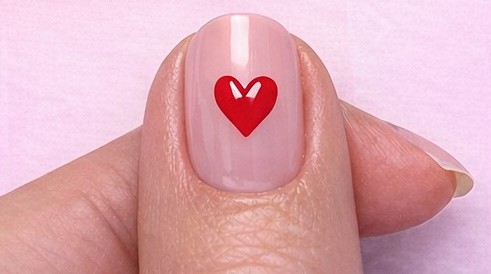
Nail Art to Love… Valentine’s Nail Design How-To
Our esteemed beauty tutor Karen who teaches at our Birmingham Academy has put together this beautiful, quick and simple nail art design that is so effective and a great add-on for your nail client’s in the run up to Valentine’s Day. Even for your own nails, just to get people talking and give a great opportunity to convert someone you meet into a new nail client!
-
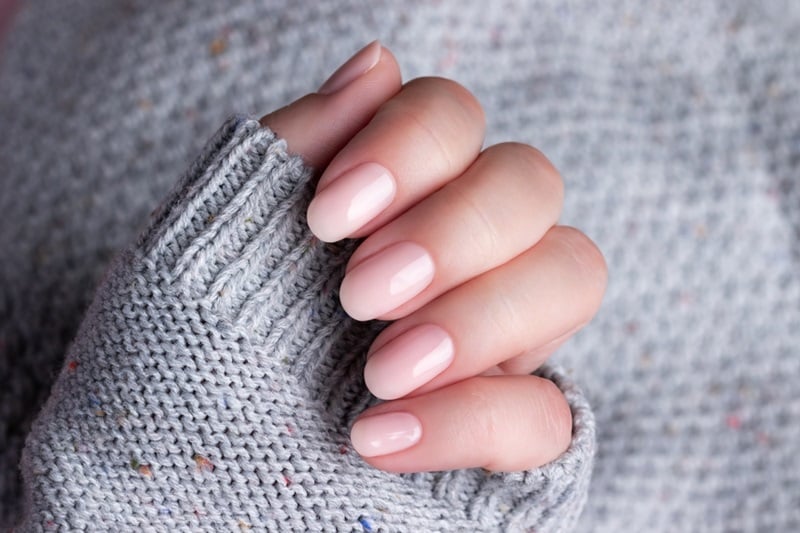
What you need to know about soap nails!
The latest nail trend for 2025 is soap nails – a minimalist manicure suitable for all nail clients! Enough to make even the most steadfast stiletto nail fan turn to a more natural look! But what is this trend and how can you achieve it?
-
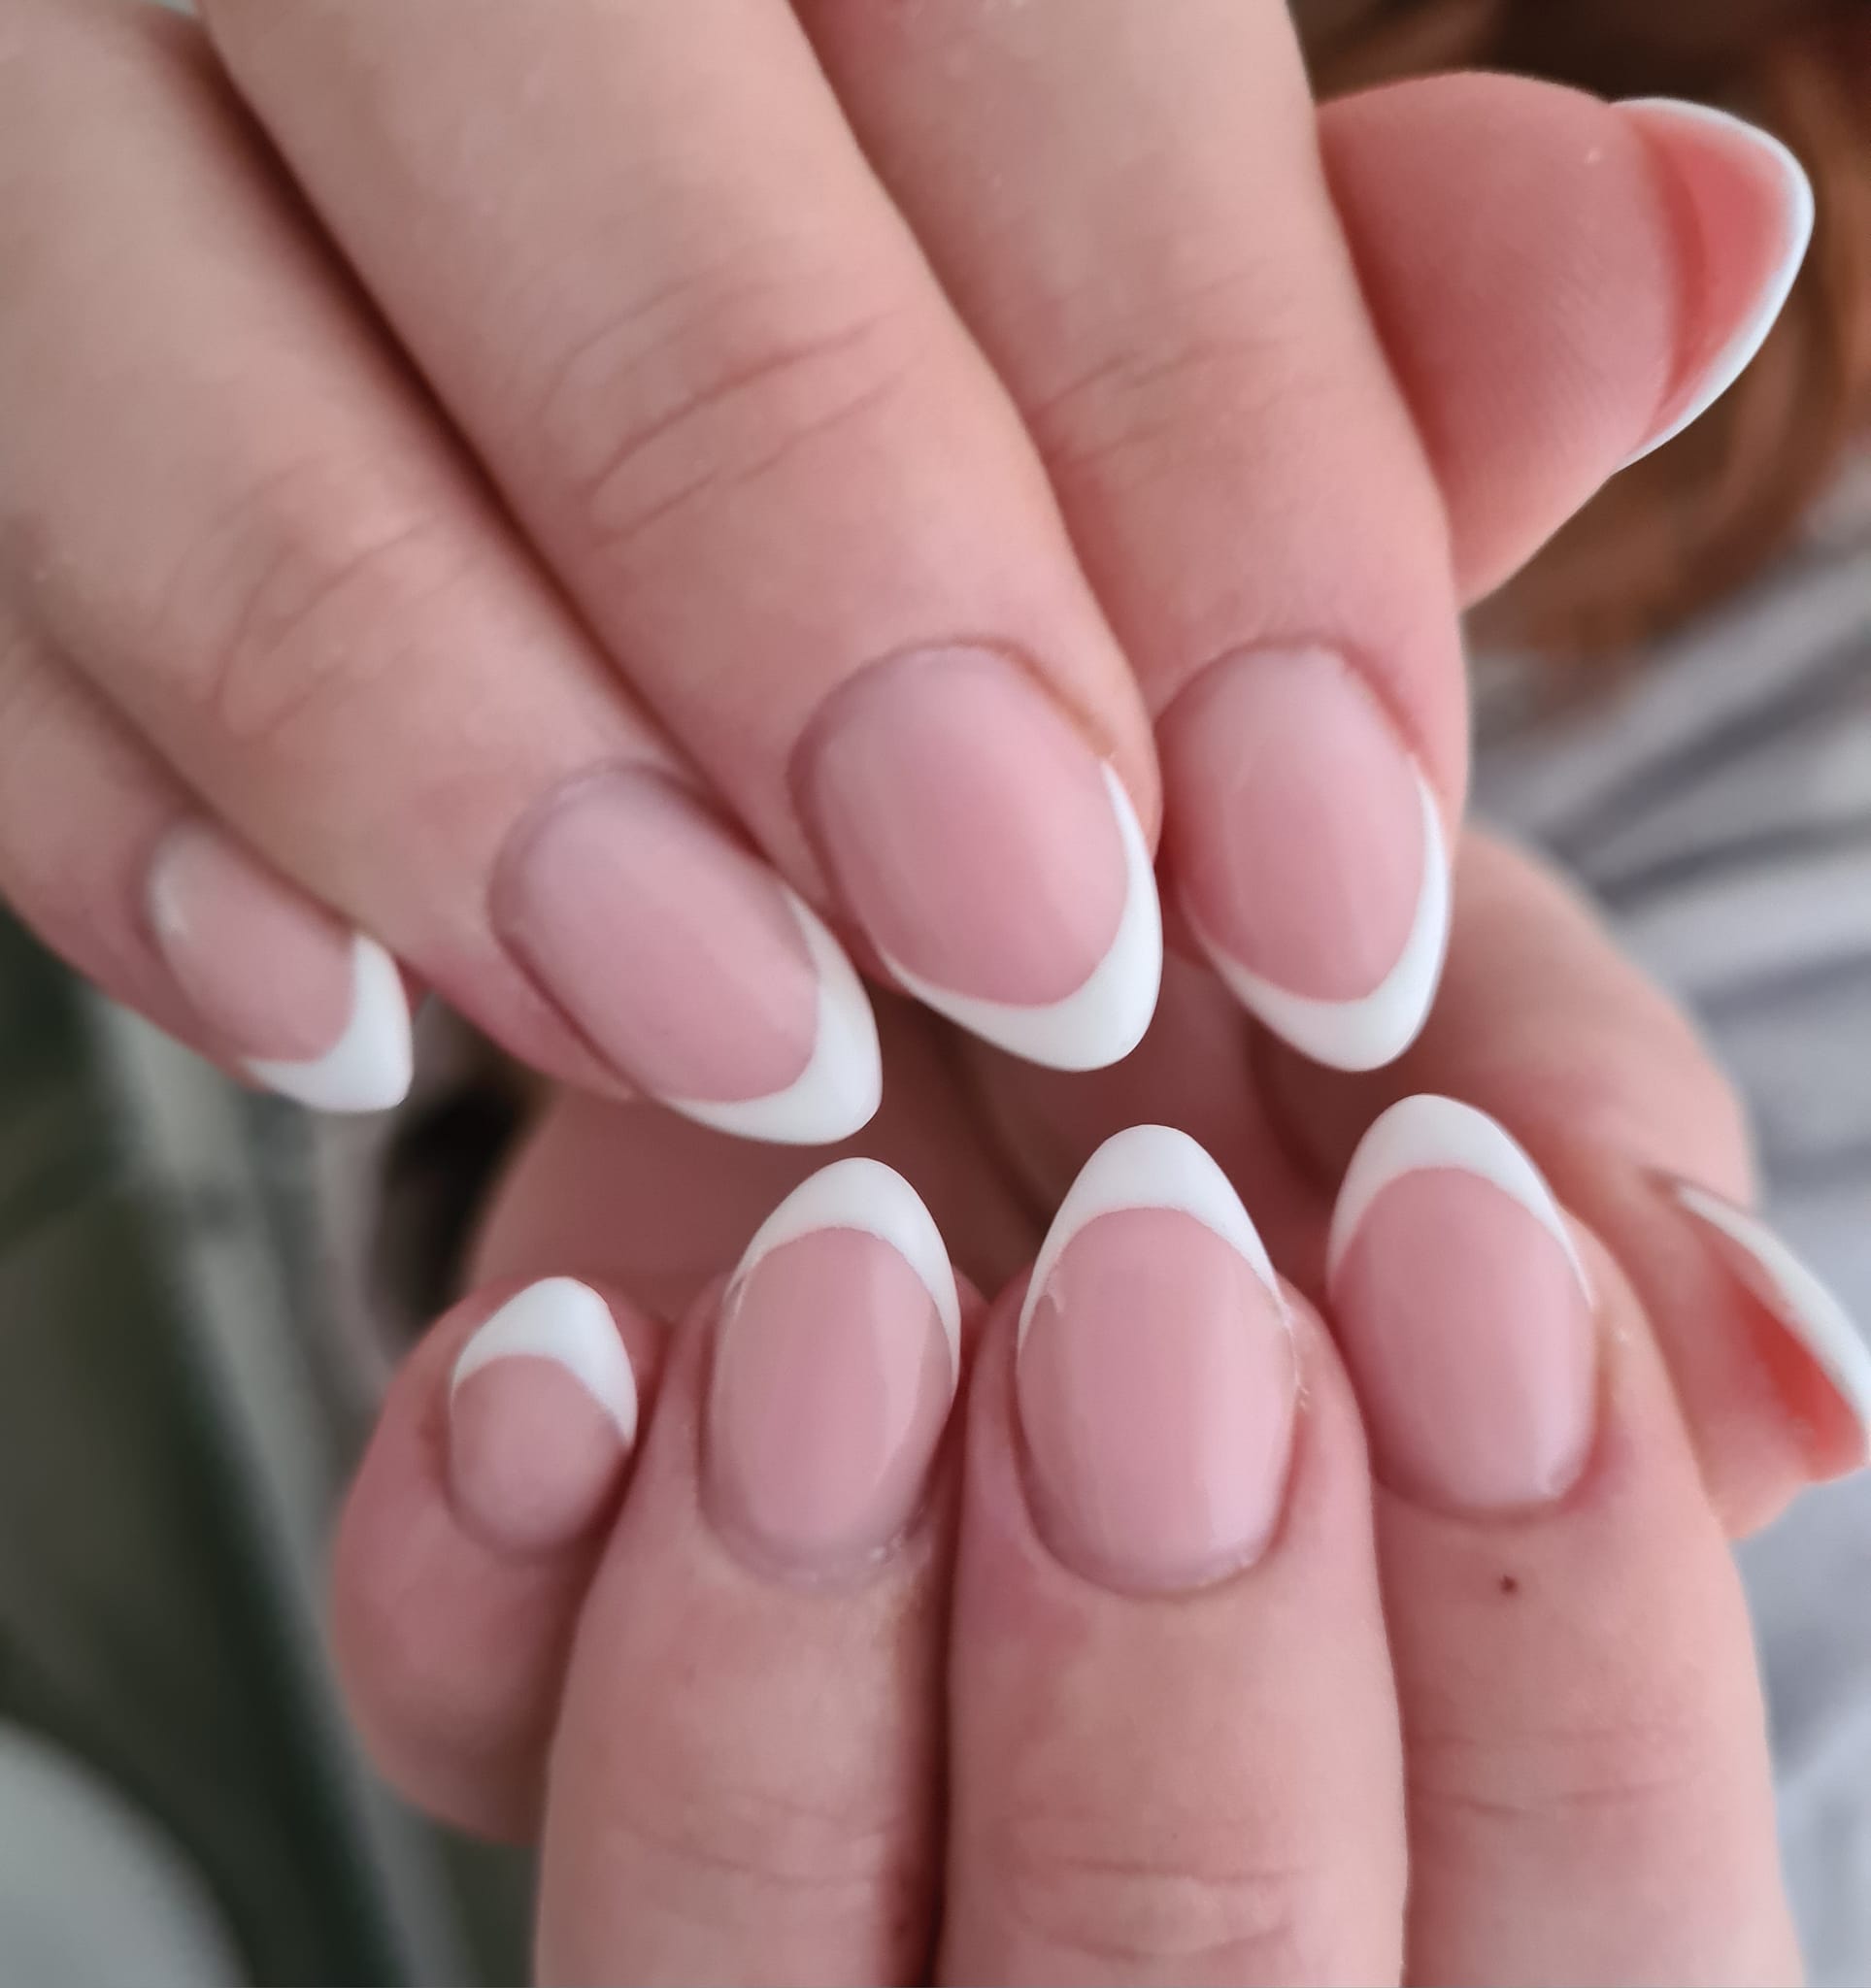
French Tips: A Timeless Classic
What are French Tips and why are they so popular? The style of the French Tip dates back to the 1930s and gained their iconic name in Hollywood in the 1970s by Jeff Pink, the creator of the French Manicure. The French Manicure was created to help screen actors speed up the process of wardrobe changes. The French Tip is a simple yet elegant style of nail, suitable for everyday wear and special occasions, making it a very practical yet fashionable choice!
-
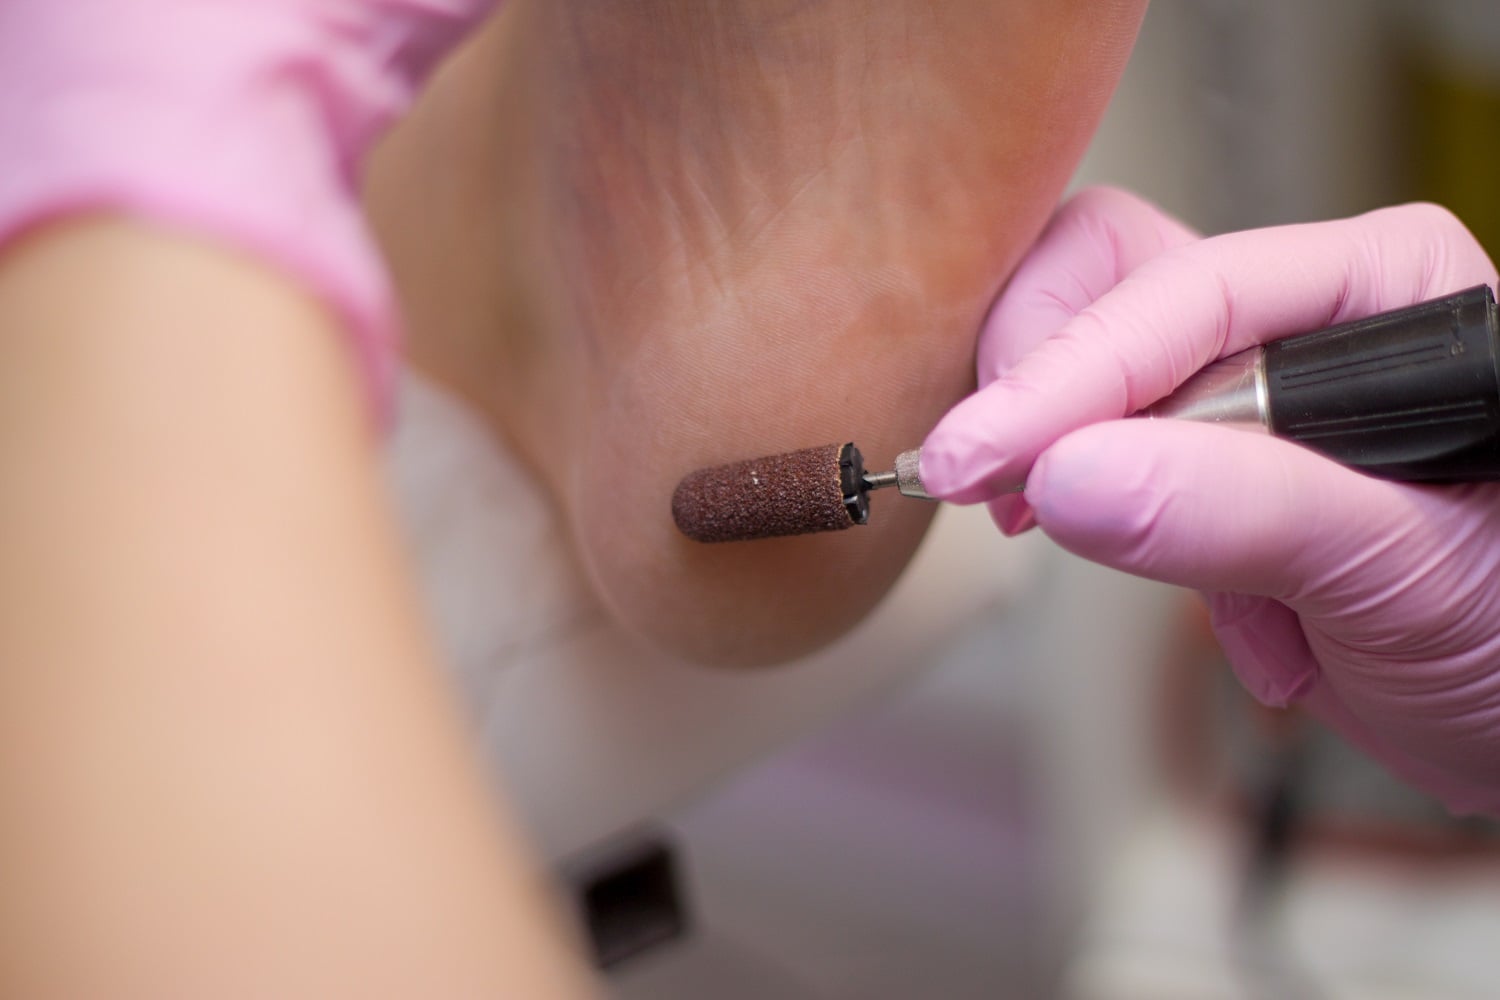
What is the best treatment for perfect, soft feet this winter?
The colder months are edging closer and more clients may be looking to pamper their feet either to return skin and nails to tip-top condition after a summer of sandals; or they may be looking ahead to party season! Many treatments include heat as part of the pampering service, which are also great for joints and relaxation in the colder months. We cover the top treatments for perfect feet all winter long…
-
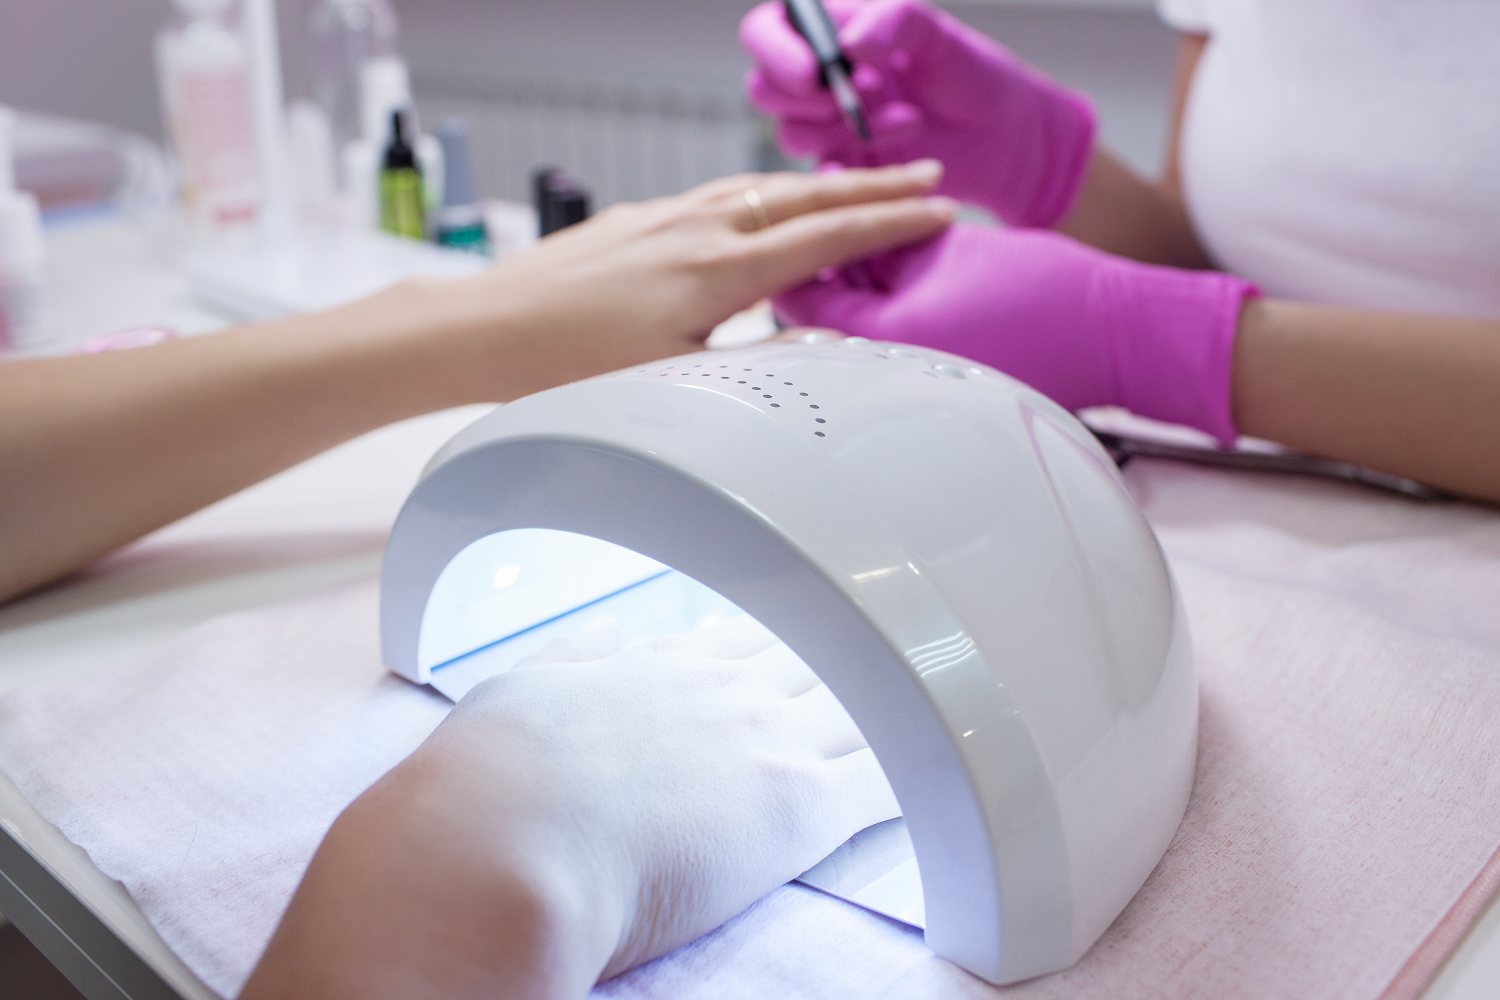
Working Safely with Gel & Acrylic Nail Products to Minimise the Risk of Allergic Reaction
A BBC report launched on 14th April 2023 highlighted a very important issue for the Beauty Industry around the dangers of products used without correct training or awareness of the ingredients of gel nail products. Understandably the launch of this report has caused panic and concern for many nail technicians, but also for many consumers who regularly receive nail treatments from nail technicians using gel nail products.
Here at The Beauty Academy, we wanted to address any concerns for those who have trained with us or who are considering training with us within nail technology. We are proud to be a part of ensuring this industry can continue to grow safely, with our courses helping to contribute highly qualified, confident, and knowledgeable Nail Technicians to the UK Beauty Industry.
-
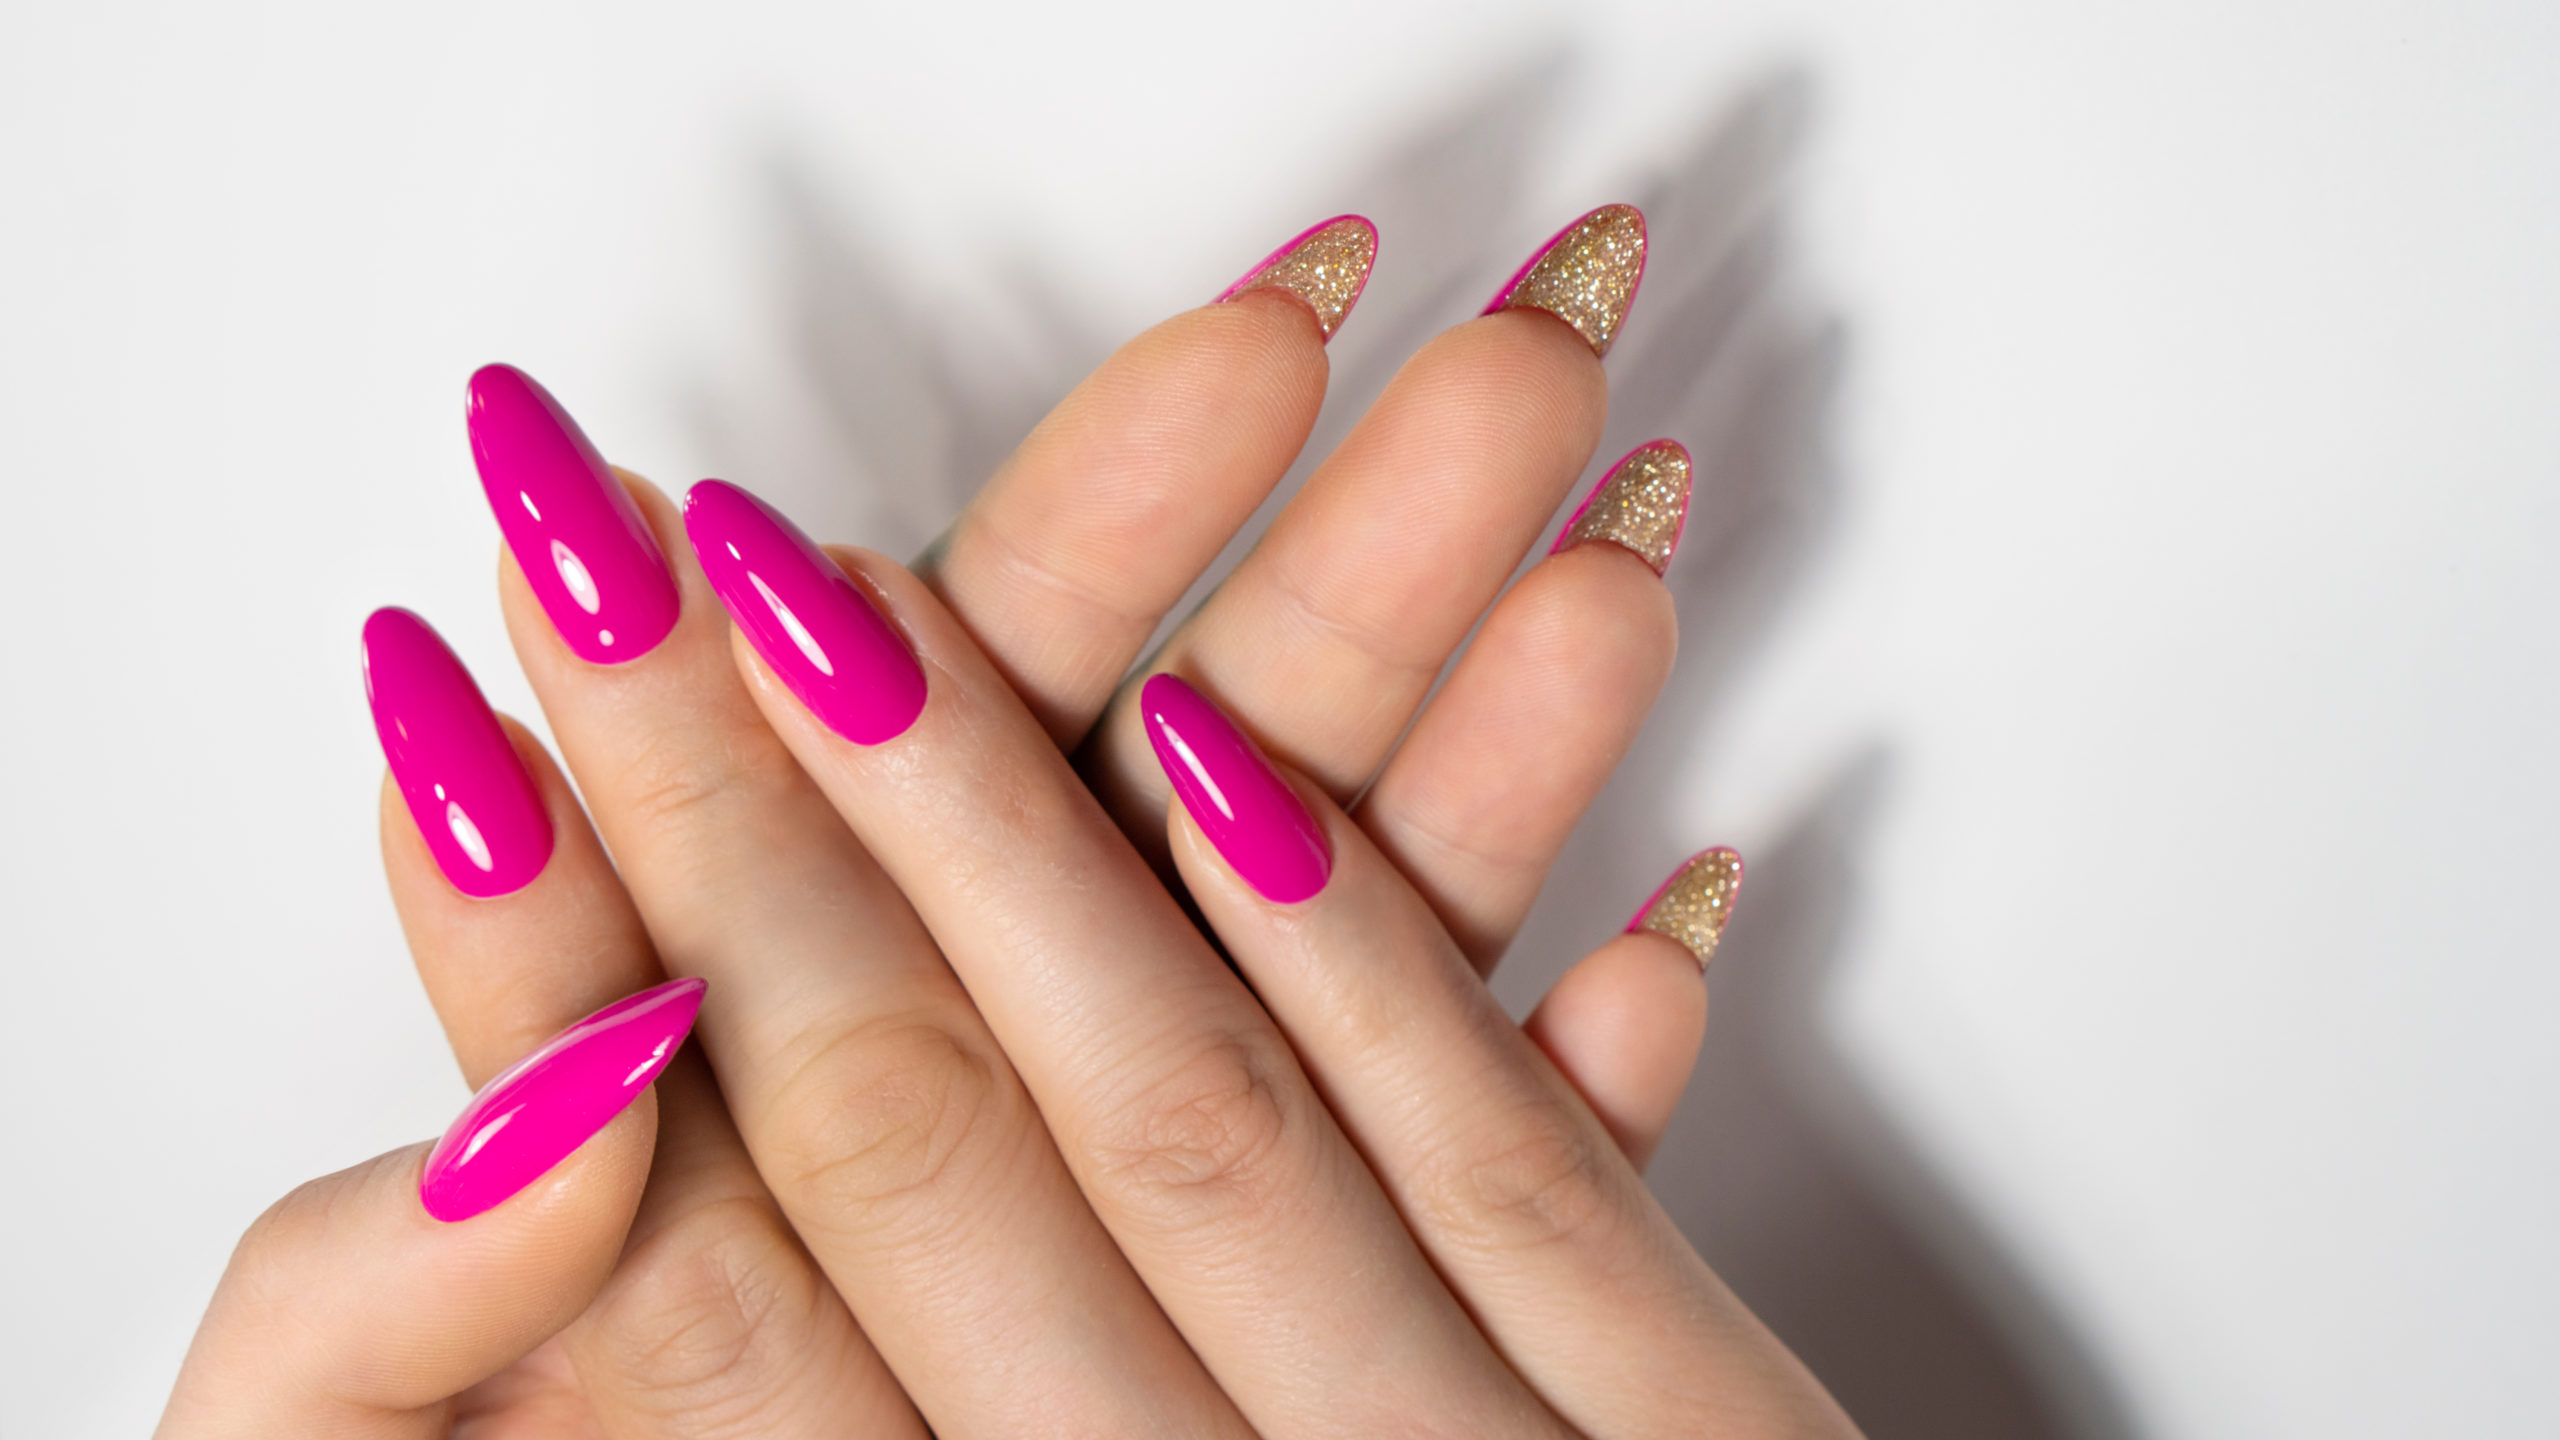
Which nail system is right for my business?

Nail treatments are one of the most profitable services you can offer as a therapist, with year round demand and regular client appointments but whether you’re just starting out as a Nail Technician or you’re wanting to increase the services you offer there is so much variety on the market it can be a confusing landscape to navigate. Keep reading to discover the key pros and cons behind popular nail system on the market to support you with making the best decision for your business. Which Nail system is right for me?
Extensions or Natural Nails?
A question we receive regularly from therapists starting their careers in Nail Technology is should I invest in extensions or focus on the natural nail? The plus side of training in extension systems is that a lot of systems can now be used with and without traditional tips. With many products providing the option of forms to extend the nail or a simple overlay on the clients natural length. Extensions are a profitable treatment if you have the clientele, with treatments ranging between £25-£50 a service, they also need regular maintenance so a good option if you’re looking for ways to increase client return footfall.
Acrylics

One of the more traditional methods for nail extensions, Acrylics are still regarded a well loved favourite of Nail technicians. Hard wearing and long lasting they reign supreme in the longevity category, although they loose on the odour front! It’s essential to remove Acrylics correctly, educating clients on the need to revisit the salon for remove is vital for the health of the nails. Acrylics can be used with tips or forms to extend the natural nail. Average cost £25-£50 per set depending on the type of finish the client is requesting.
UV Gel Extensions

Many favour the ease of UV Gel Extensions, quick to apply and self levelling, UV Gel extensions are a great alternative to Acrylics if you want durable nails without the odour. Although they’re not as hard wearing as Acrylics you will still get a couple of weeks out of a set of Gels. Again they can be used with tips or forms. Costings are comparable to Acrylics between £25-£50 a set.
 Other options that have gained a huge following from clients and therapists a like is Builder Gel in a bottle and Polygel systems, you may have seen multiple posts on socials promoting the benefits of these treatments and there is good reason for this.. They’re amazing! Easy to use, versatile and offer a natural look with the benefit of lengthening natural nails they are definitely worth the hype.
The advantage of Gel in a bottle over traditional tub based gel products is the speed and ease at which they can be applied to give additional strength to natural nails. They are a soak-off product so much easier to remove than traditional buff off builder gel products. The Average price for a set is £35.
Poly Gel is a revolutionary invention in the nail industry for those of you looking for a product with literally no heat spikes, practically odourless and with significantly less dust during removal. There are no monomers, no mixing, and no ratios needed! It’s extremely mouldable and easy to use, great to speed up treatment timings. The average price for Polygel around £50 a set
Gel Polish
Due to the longevity and high-gloss finish, this treatment is particularly popular all-year round. A perfect option if you’re starting out and are looking for a system to work on the clients natural nail. Since Gel polish started it’s boom in the industry most salons have turned their backs on traditional nail polish for their manicure and pedicure services and have instead opted for this longer lasting instant drying alternative! Treatments on average are £25-£30.
What now?
All that’s left to do now is getting learning! Enrol for our Accredited Online Nail Courses from only £99 or book a classroom course from only £199 for live training with our expert tutors.
-
Should I invest in an E-file?

Searching for ways to speed up your Nail services? E-filing tools can be a great additional to the majority of Nail treatments, saving you precious time for remove and prep work! If you’re looking for more information on E-filing, look no further! In today’s blog we’ll be sharing the benefits and uses of E-filing and how to get the most out of these tools.
What is E-filing?
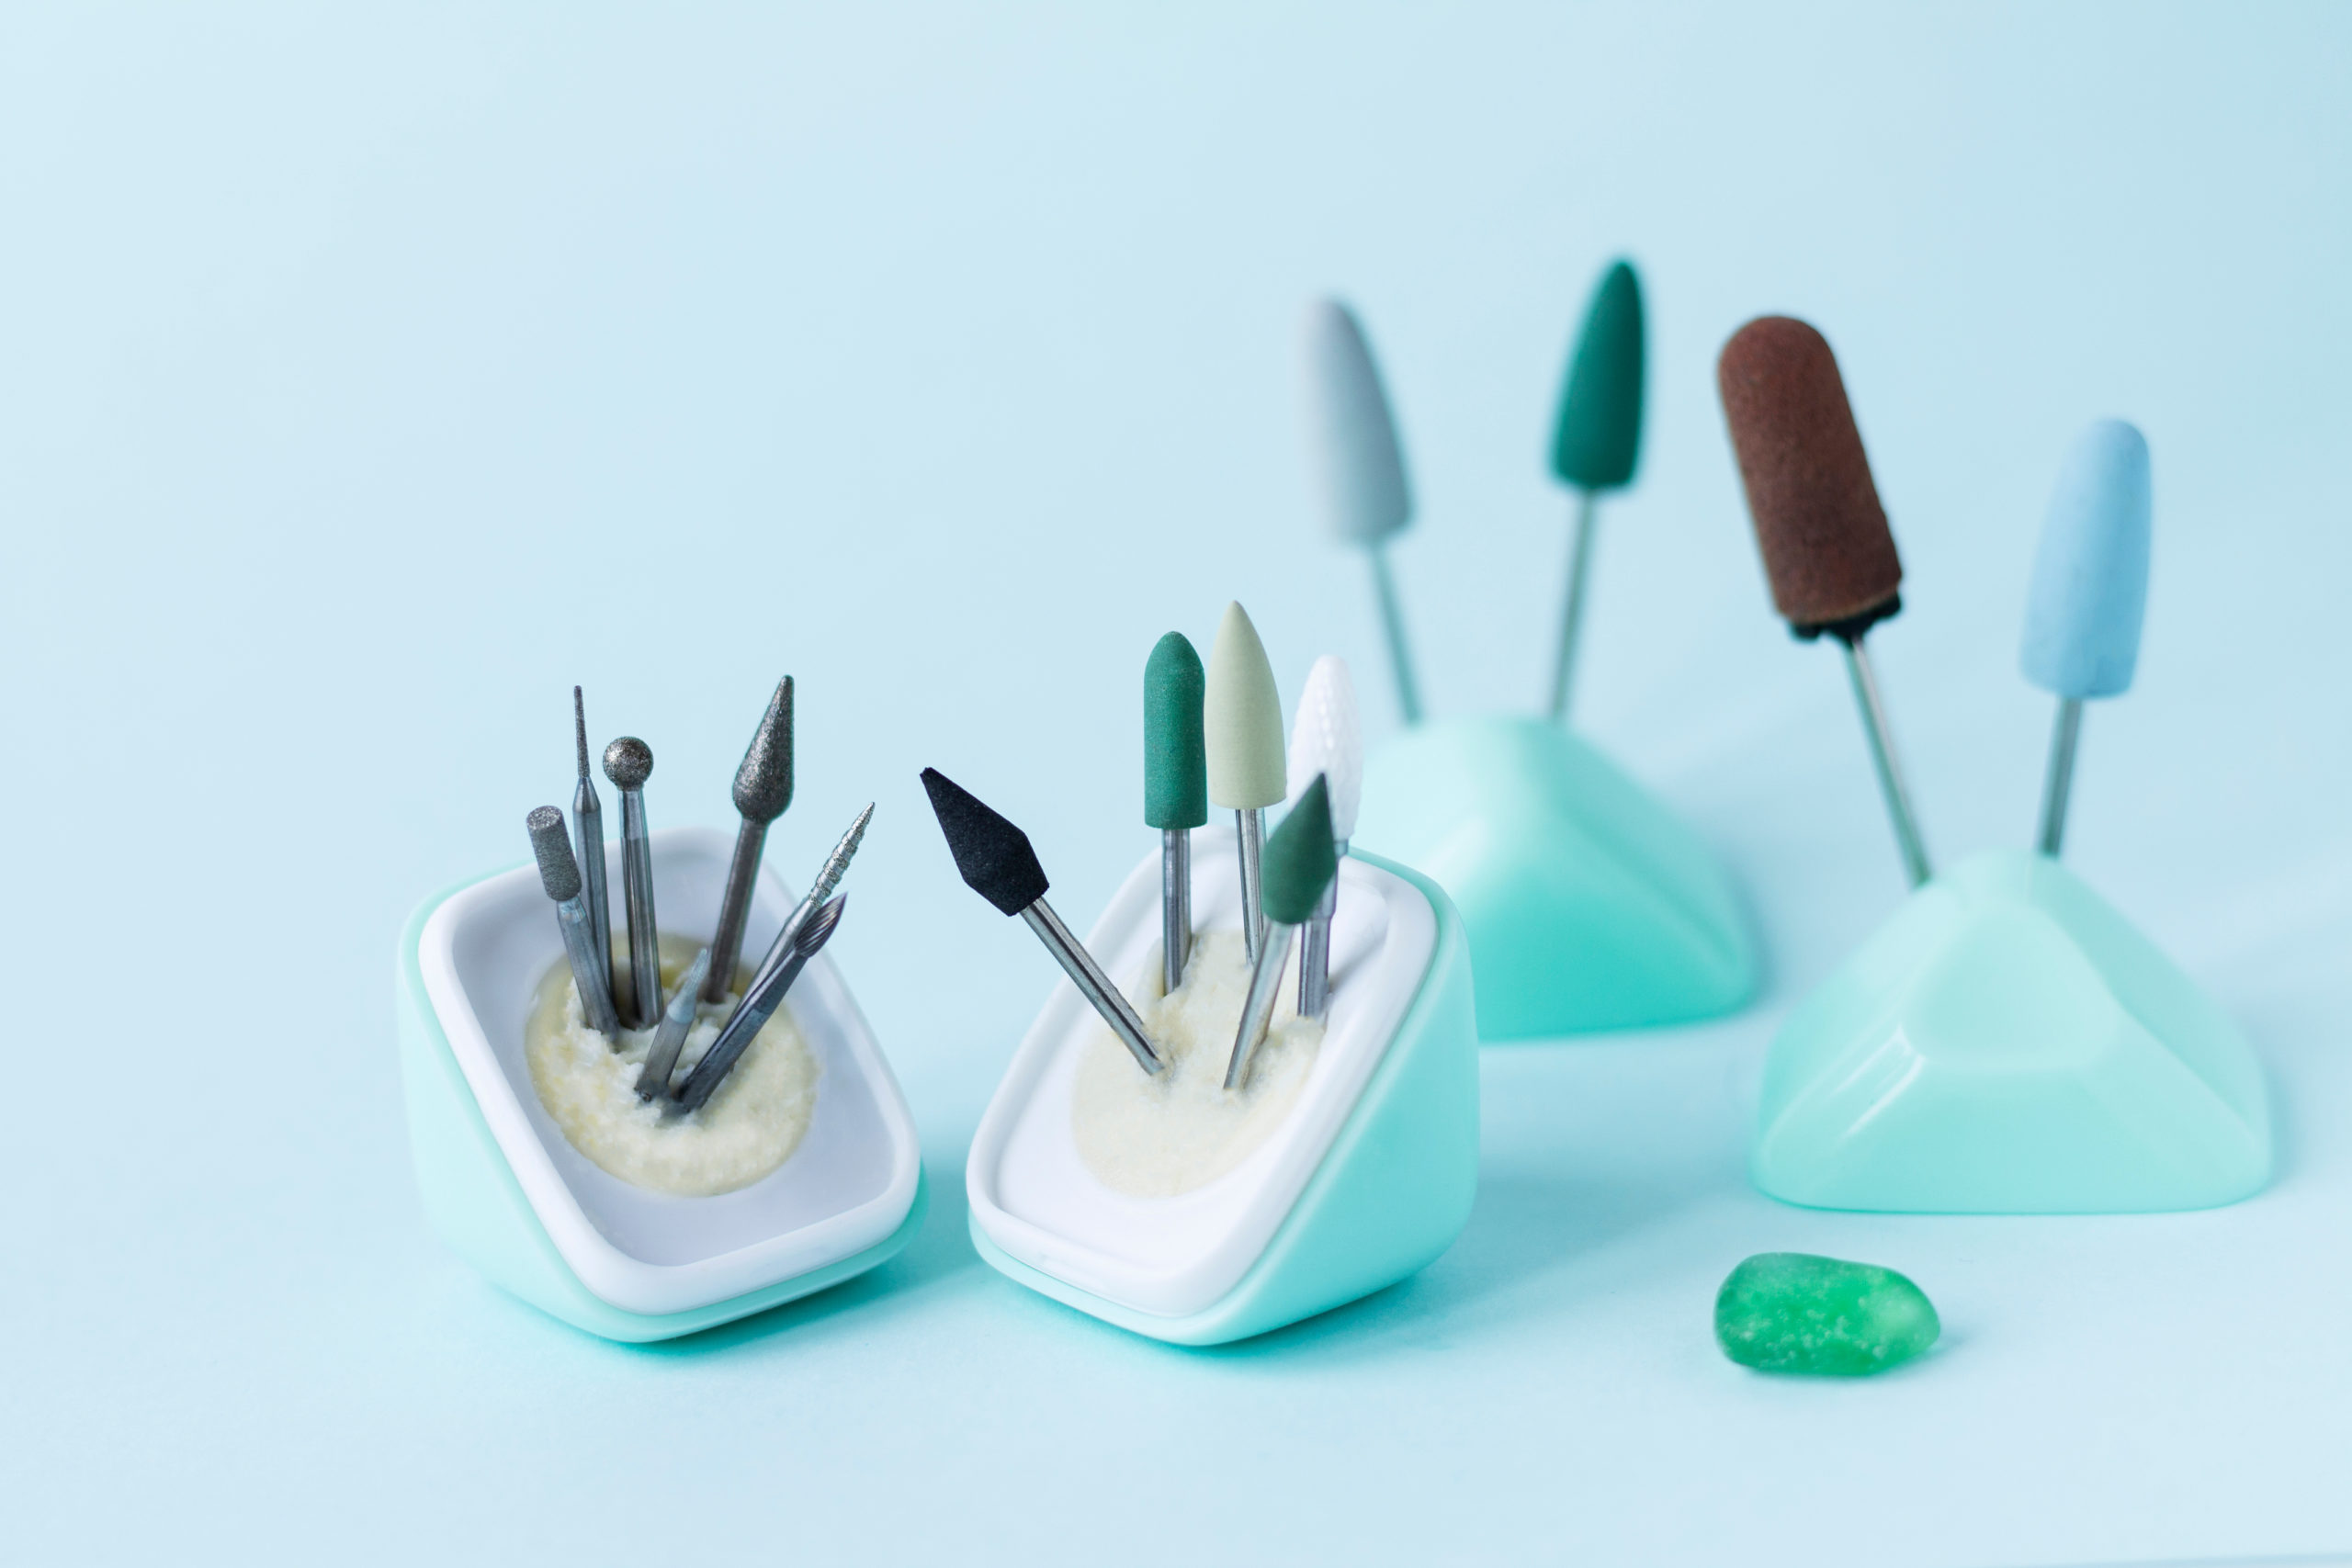
An e-file is an electric tool that nail technicians use to substitute the use of a hand file. It is used to prepare natural nails, shape product, and remove product from the nail. Most e-files will have a base with a motor and a hand piece that connects to a cable. Some e-files need to be plugged in but some you can charge, which is great if you are a mobile technician. Just like the different grits of a hand file, an e-file has different bit that do different parts of your nail service.
Does price matter?
There are many variations of e-files that different companies offer; this will be reflected in the price you pay for it. When looking into E-files it’s important to do your research. The cheaper e-files generally have a motor that is a little less powerful than more expensive ones. Most e-files will run at a maximum speed of between 20,000 and 30,000 RPM (rotations per minute), you will never need to use your e-file at these speeds. They have a maximum speed so that you never need to run the motor at its full capacity. This ensures your motor will not burn itself out.

Benefits of E-filing
There are many benefits to using an e-file in your nail services.
The backwards and forwards motion involved in hand filing can cause repetitive strain syndrome in the wrists. This is known as carpel tunnel syndrome, the carpel tunnel inside your wrist swells and squeezes the nerve causing pain, numbness, tingling and weakness in the hand/grip. Many nail techs are forced to retire through developing this.
Use of an e-file also allows you to provide nail extension treatments more quickly as time can be saved versus use of manual filing, plus traditional nail preparation and nail extension product removal processes alone.
Results achieved using an e-file can be more even and aesthetically pleasing versus use of manual methods and filing.
Where can you incorporate into treatments?
Prep- E-files can be used for cuticle work, nail shaping and buffing!
Shaping artificial products- For acrylic you need a coarse e-file bit where as Gel you need a medium e-file bit. Most beginners will feel comfortable with the safety bit to start with. As your confidence grows you can move on to the sharp-edged carbide bits.
Product removal- You can use your e-file to remove product from the nail, which is much quicker than buffing the overlay by hand and eliminates the use of harsh chemicals. When removing product, it is advised to use a similar filing pattern used in the shaping process, this will ensure a clear view of the nail plate.
If you’re thinking of investing in an E-filing tool it’s important that you have the relevant training, many insurance companies will require you to have a separate certificate. We offer accredited in classroom and online E-filing courses to support you will your skills.
-
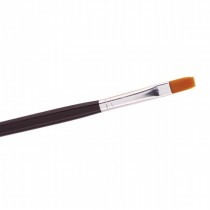
The Right Tool for the Job – Best Brushes for Acrylic, Poly Gel & UV Gel
This article was first published on 18th May 2016 & was updated on 17th February 2022
When it comes to creating the perfect nail extension, there is more to consider than simply your technique. Good technique is essential but the right tools will help you to create better results, more easily and more quickly.
Generally speaking, as you begin to practice you will usually be using the brush that came included within the starter kit you may have purchased. We always recommend using a brush that is from within the same brand or range as the acrylic or gel products you intend to use as these have been designed and tested for best results using those specific products. However as you become more experienced and knowledgeable, you may have a preference for a different brush which works best for you and your way of working.
Brushes for UV Gel (builder gel) Application


UV Gel will usually require the use of a standard size 4 or 5 flat brush (for the creation of nail extensions). These are often designed for use specifically with UV Gel and are optimally shaped and sized for easy product pick up and application. These are often made with synthetic bristles to provide an easy to clean, long lasting and affordable brush which picks up the product without encouraging it to sink into the brush which could cause product wastage and make it harder to glide the product from brush to nail. Gel Polish is usually applied with the brush that came enclosed within the product lid and there is no need to use any alternative brush.
Brushes for Poly Gel Application
Poly Gel is a new system that has become hugely popular over the last 3-5 years as the products come packaged in an easy to dispense tube that can help to reduce product wastage and risk of cross-contamination. Your product will usually come supplied with a metal flat edged tool for ‘slicing’ some of the gel product from the tube ready for use. You then apply this ‘bead’ of sliced product direct to the prepped natural nail and work the product using a flat gel brush. Poly Gel products are applied very similarly to standard builder gel products (that come in tubs and jars) and so a standard gel application brush will be suitable, however you will need to ensure you use the ‘slip solution’ product supplied with your poly gel to avoid the product sticking to your brush. Rather than brushing the product on as you would with standard builder gels, you simply pat the bead applied to the nail into shape using your gel brush. It is important to clean your poly gel brush after use using a lint free wipe to remove excess product and soak in gel brush cleaner if required to remove any hardened product and help reshaping of your brush bristles. Always stand the brush in a cup to dry with bristles facing up to avoid the brush drying misshapen.
Where it gets more tricky is when considering the best brush for use with acrylic products…
Brushes for Acrylic Application
Natural vs Synthetic Bristles

There are several factors that must be understood about brushes before you can begin to select a brush. Firstly it is important to understand why brushes for use with acrylic are usually made from kolinsky, sometimes called sable hair. Kolinsky is the hair gathered from a type of weasel found in the cold regions of Russia & China. Natural hair is used as it has an advantage of providing natural thickness towards the belly of the brush which allows it to hold liquid effectively (as in acrylic liquid). The strength and flexibility allows the brush to return to a point when wet. All hair has a structure known as the medulla which allows moisture to be absorbed. This acts as a reservoir to hold the acrylic liquid in nail brushes and releases in a controlled manner as pressure is applied with the brush by the nail technician. Kolinsky hair is far better in quality (sometimes known as golden sable) than the hair gathered from other weasels (sometimes known as red sable or just ‘sable’). If a brush states kolinsky, you can be sure you are buying the best quality brush bristles possible.
With any natural hair brush, it is essential to maintain the brush with correct cleaning after every acrylic application to avoid the brush becoming stiff and damaged. You can purchase brand specific brush cleaners (designed to remove your specific acrylic product) and these often contain conditioners within them to keep the bristles smooth, flexible and keep the brush shape for longer. Natural brushes can be cleaned within acetone but this is not recommended as it can dry and damage the bristles over time.


With improved technology, some manufacturer’s are beginning to use synthetic bristles for acrylic brushes. This is also in response to those who want a ‘vegan’ option. Modern technology now allows many synthetic bristles to effectively mimic the properties of natural brushes to a degree. Synthetic bristle brushes are more durable as they are less effected by contact with the monomer (acrylic) liquid than natural hair. Many nail techs prefer natural hair however as synthetic brushes will struggle to hold the acrylic liquid as effectively. Synthetic bristle brushes are usually used more for nail art and gel application. Care must be taken when cleaning such brushes as they are often made with nylon or polyester which can be damaged if left to soak in acetone. Most brush cleaners are acetone free for use with UV Gel brushes.
Choosing the Right Size
When you first begin to practice your application of acrylic, you will usually make use of a smaller brush which could be a size 6 or 8. These brushes are great to begin with as they effectively lift a smaller bead of acrylic (powder with liquid) allowing you to master your application technique with the 3 zones. They also allow you to learn the ability to get your ratio of liquid to powder correct with more control. This smaller brush size of 6 or 8 is usually included within starter kits for this reason.


However as you begin to advance in your experience and skills, you may find smaller brushes make your application slower and your treatment time longer. When working in the salon or as a mobile therapist where timing is key to ensure you can maximise your earnings, it is important that you can begin to reduce your treatment timings. One way to do so is to look to use a larger acrylic brush. Larger brushes allow you to effectively pick up a larger bead of product which means you can cover a larger area of the nail with less strokes. You will still be using your 3 zone process but will not require the use of up to 3 smaller beads to cover each zone, instead you may be able to achieve coverage of an entire zone in just one large bead. This does of course take much practice and good technique to ensure you are getting your ratio of powder to liquid correct to avoid flooding the nail or creating poor adhesion through too little powder/product too thin.
When first starting out in nail extensions working with a smaller brush, there is a tendency to need to file the nails into shape at the end of application. This is because when you are applying numerous small beads, there can be a tendency for areas of the nail extension to become lumpy or too thick (of course some products self-settle better than others). This extra filing also increases your treatment timing. An advantage of using a larger brush is that you apply less beads and so there is less likelihood for areas of the nail extension to have thicker areas (where two beads/layers have overlapped) and less chance of the extension becoming too thick assuming you are confident with your product ratio. It is also said that reduced filing helps to create stronger, more stable nail extensions and the process is more comfortable for clients. With experience, a larger brush can enable you to create more professional looking nail extensions in less time.
Due to the nature of having more bristles within a larger brush, this enables them to keep a better shape at the belly of the brush which also can make the larger brush easier to work with when laying down your bead onto the nail or tip. This can quite simply be seen by the fact that the larger the brush, the more structured the shape with a distinct pointed end rather when dry, rather than the more round or flatter shape of smaller brushes. It allows the brush to be more flexible and glide the bead more easily. Smaller brushes have a tendency to go much flatter with less pressure which can flatten the bead or trap it within the bristles making application more tricky.
While working with a larger brush, it does not limit your ability to still pick up a smaller bead which you may use when infilling or rebalancing the nail as with experience you will learn to utilise the point of the brush for fine detail work. As you grow in confidence and more importantly, experience of creating the correct ratio of liquid to powder; you can begin to gradually increase the size of brush you are working with going from a 6-8 to a 10 then 12. You may even work up to a size 14 or 16 although many nail techs typically prefer working with a size 10 or 12 depending on the brand of products they are working with.
Remember to stay working with a brush from within your product brand when working on nails for clients. When initially practising with a larger brush however you may wish to pick up an inexpensive artist’s supply brush from any stationery store or online (as these are often very similar in style but cheaper as they are unbranded). It is a great way to trial a brush size without a big spend but should not be used for client’s nails as you cannot guarantee good results as such brushes are not tested for best results with your brand of products.
Once you have invested in a good brush, you may want to buy a brush case or cover (some brands come with a brush cap) to protect your bristles and also a brush cleaner that is recommended for use with your brush.
Want to learn the art of Nail Extensions? We have Beginner and Advanced Courses available from only £199! Find more information at: https://new.thebeautyacademy.org/nail-treatment-cou…
-
Maintaining Nails in-between treatments

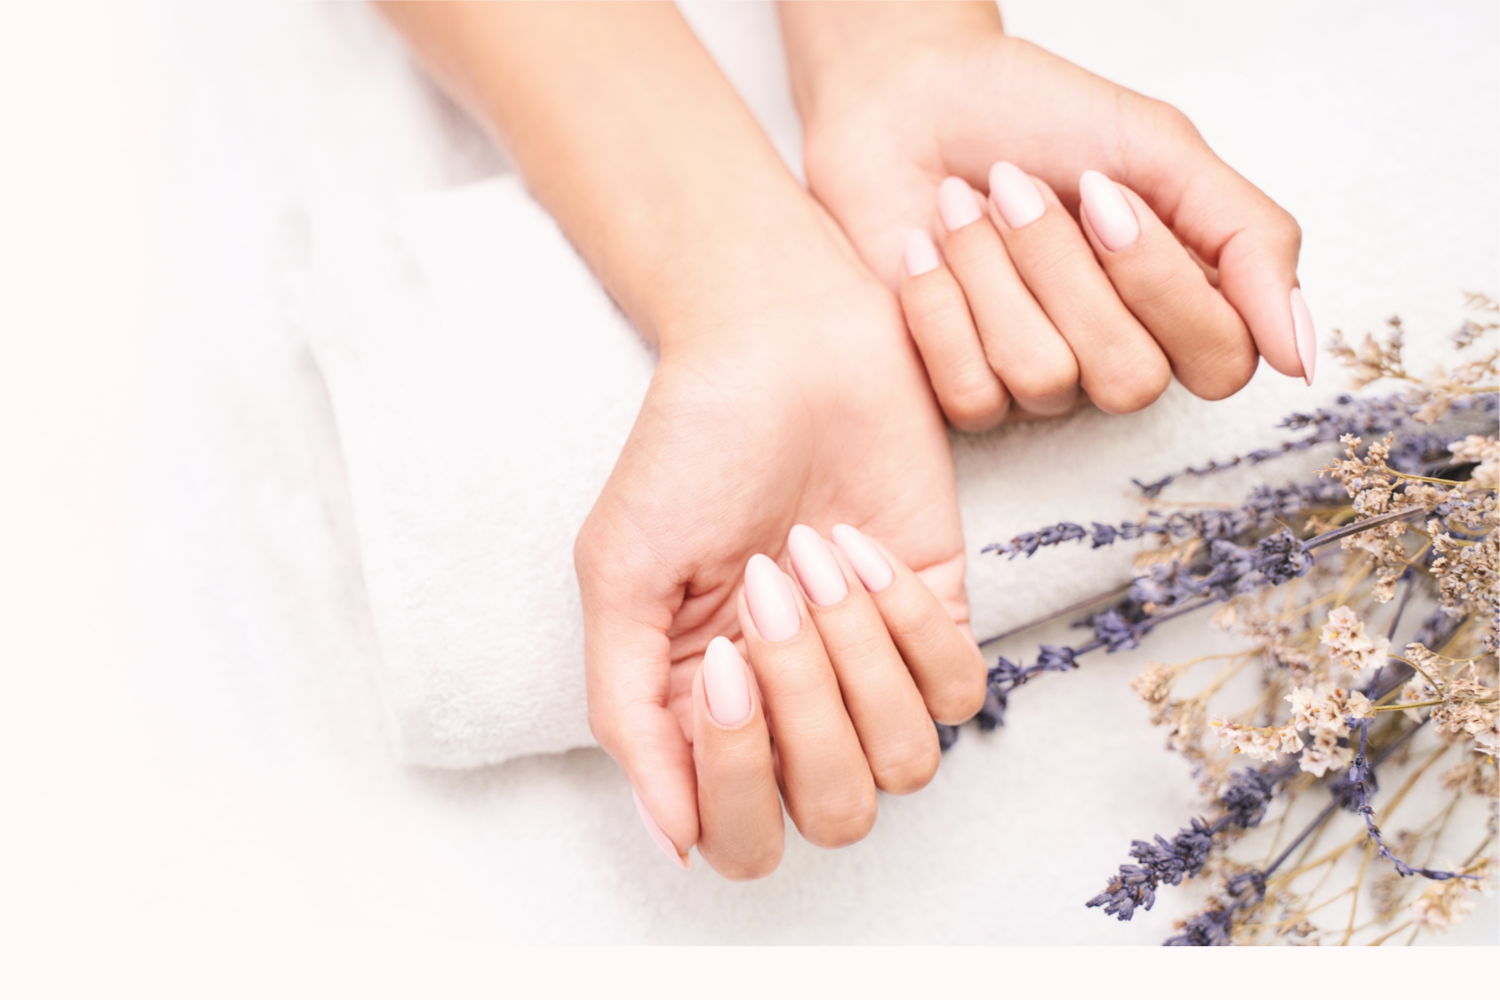
This week we’re sharing our top aftercare tips for maintaining nails in-between treatments, keeping them looking fresh for longer.
- Avoid excessive exposure to water and heat within the first 24 hours of treatment
- Always use gloves when handing cleaning products, gardening or doing the washing up
- Limit exposure to chemicals found in common ‘Holiday’ products such as Suncream and Insect spray, wash hand throughly after application
- Use cuticle oil once or twice a day to maintain the hydration of the nail and surrounding skin
- Avoid picking or peeling gel or polish! This can damage the natural nail and affect future treatments.
Most importantly, visit your Nail Technician every 2-3 weeks to maintain your infills.
-

An interview with a Nail Technician…
Imagining a career change? Or perhaps you’re a well-established Beauty Therapist wanting to specialise? Becoming a Nail technician can be a fulfilling career, both in job satisfaction and income. We’ve interviewed Sarah, a professional Nail Technician, to share the highs and lows of running a successful nail business.

Sarah, how did you decide on a career as a Nail Technician?
After having my second child I decided I wanted to have a change of direction in my career. I worked as a horse-riding instructor for 8 years and wanted something more flexible for my family, and more creative for myself.
What do you love most about your job?
I’ve always enjoyed art and I love that I get to use my creativity every day. My favourite thing to do is paint portraits or themed nail art – I love the challenge and the accomplishment of a finished set. Chatting to my clients is also a big bonus!


Have you come across any challenges whilst setting up your business?
Starting out and setting up a business is probably the hardest part. Building up a client base is slow and can be disheartening, especially when you’re putting all your finances and efforts into building your career. However, it’s important to always believe in yourself and focus on perfecting your technique, the client base will follow.
What are your top ‘go-to’ products and tools in your treatment room?
My top 3 are:
The Gel Bottle – the colours are out of this world! I always get compliments on the huge range, and their builder gel (BIAB) is incredible
Young Nails – I tried several brands for my acrylic and these are my favourite by far. The liquid and powder is so workable and makes a difficult task easy.
Navy Pro Tools – these are absolute game changers for your nail prep. The quality of the tools is second to none and steps up the standard of finished nail treatments. Prep is such an important part of doing nails so if you’re going to spend money anywhere, spend it on these!!
Any insider tips for someone starting out doing treatments?
Find a good training centre – This gives you a solid foundation to learn the skill and be successful (I 100% recommend The Beauty Academy)
Invest in quality products – there are so many brands out there so do your research. Your services will only be as good as the products you use
Find your niche – there is so much competition out there, you need to find a gap in the market that makes you stand out. It could be a treatment that isn’t offered locally or a skill you’re particularly good at; it could even be something as simple as decor! I’ve had clients choose me because my salon is green and its different!
What aftercare advice do you share for clients to maintain their nails at home?
2 words – cuticle oil! It is so beneficial in keeping skin and nails healthy and helps nail treatments last. I also recommend wearing gloves for DIY and household chores.. your nails are jewels not tools!
What is the future for nail tech treatments?
I’ve only been in the industry for about 1 year, but I’ve already noticed a bit shift in what it means to get your nails done. There is a focus now on nail care and keeping your natural nails healthy which is fantastic, and clients are becoming more aware of what is being put on their nails and if it’s done correctly.
Natural nail overlays are super trendy right now, and I think that will definitely continue.
A huge thank you to Sarah for sharing her experiences and tips with us here at The Beauty Academy.
Check out Sarah’s Instagram! https://instagram.com/sghnaildesign?utm_medium=copy_link
If you’ve been inspired by Sarah and would like more information on becoming a qualified Nail Technician, give us a call on 0800 999 2277.
-
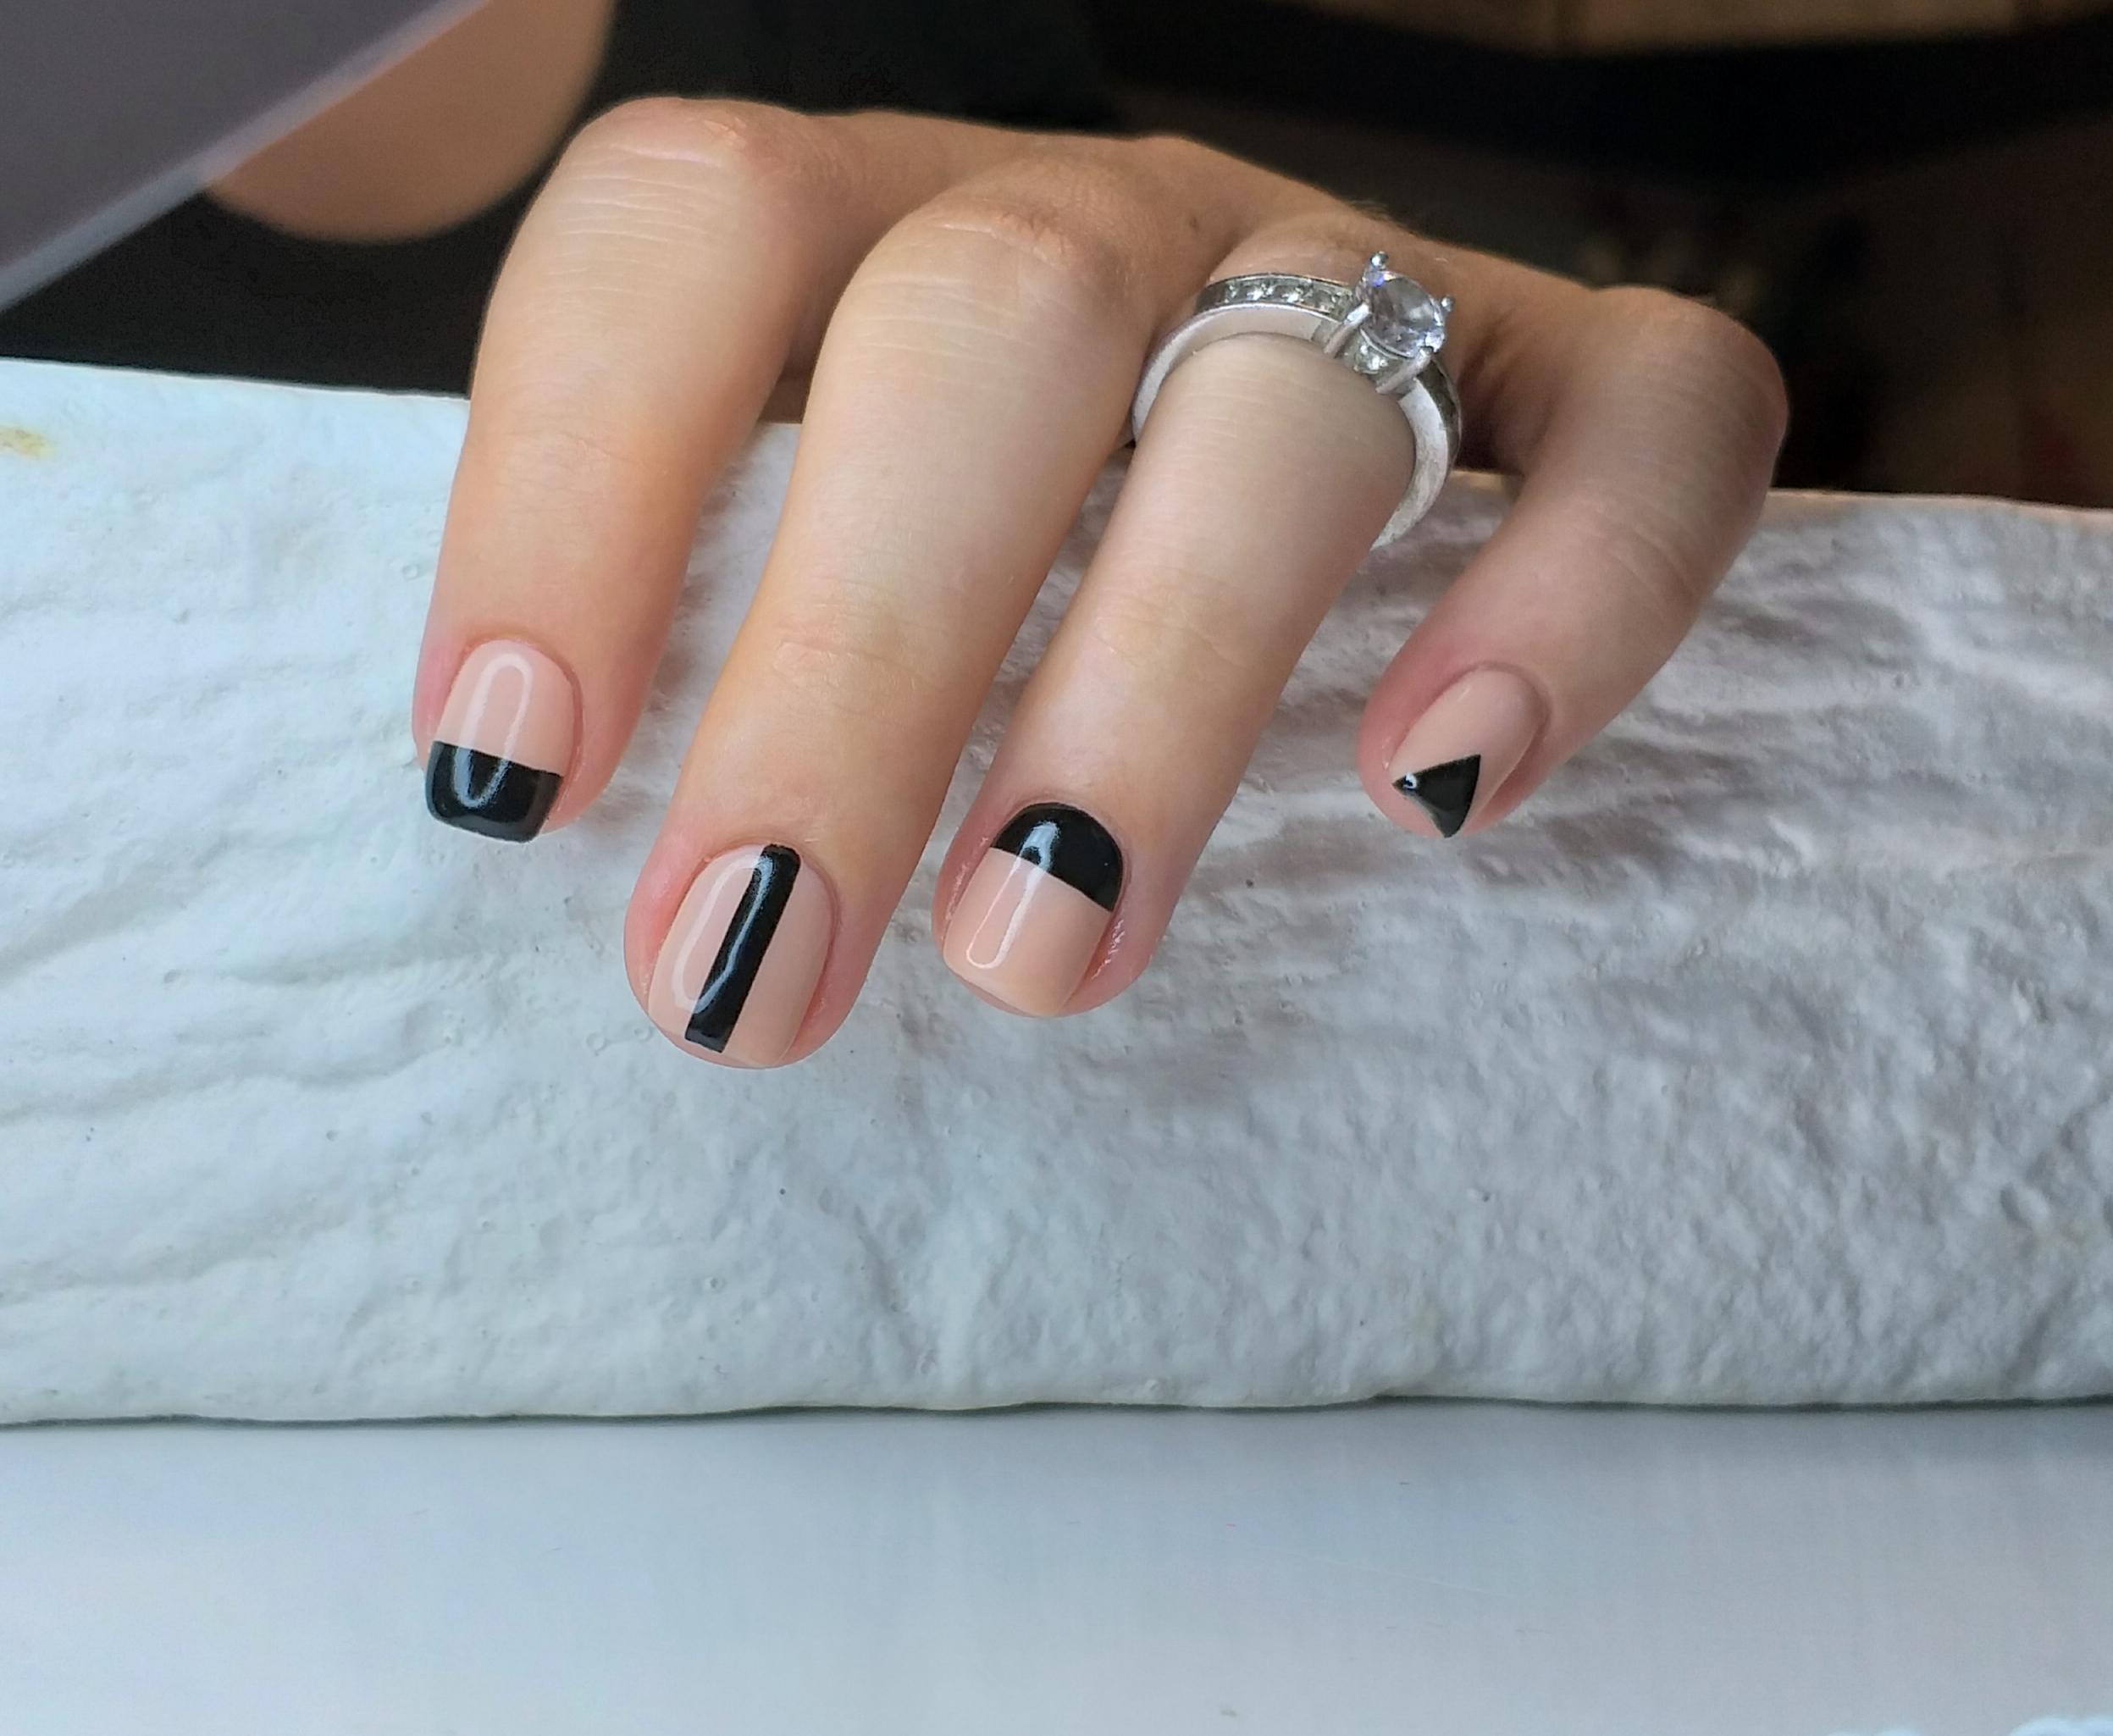
Top Nail Trends for 2021
The catwalks may have been digital this autumn, but the trends for spring 2021 are out including all the latest predictions for top nail trends for next year. Get ahead with practising your nail art skills and updating the polish shades within your kit, ready to promote your nail services as one step ahead of other nail techs and set your work apart from the competition. Eye catching nail polish shades and distinctive nail art can be real conversation starters and get word of mouth out about your work so don’t miss out…